 Copyright © Alan Tani Reprinted with permission of the author.
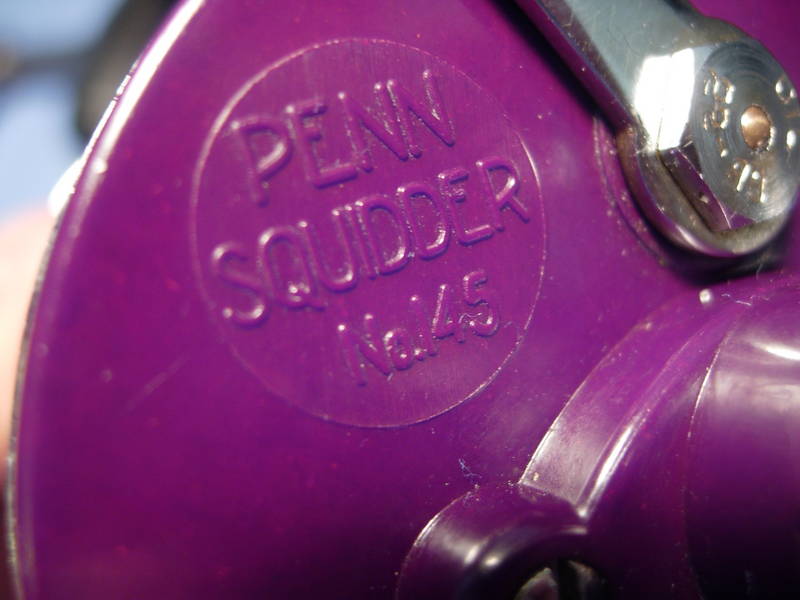
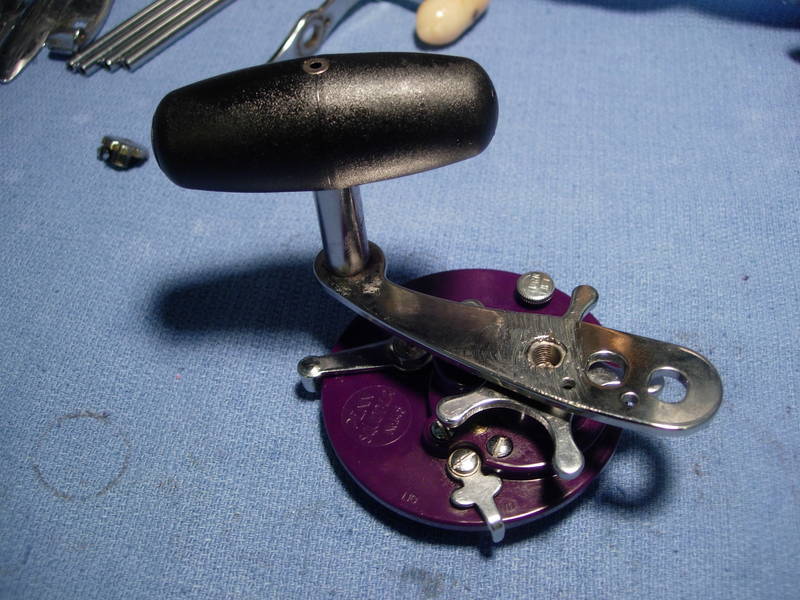
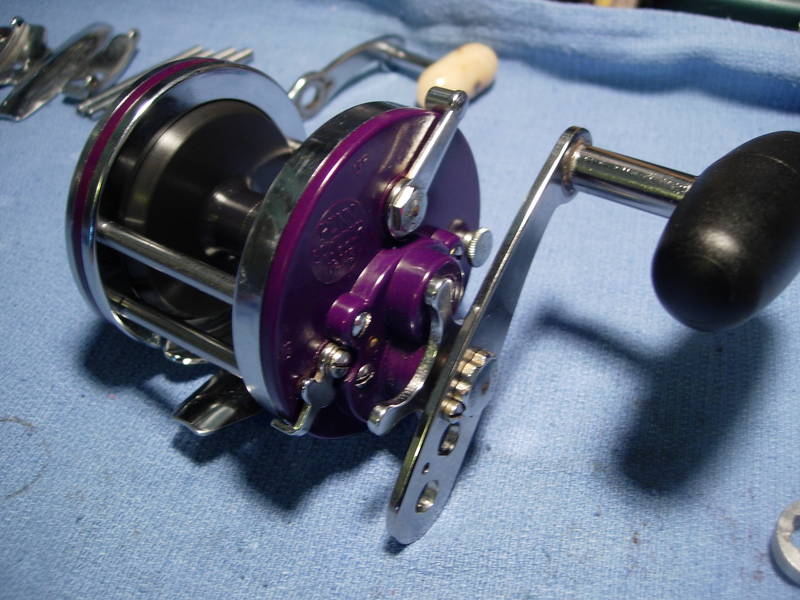
Here's another old standard from penn. The squidders continue to remain popular among long distance surf casters. They also performs well for many inshore light tackle applications. A single screw also allows you to remove the side plate and easily clean the reel or change spools.
First, go to MysticParts.com for the schematics and parts lists. For this particular rebuild post, I will be working off the 145 schematic.
- Schematics and parts ordering:
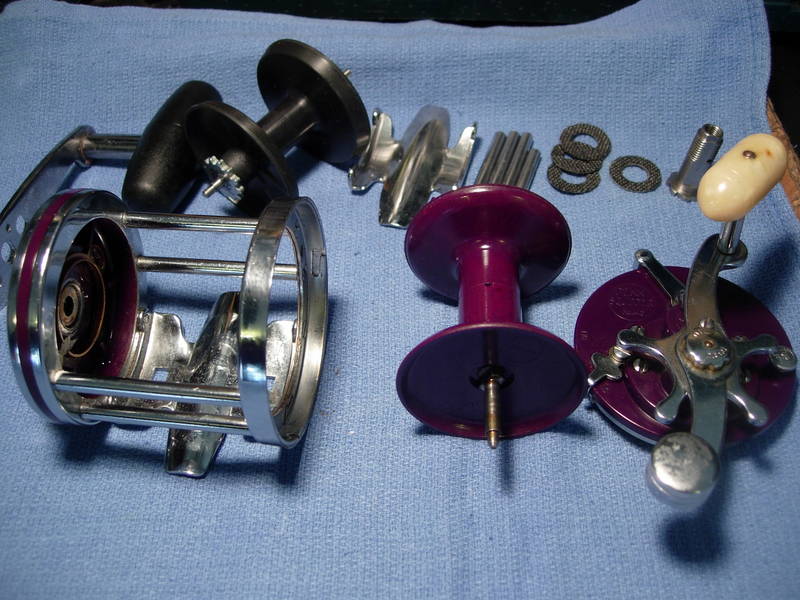
What we're going to do with this reel is to hotrod it a little, with a jigmaster power handle (#24-56), a narrow frame and spool conversion kit, a new set of three #6-60 drag washers inside the main gear, a new #6-113 drag washer under the main gear, and a stainless steel gear sleeve that was made up custom for me. Please note that this is not the same #98-60AT or #98-505AT stainless steel gear sleeve carried by MysticParts.com. This was a limited run made by Pete Kolekar at my request. There are only a few left.
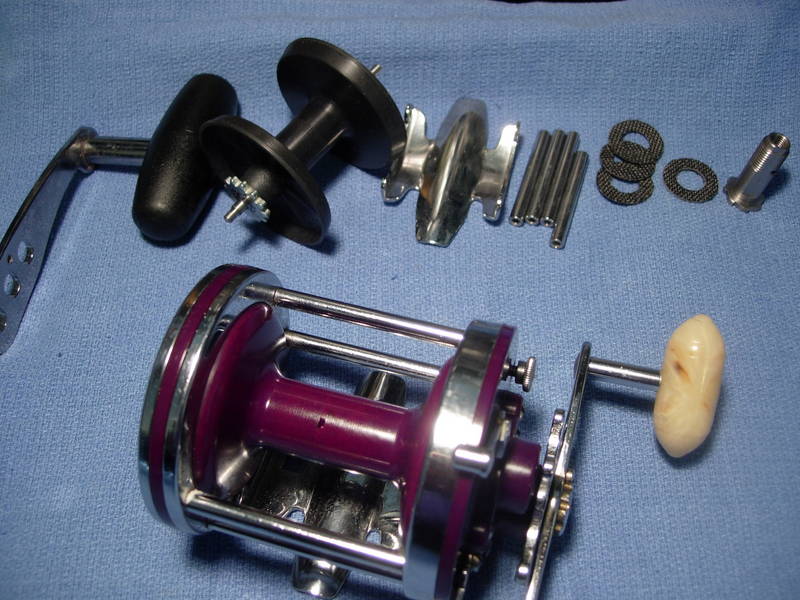
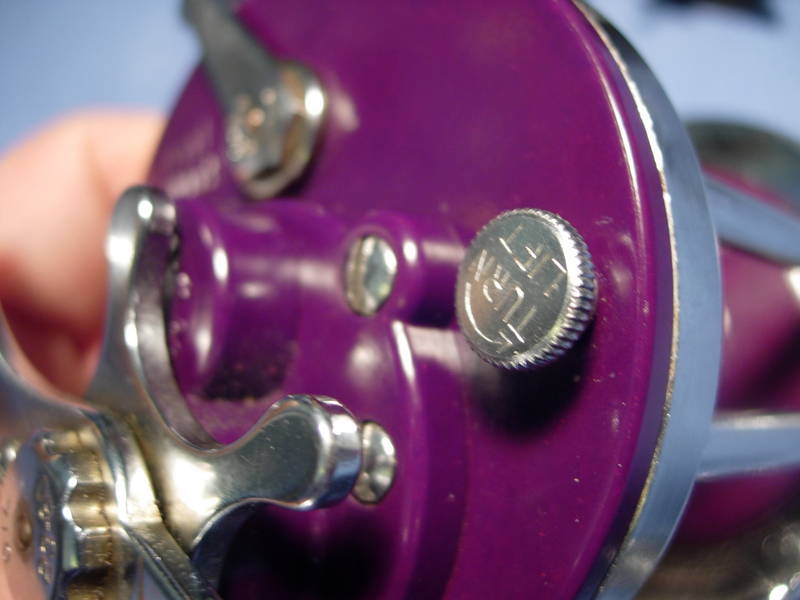
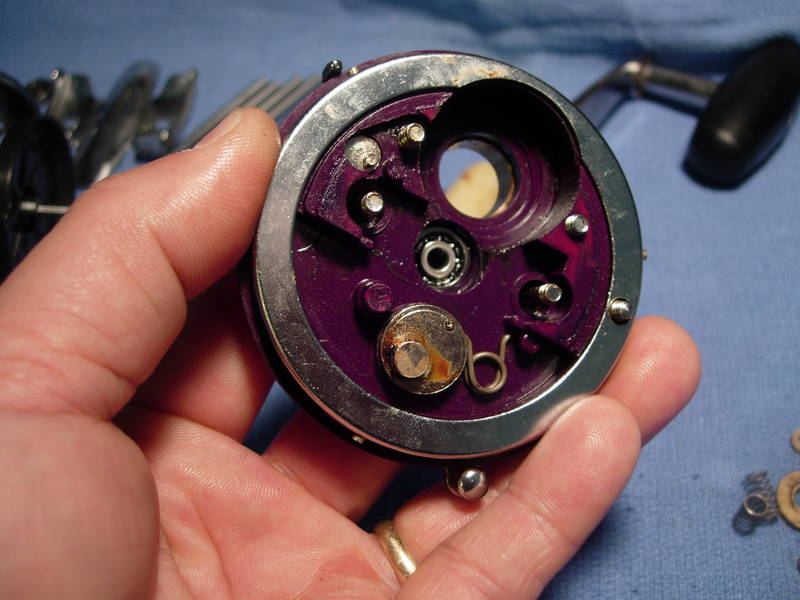
One of the nice features of this reel and the jigmaster is the take apart thumb screw (key #40). Turn the screw counterclockwise, lift this spring-loaded screw a little, then turn the entire left side plate counterclockwise and remove the right side plate assembly.
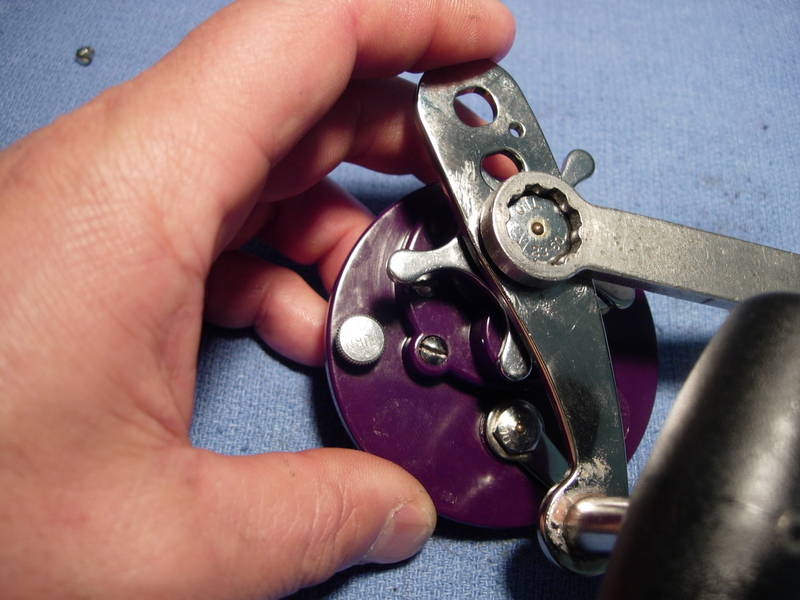
We're now down to three pieces, the frame assembly, spool and right side plate assembly.
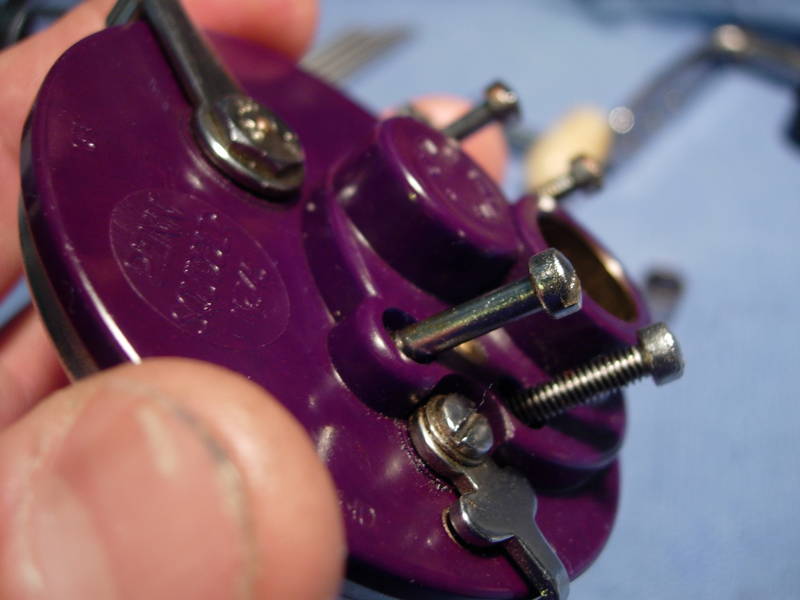
We'll start by removing the left side plate screws (key #'s 32 and 39).
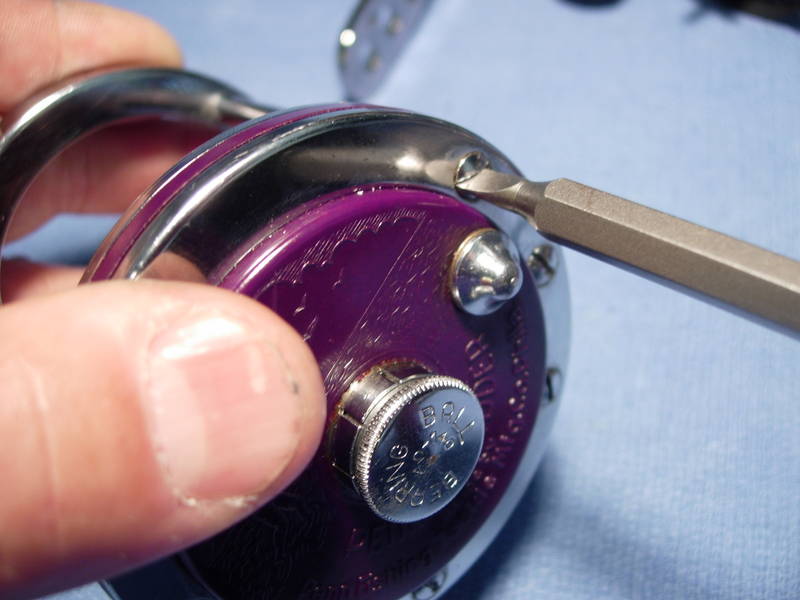
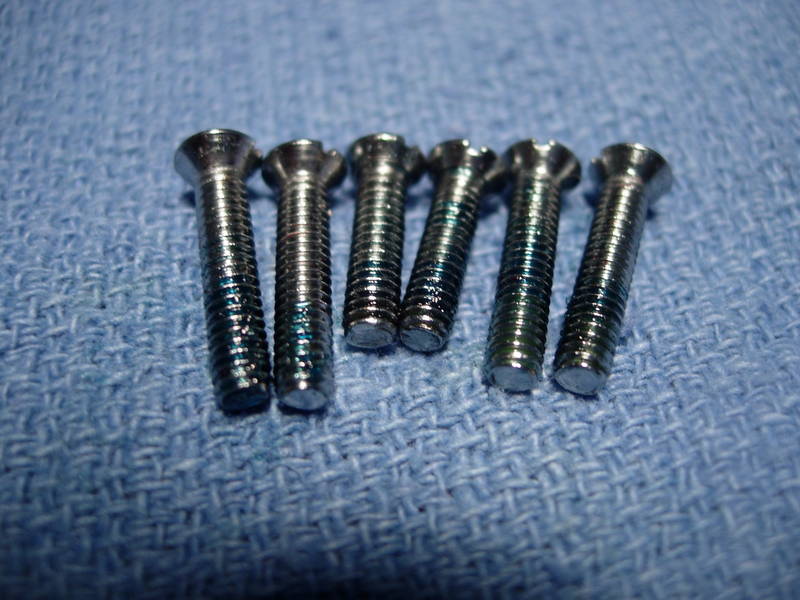
Note that the post screws (key #39) are longer than the stand screws (key #32).
Grease the screw holes of the new frame posts (key #37) and new stand (key #30) and install them.
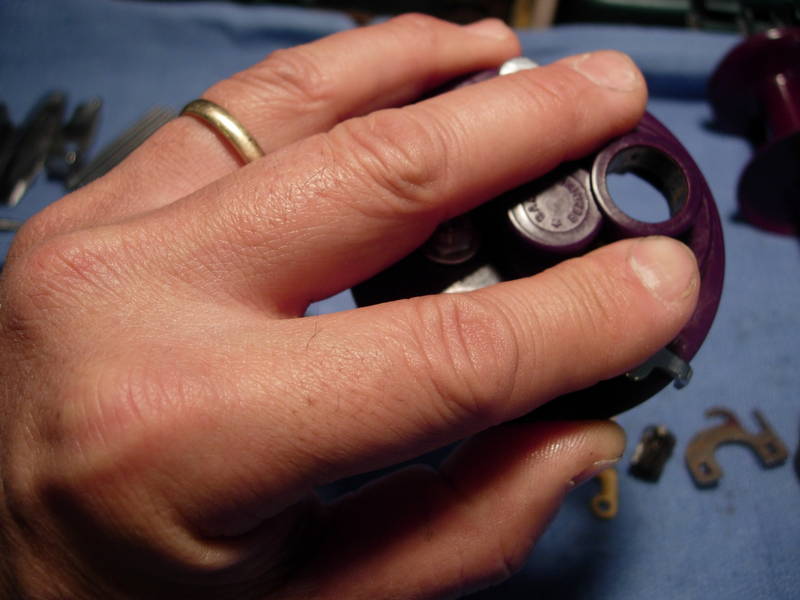
Remove the left side bearing (key #40).
Pull out the bearing shield (no key #).
The old bearing is toast.
A new bearing is a 0.125 x 0.5 x 0.172 in stainless steel. It's going in degreased, lubed with corrosion x and left open.
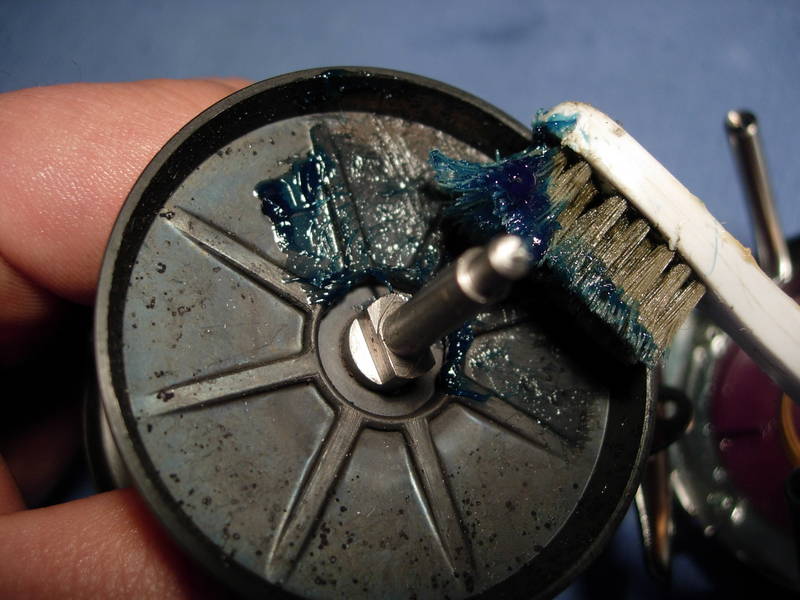
Grab that ratty old toothbrush and brush on a light coat of grease.
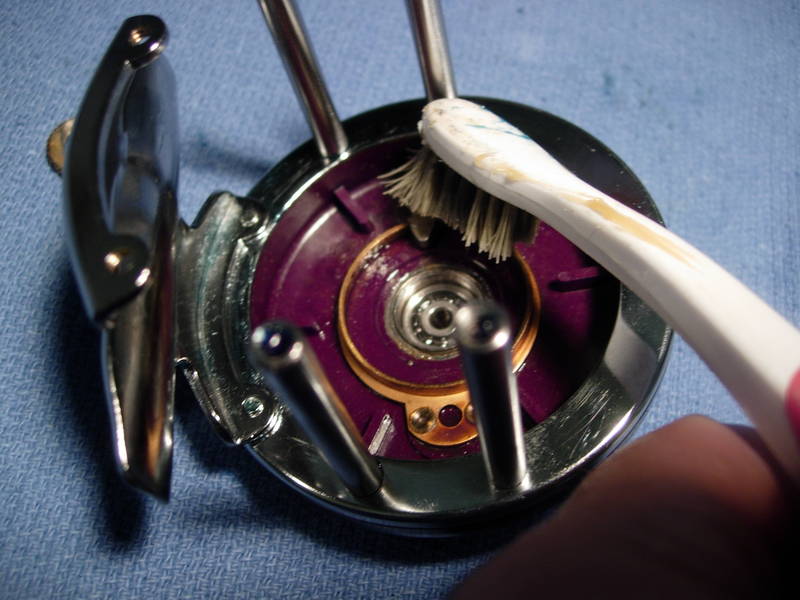
A little on the spool (key #29L) as well.
There. Much nicer!

Remove the right post (key #38) and stand (key #31) screws. Note that they are also of different lengths.
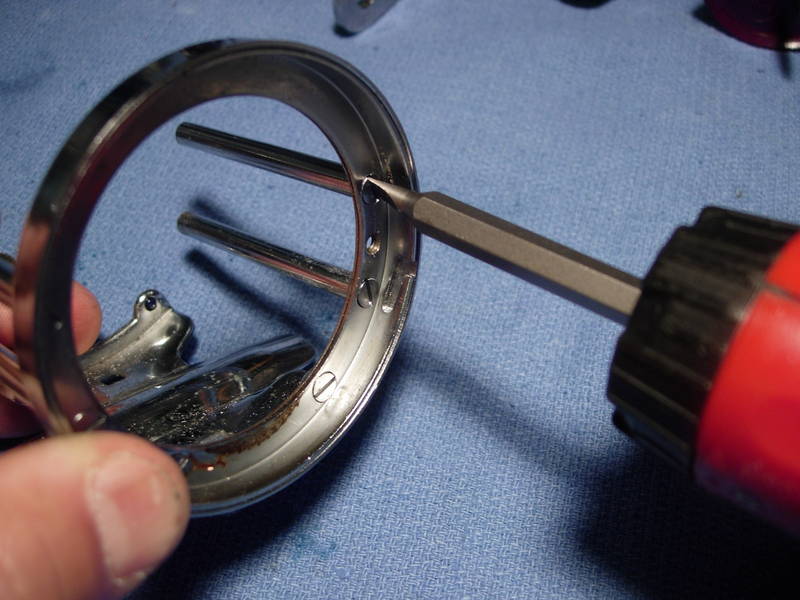
Grease the screw holes and re-install the right side ring (key #2).
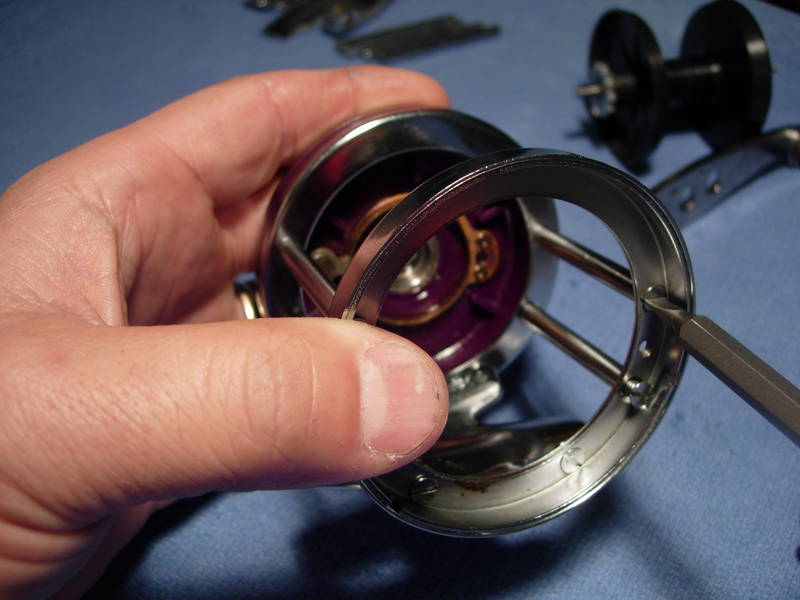
Throw the spool in and set them both aside.

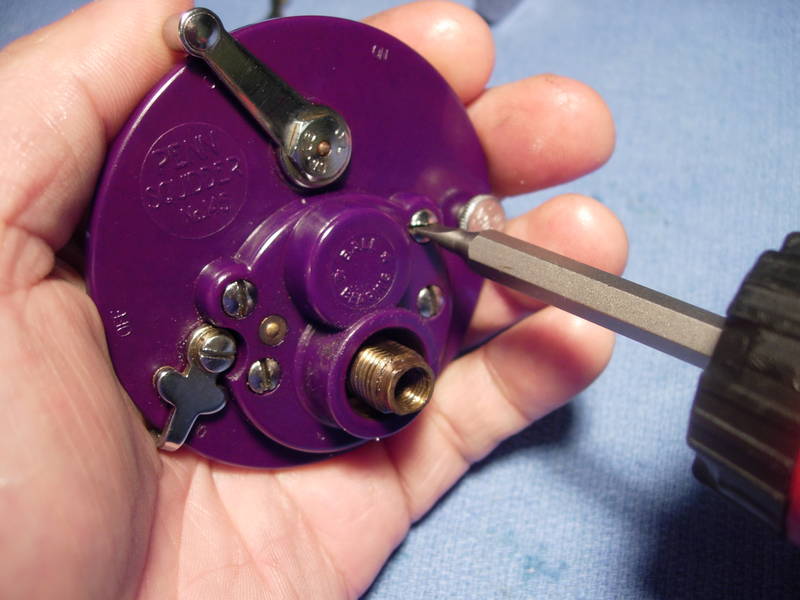
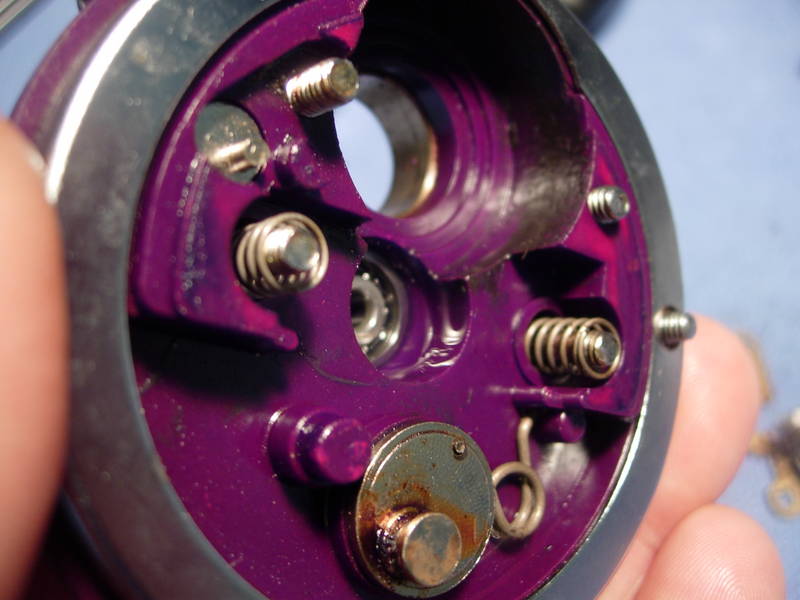
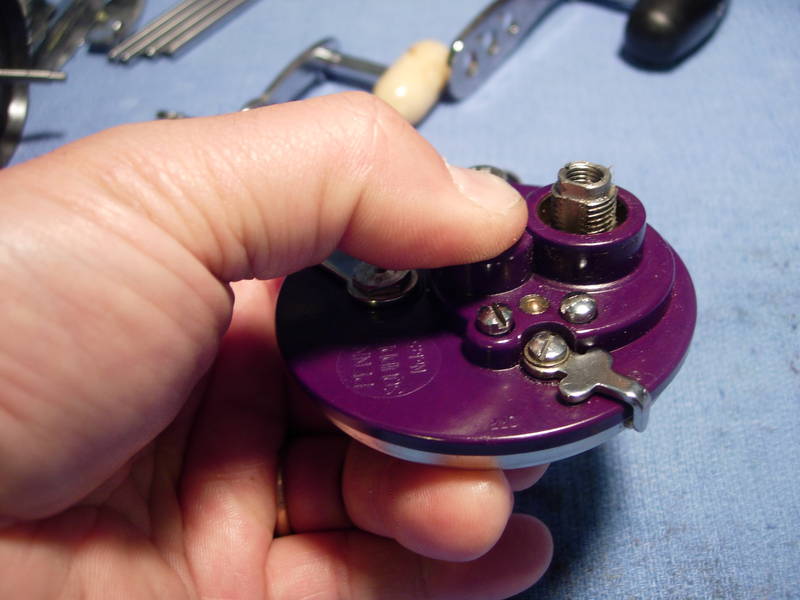
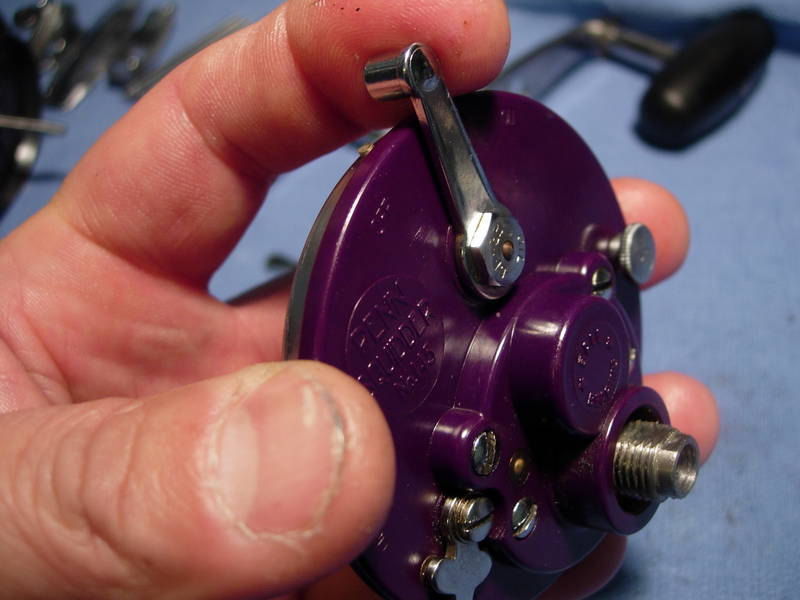
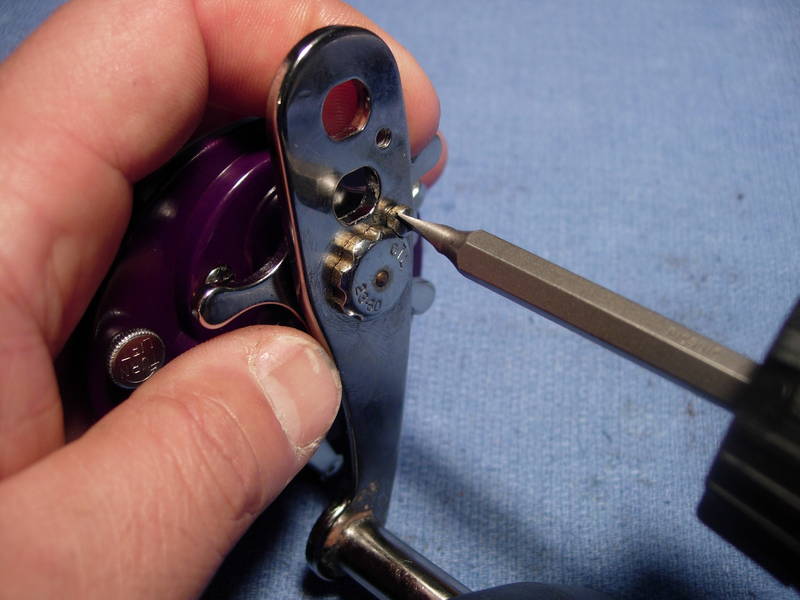
Now for the right side plate assembly. Remove the handle lock screw (key #23a).
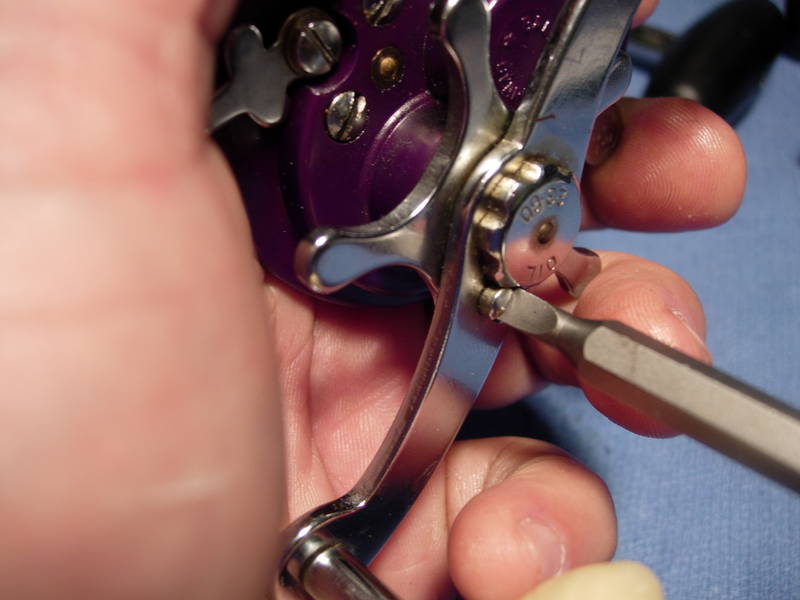
Remove the handle screw (key #23).
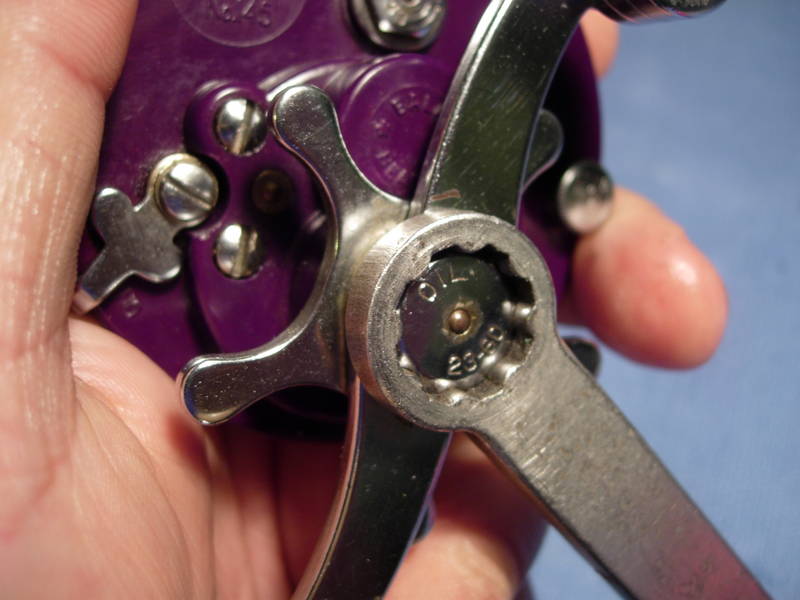
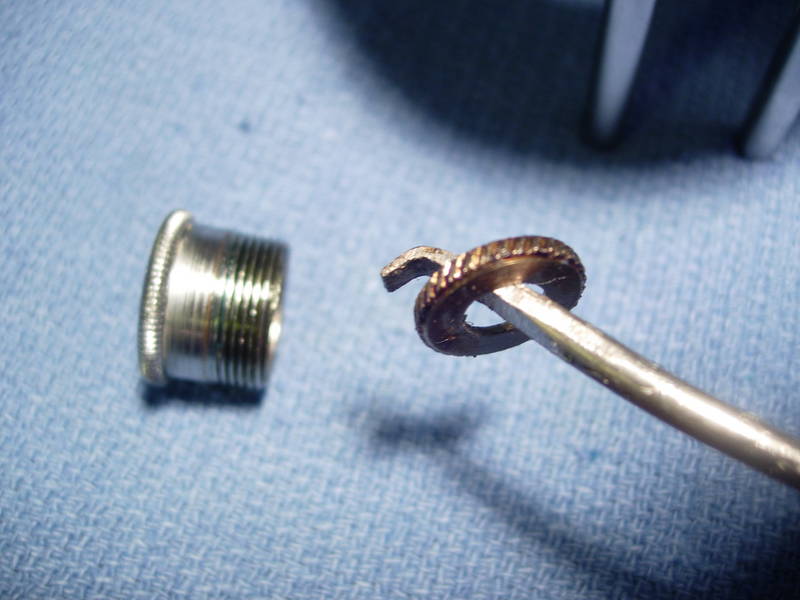
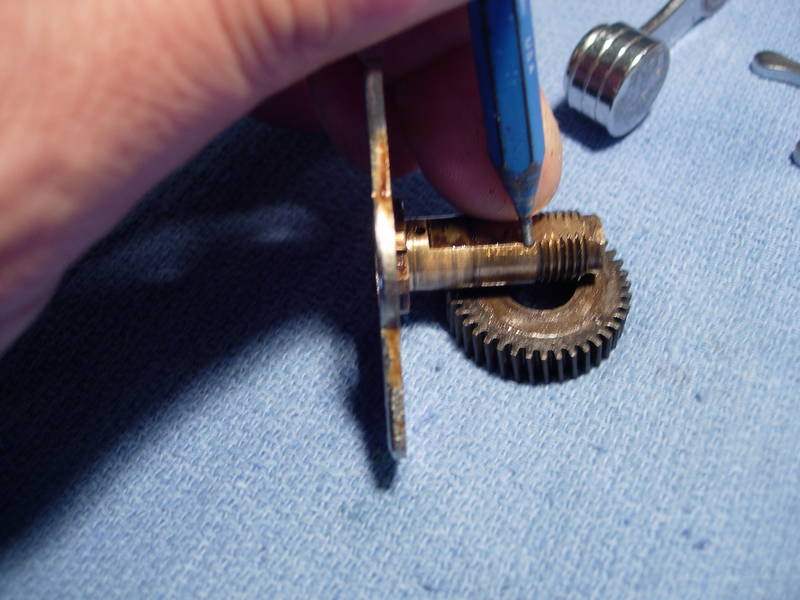
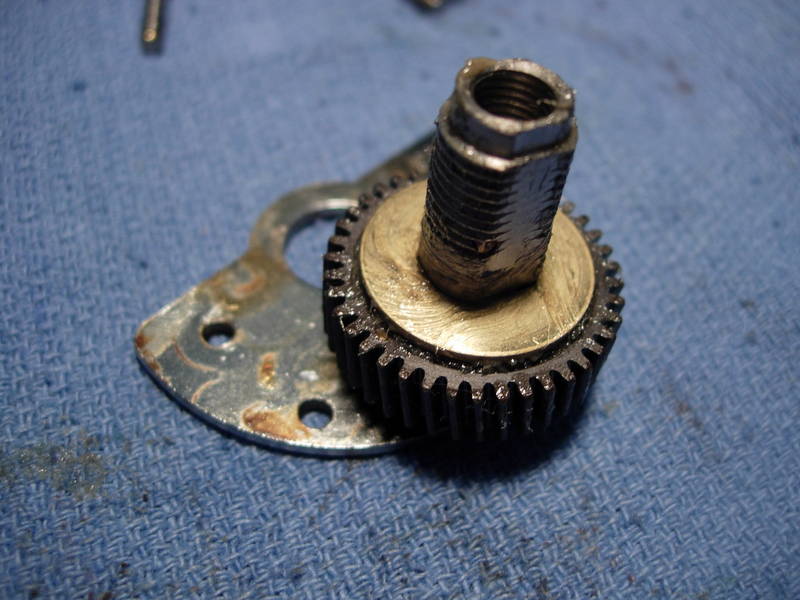
Remove the handle (key #24) and note the damage to the top of the soft brass gear sleeve (key #98).
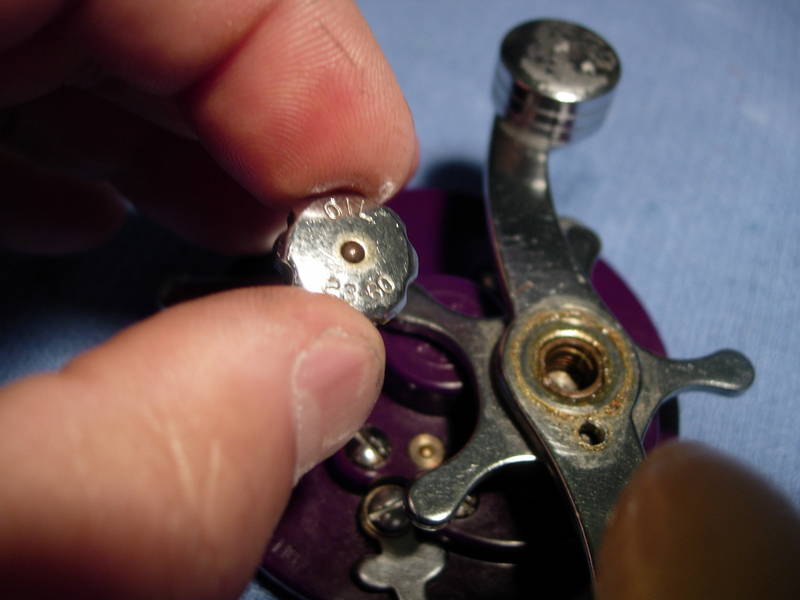
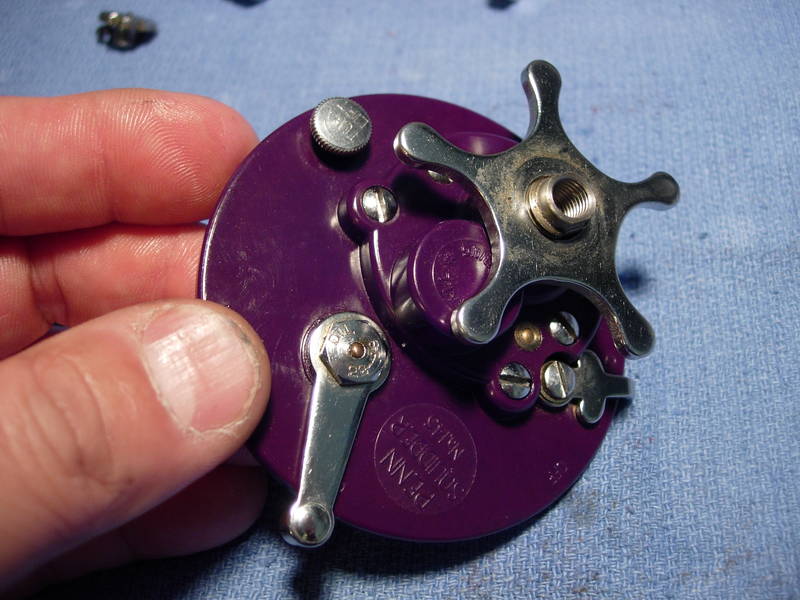
Remove the star (key #10).

Remove the spacing sleeve (key #9).
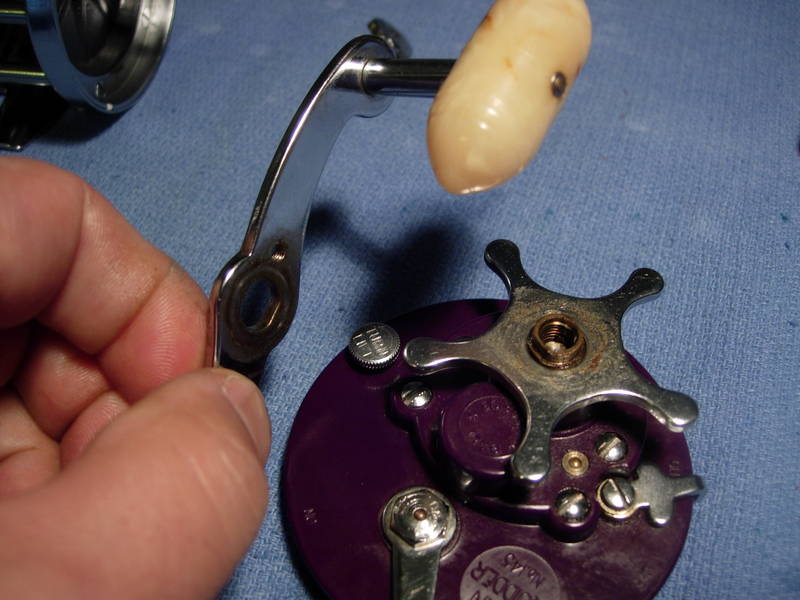
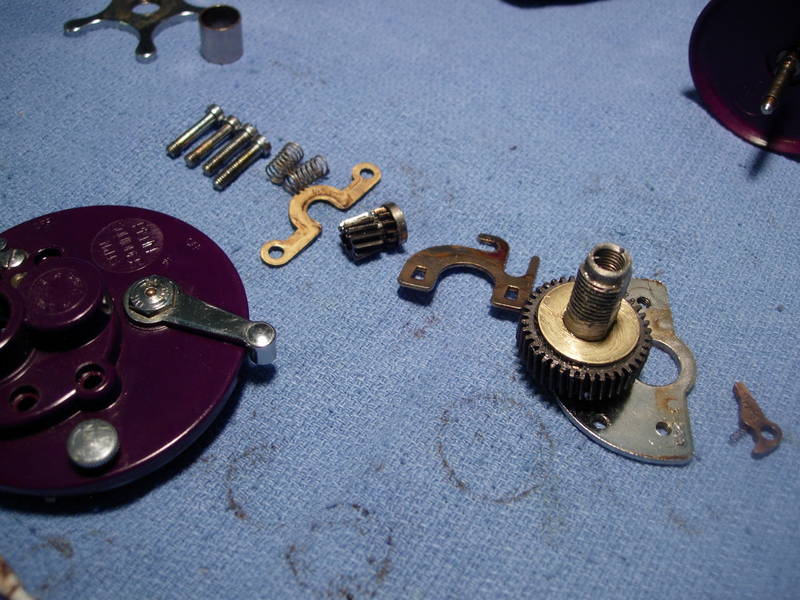
Back out the four bridge screws (key #'s 16 and 17).
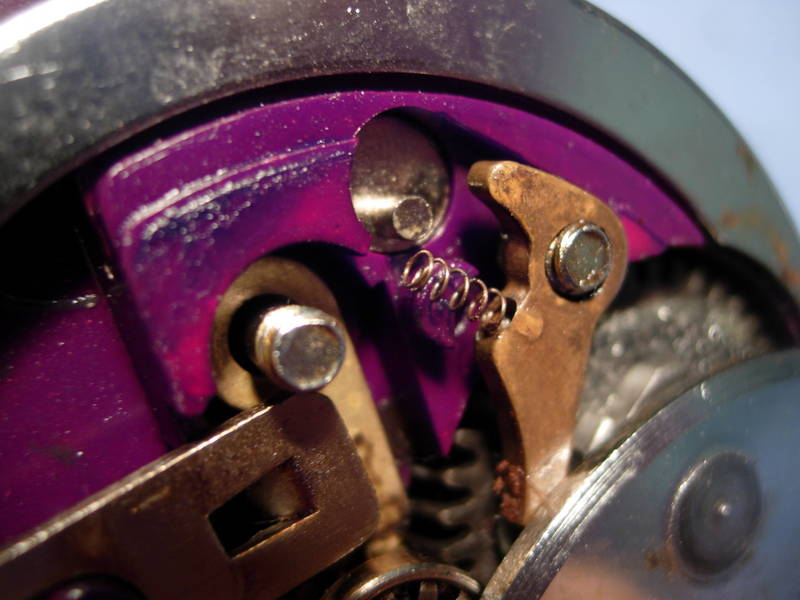
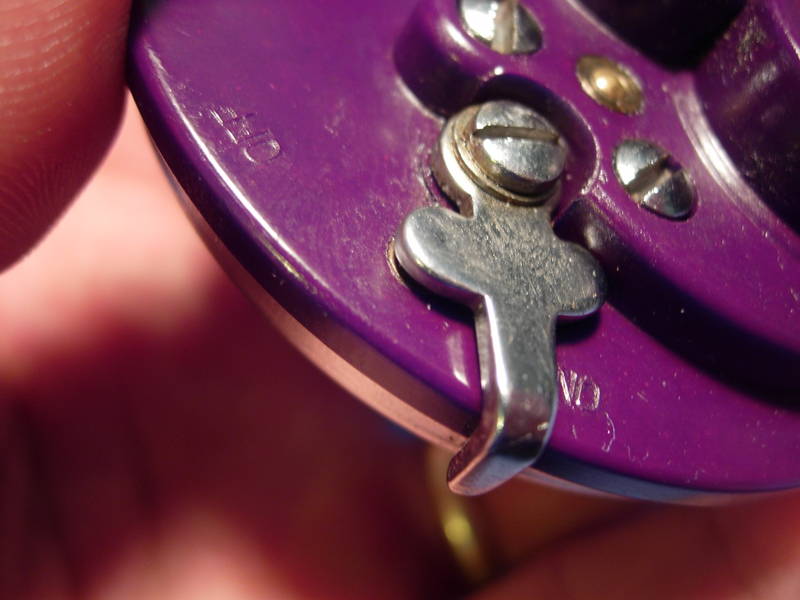
The bridge assembly will drop straight out. Note that the dog and dog spring came with it.
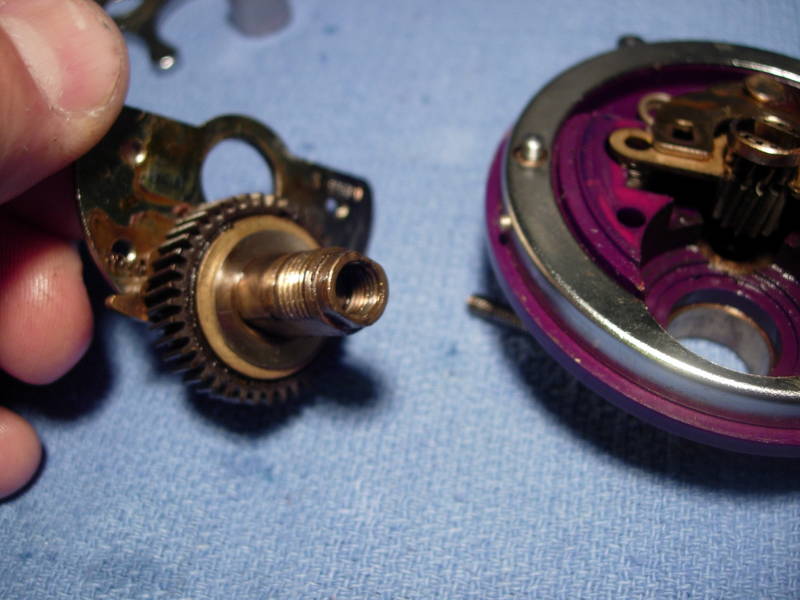
This dog is a little different from the others. It has a hole drilled into it and the spring rests inside making the installion much easier.
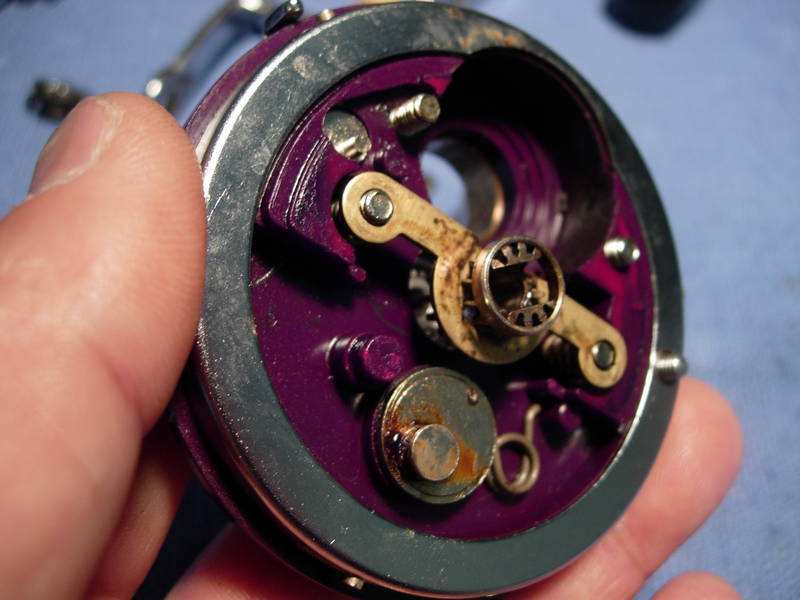
Here's the bridge (key #3) with the main gear (key #5), drag washers (key #'s 4, 6 and 7) and tension spring.
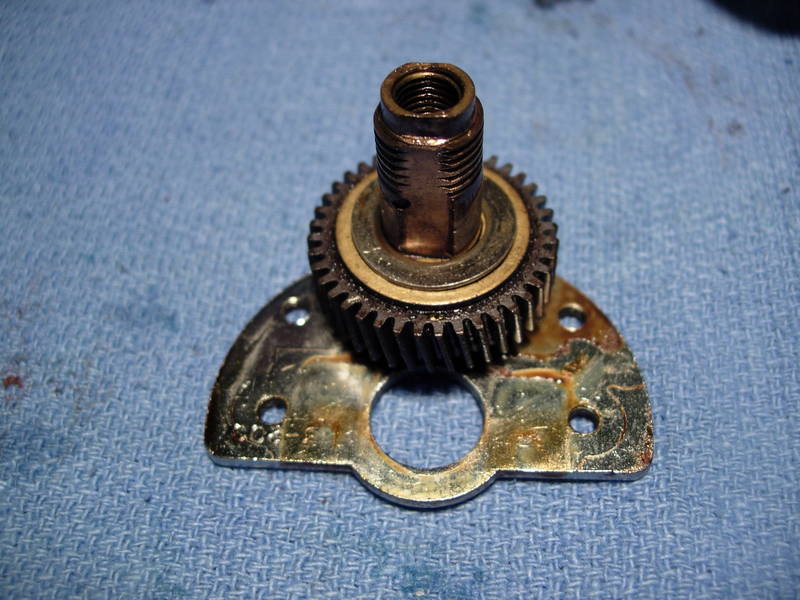
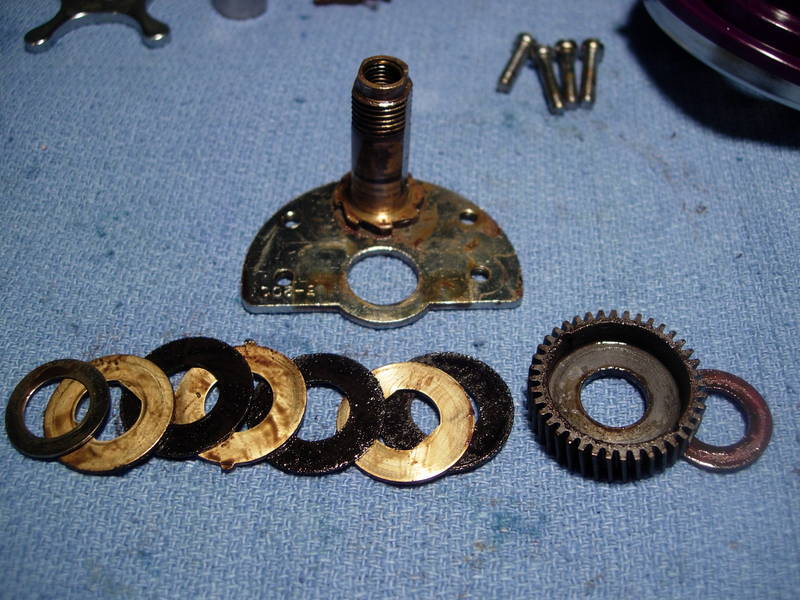
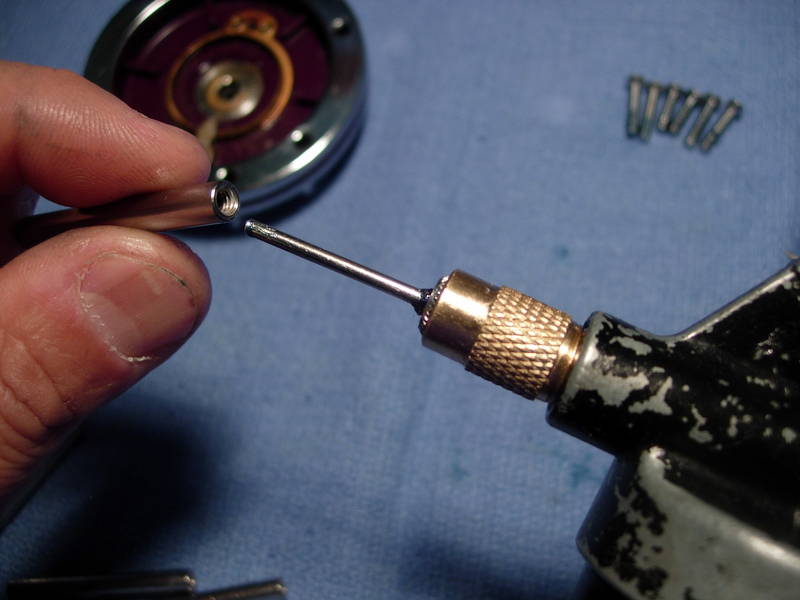
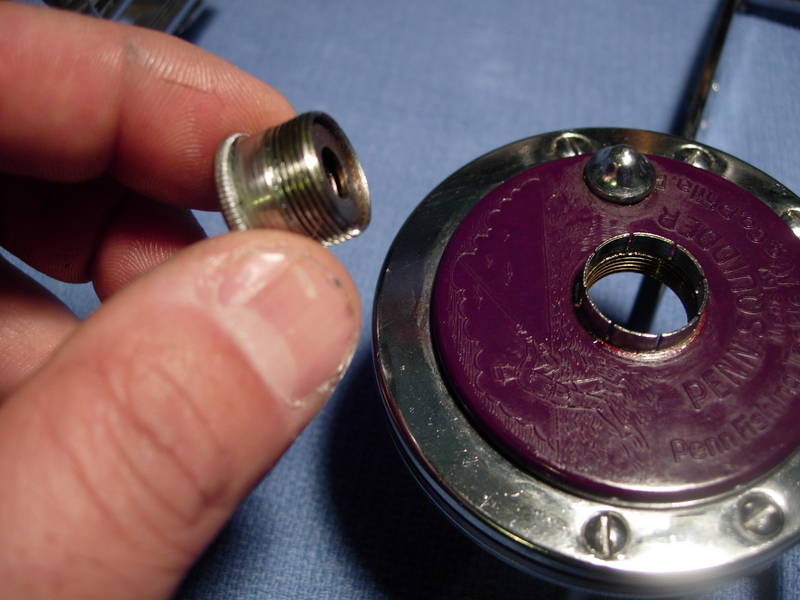
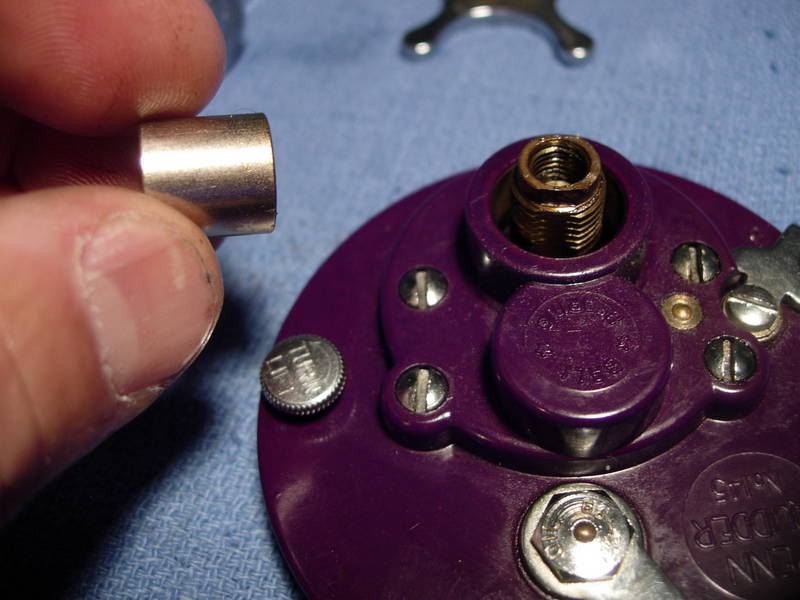
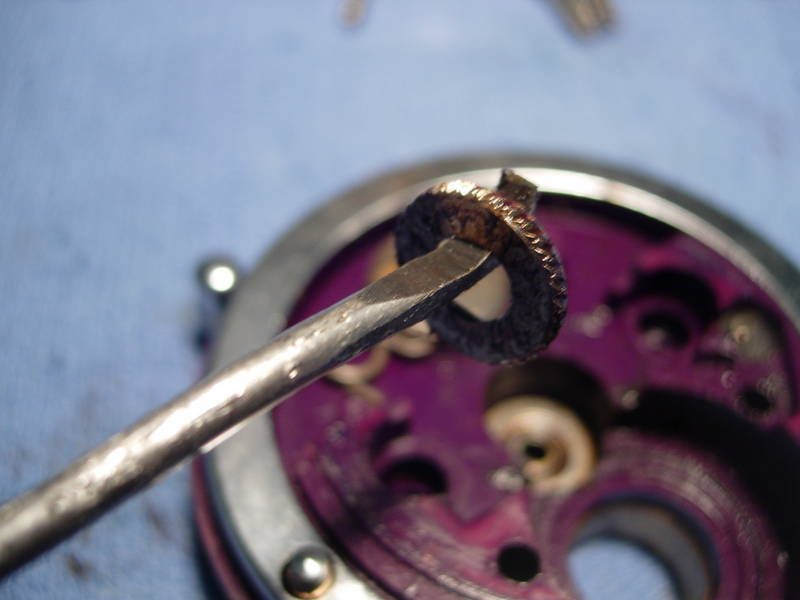
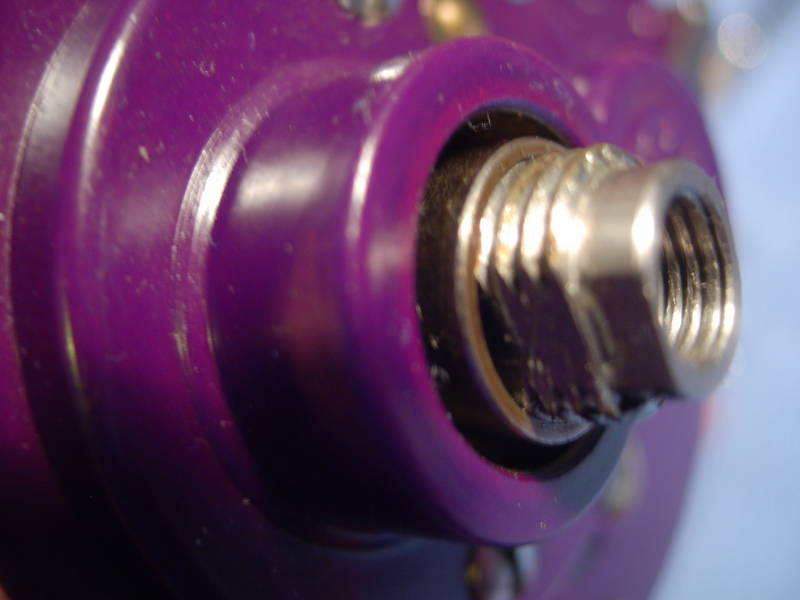
To remove the brass gear sleeve (key #98), push (or punch) out the retaining pin.
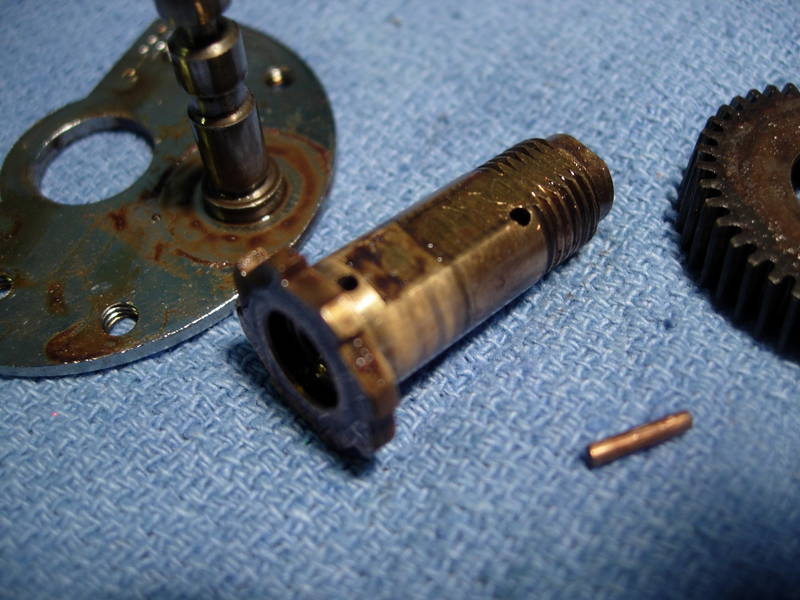
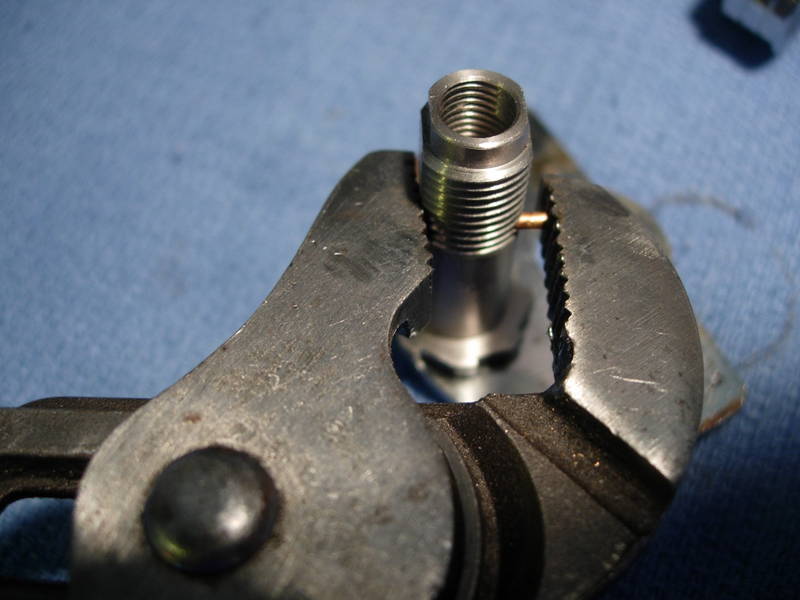
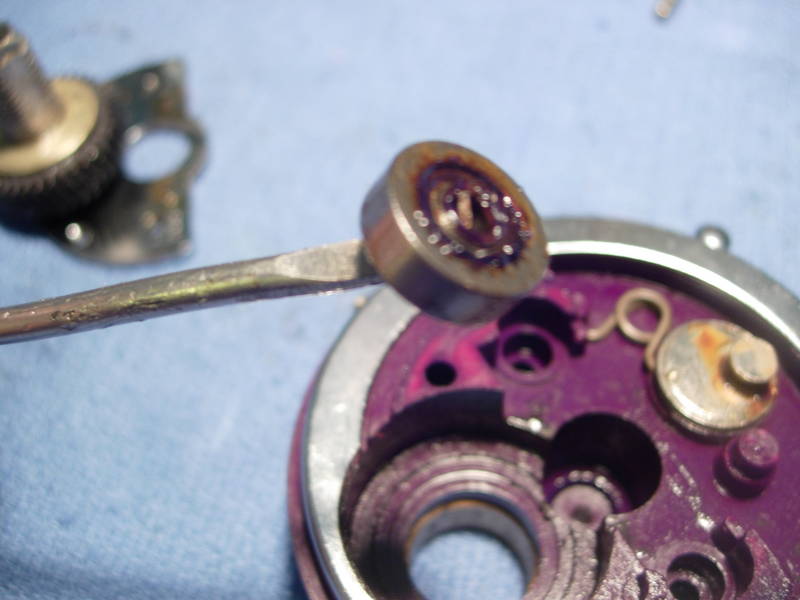
Install the new stainless steel gear sleeve and the retaining pin. Sometimes the pin sticks out a little. Just file it flat and the main gear should be able to slide over with no trouble.
The first washer that goes under the main gear is a #6-113. A generous coat of cal's drag grease works well here.

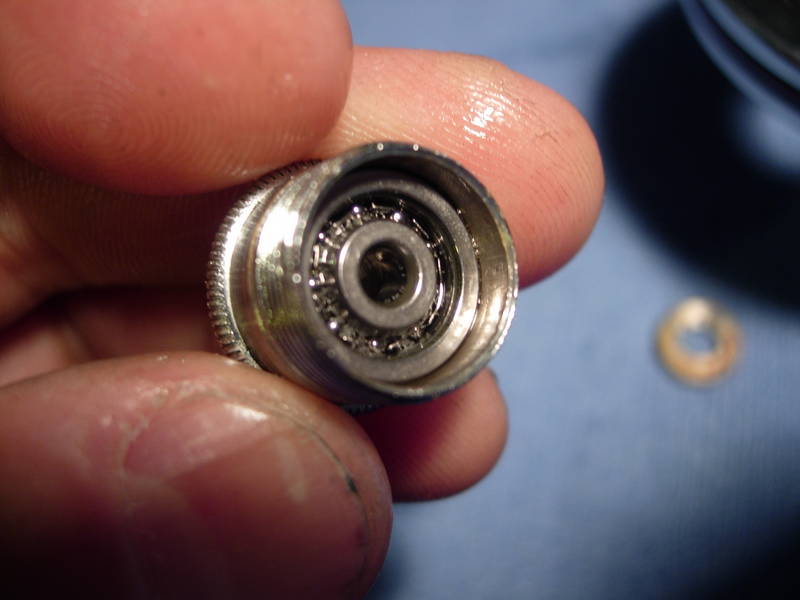
Rebuild the gear stack with a generous coat of drag grease on all of the drag washers. Don't worry about the excess. It will simply squeeze out the sides. Note that we will also be discarding the tension spring (key #8). The extra thickness of the #6-113 drag washer underneath the main gear means that there is no room for the tension spring.
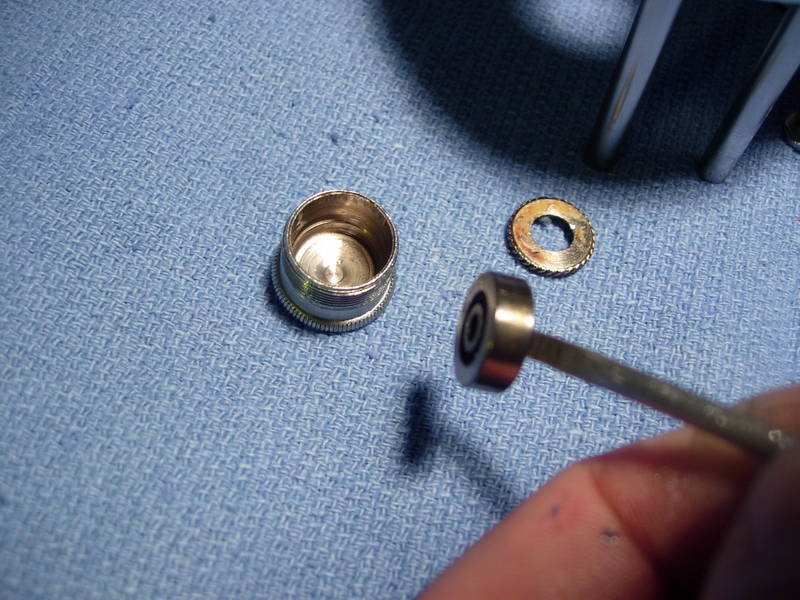
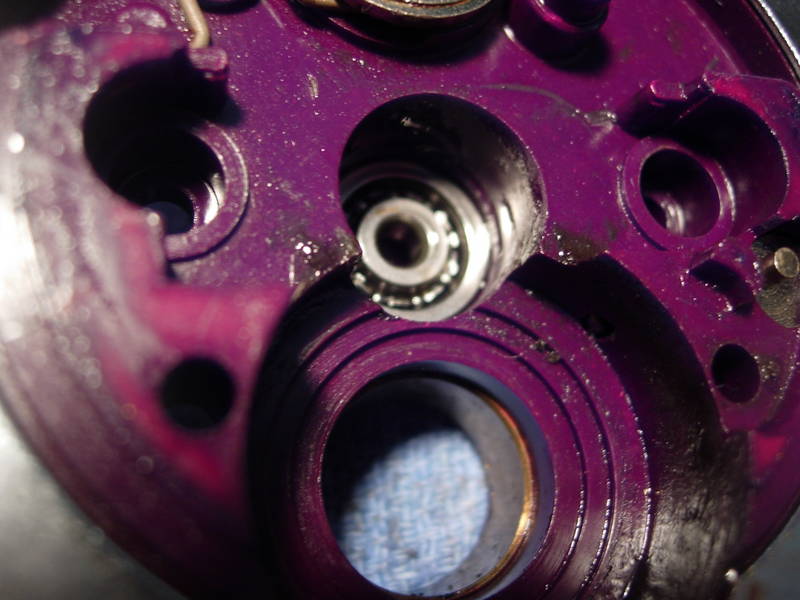
Now for the right side plate bearing.

Our handy dandy bearing pulling tool will remove the bearing cover.
It will also remove the bearing (key #26).
This bearing was rusted as well. This new bearing is also a 0.125 x 0.5 x 0.172.
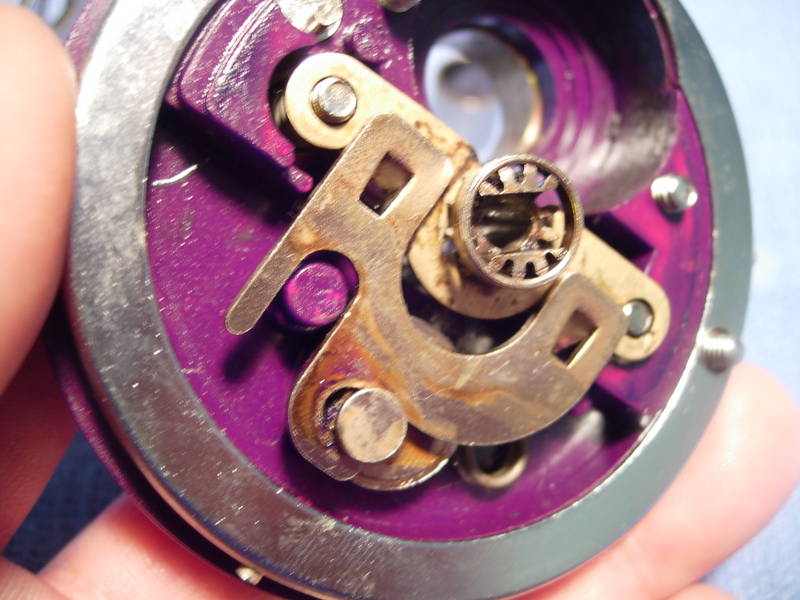
Let's line everything up.
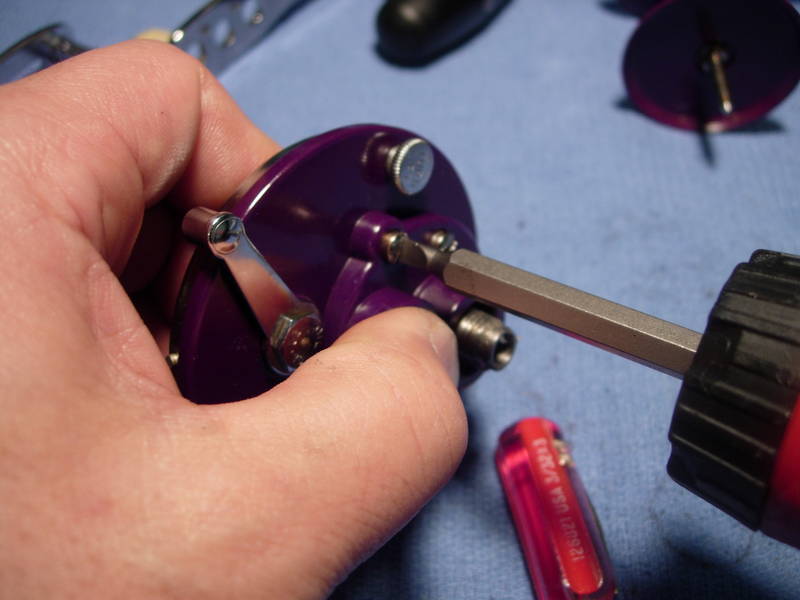
First, install the bridge screws (key #'s 16 and 17). Note that the screws that are threaded just at the tip go on top.
Your left index and middle finger cover the bridge screws. The right side plate (key #1) is held between your left thumb and ring finger.
NOTES BY MizMo: Easier than holding the screws in place with your fingers.
Using removable scotch tape (Magic Tape), tape over the bridge screws on the outside to hold them. This frees up your hands to work on the inside parts. MUST be removable tape.
Now you can flip the side plate over with no risk of having the screws fall out.
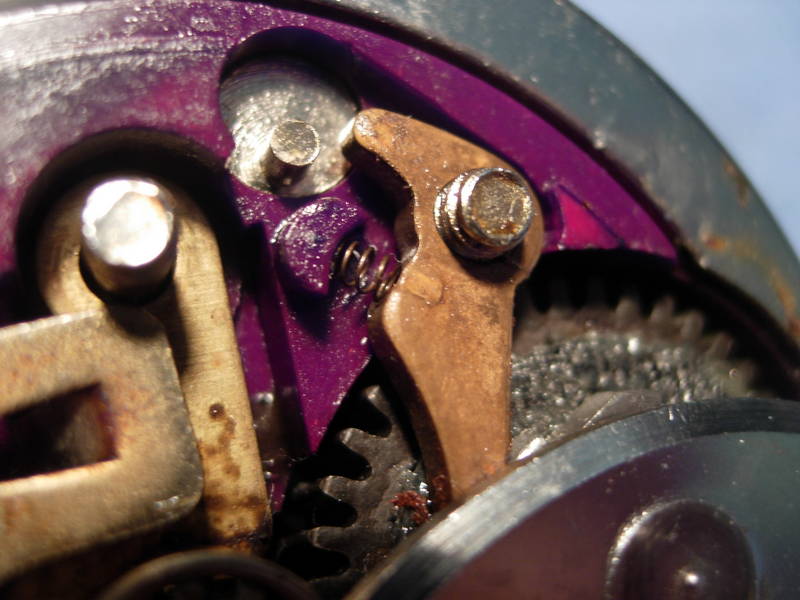
Install the clutch springs (key #18).
Install the pinion yoke (key #12) and pinion gear (key #13) as a unit.
Install the eccentric jack (key #11).
Install the bridge/main gear assembly, turned 90 degrees counterclockwise from it's final position.
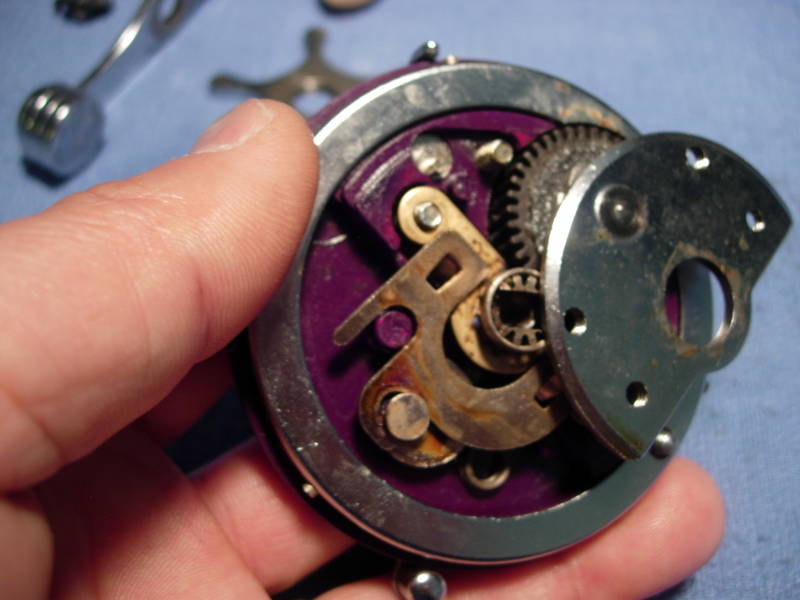
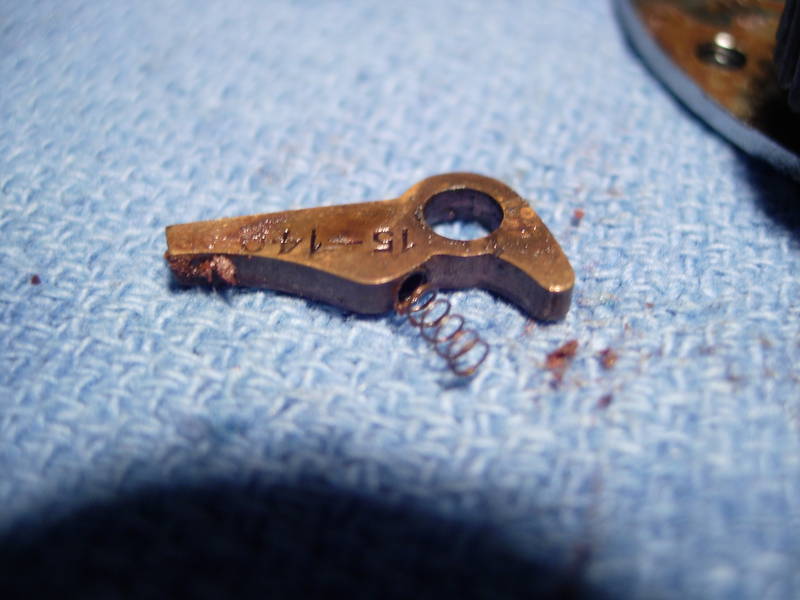
Install the dog (key #15) and dog spring (key #14) as a unit. Lay it down over the bridge screw and note that the dog spring sticks out too far.
NOTES BY MizMo: Here is another place where removable tape can help you.
Using removable scotch tape (Magic Tape), tape over the dog and spring once you have them positioned. Then when you rotate the bridge into position, gently slide out the tape. MUST be removable tape.
Press down on the bridge assembly with your left thumb. Use the blade of a small flat screwdriver to push the dog spring down into it's final position.

Rotate the bridge assembly 90 degrees clockwise and push it down into it's final position.

With a right hand assist, flip the right side plate assembly over.
Start each bridge screw half way, then cinch down each screw until they are snug.
Verify that the freespool lever (key #21) works properly.
Verify that the secondary freespool lever (key #21C) functions properly. This lever allow the handle to turn backwards by disengaging the dog.
Install the spacing sleeve (key #9).
Install the star (key #10).
Install the upgraded handle (key #24). add a light coat of grease.
Install the handle screw (key #23).
Install the handle lock screw (key #23A).
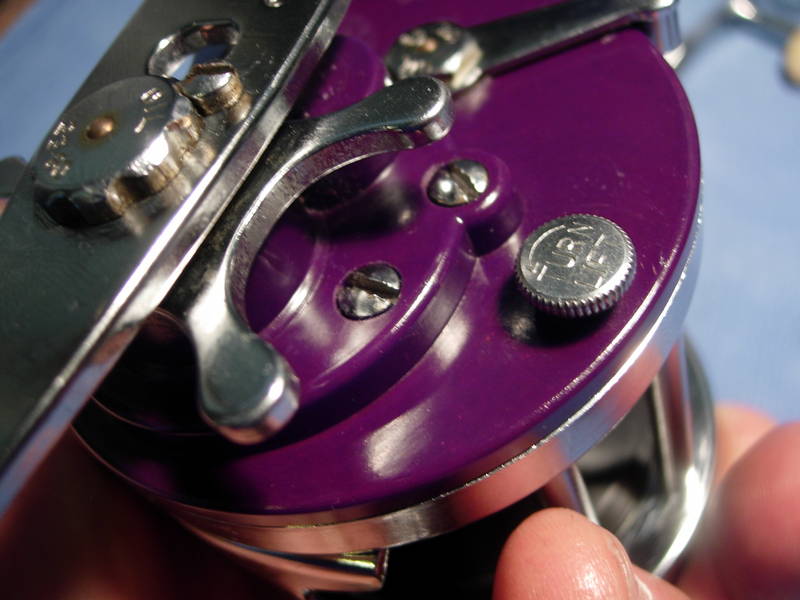
Press the right side plate assembly down into the right side ring (key #2) until it seats, turn the right side plate assembly clockwise until the take apart thumb screw (key #41) lines up with the threaded screw hole, and turn the thumb screw down until it seats.
Congratulations! you're done!
Copyright © Alan Tani Reprinted with permission of the author.
Order parts online for this reel(s):
https://www.mysticparts.com/PennParts/Conventional.aspx#Squidder
0 Comments