 Copyright © Alan Tani Reprinted with permission of the author.
330GT Parts and Schematic: https://www.mysticparts.com/PennParts/Penn330GTi.aspx
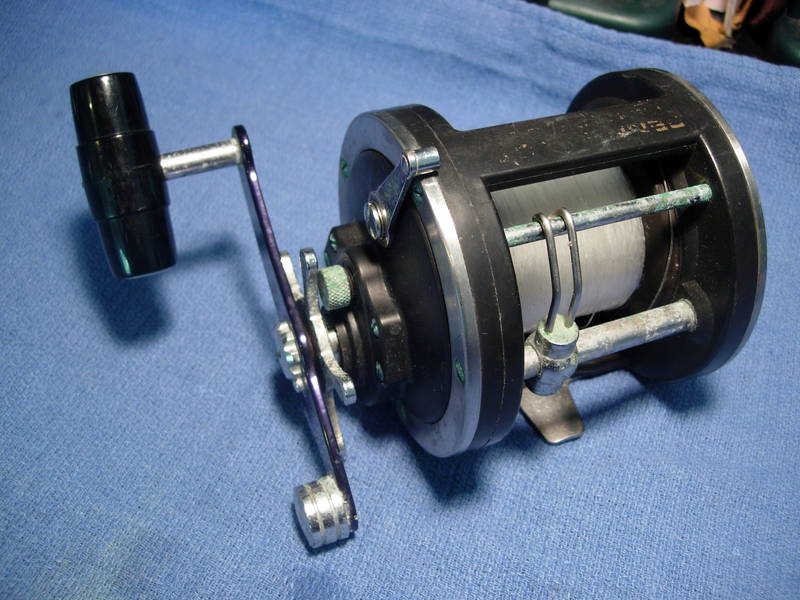
the penn 330 gti is simply the bigger brother of the 320 gti with the same spool as the 3/0 sized penn 112h. it has all the same advantages, and disadvantages, of the penn 320 gti. the only real difference is the larger frame and spool.
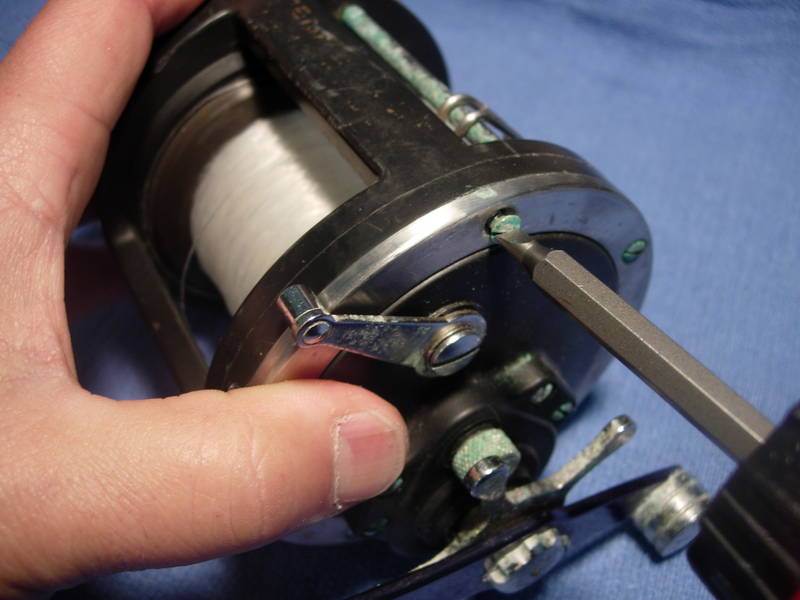
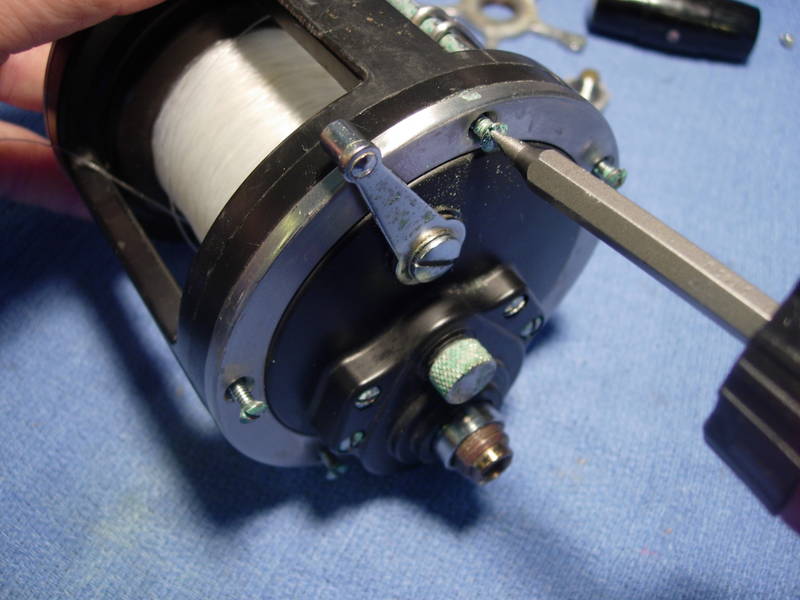
to remove the right side plate assembly (key #1), remove the right side plate screws (key #32).
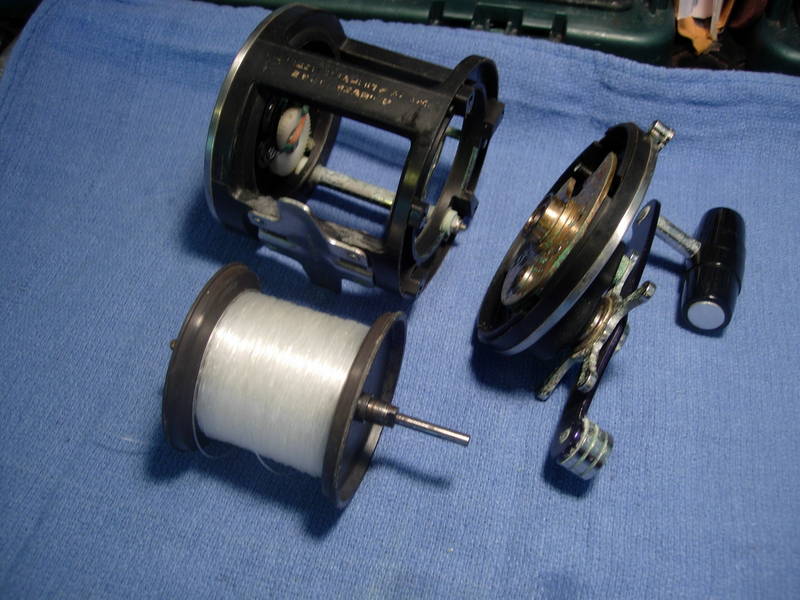
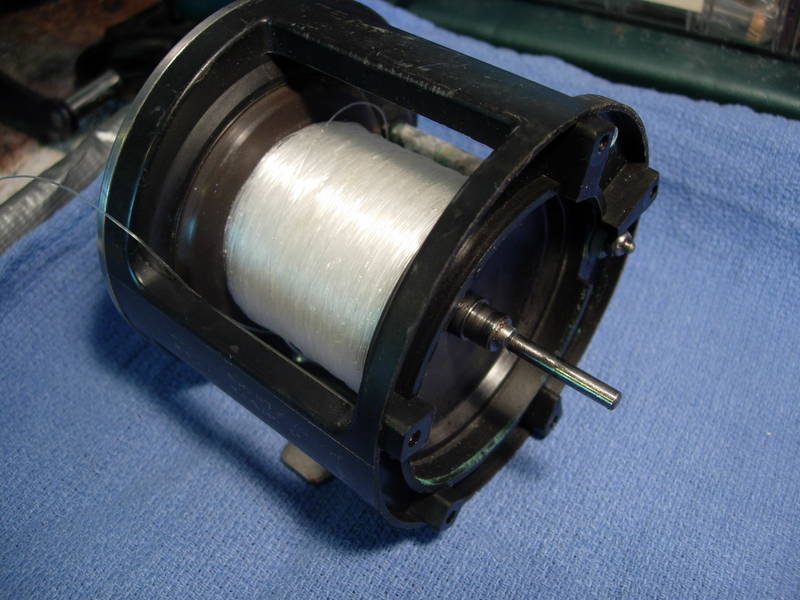
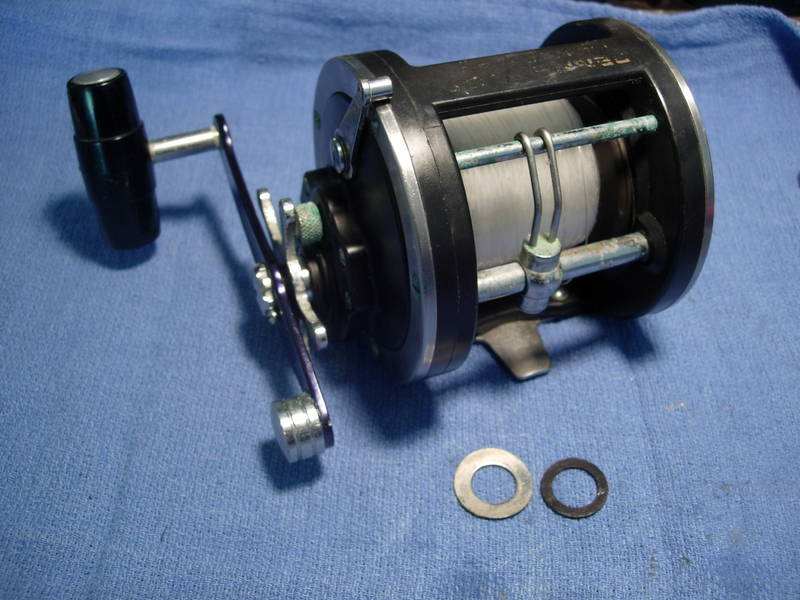
the reel breaks down into three pieces, the frame assembly (key #183), the spool (key #29L) and the right side plate assembly (key #1).
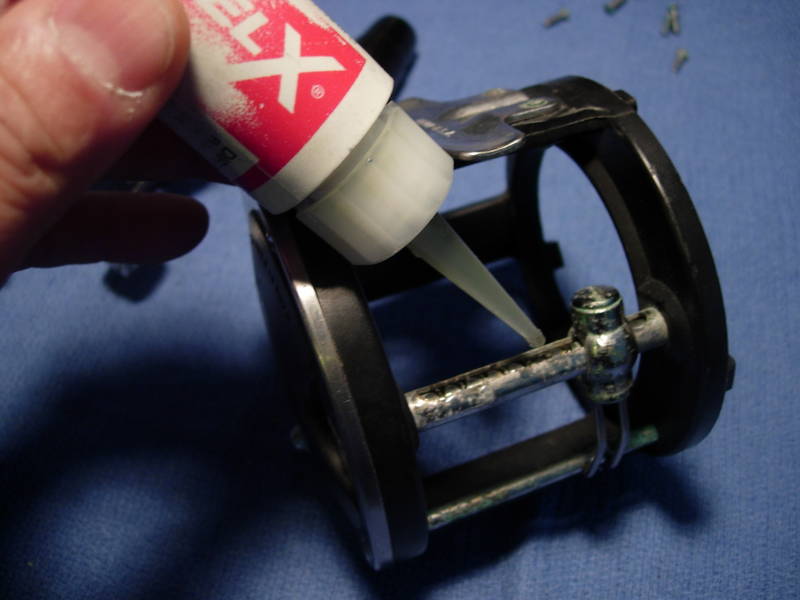
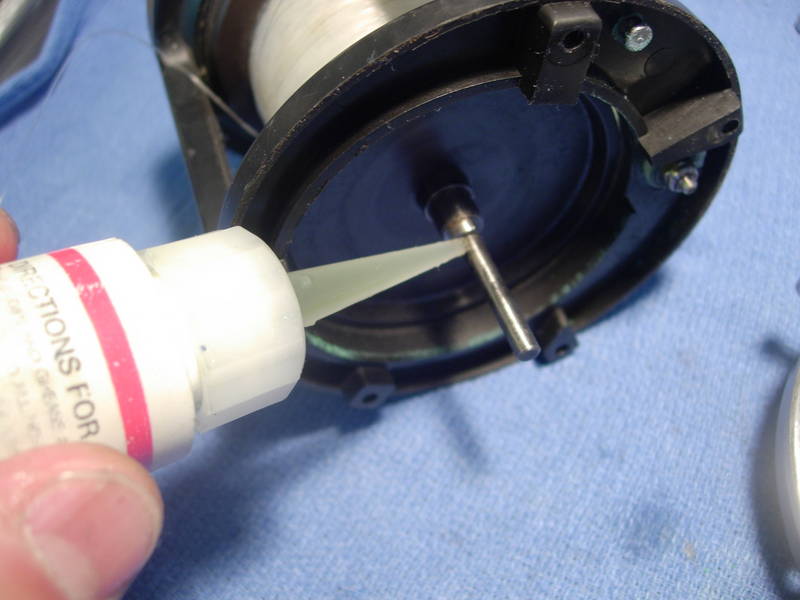
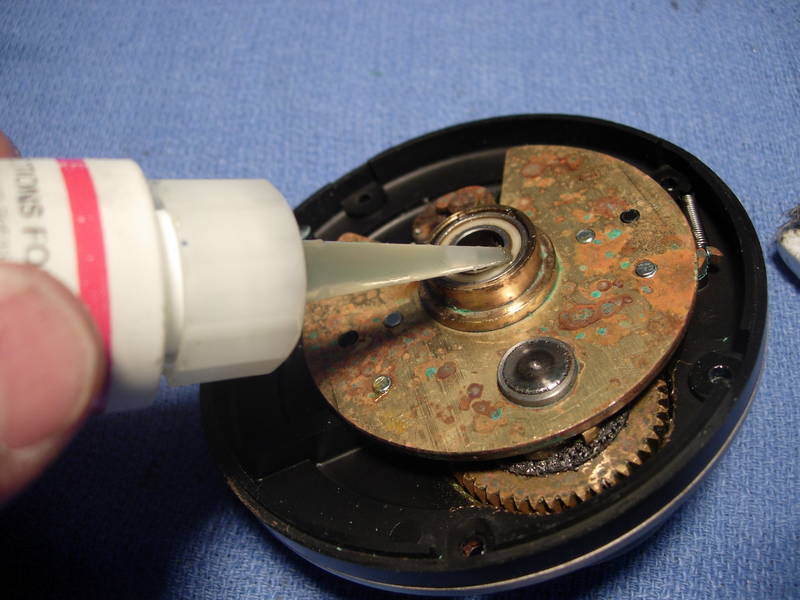
lube the left side plate bearing (key #40).
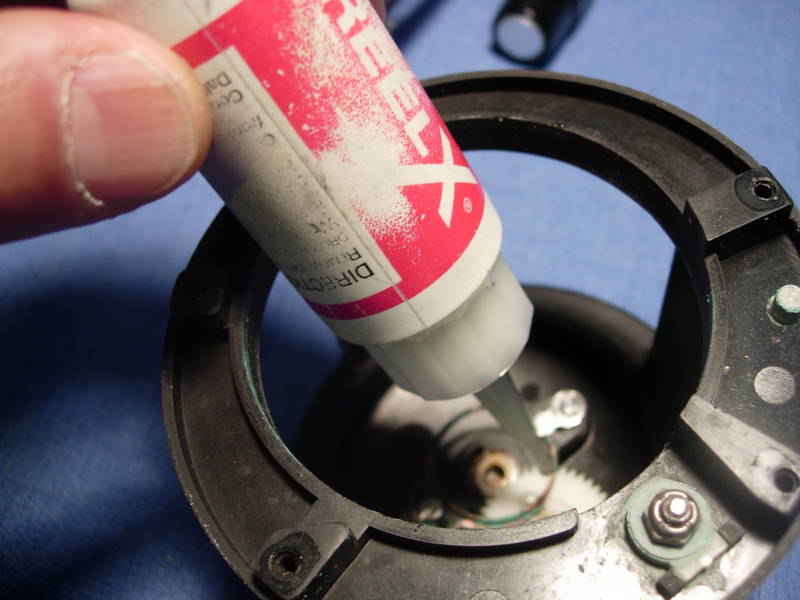
lube the worm (key #42) in the levelwind assembly.
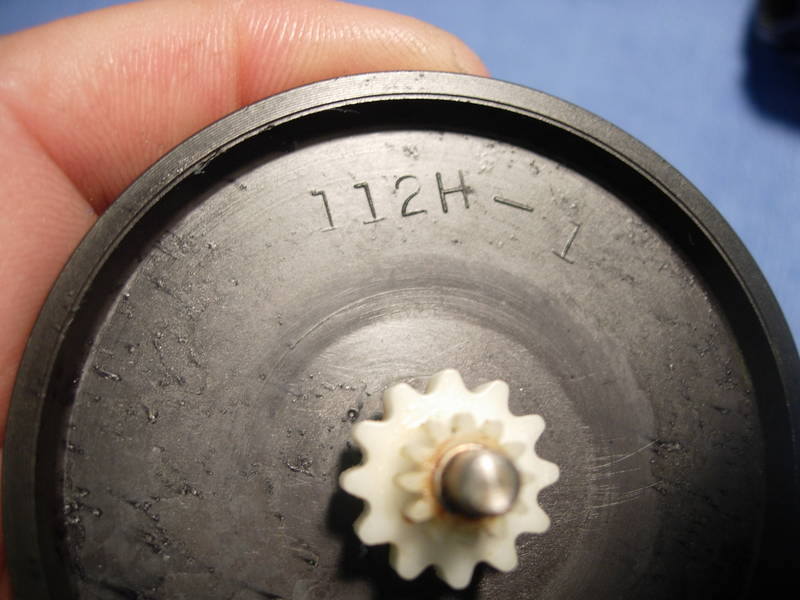
here's a look at the spool (key #29L). it is a 112h spool on a different spool shaft.
put the spool (key #29L) back in the frame assembly (key #183) and set it aside.
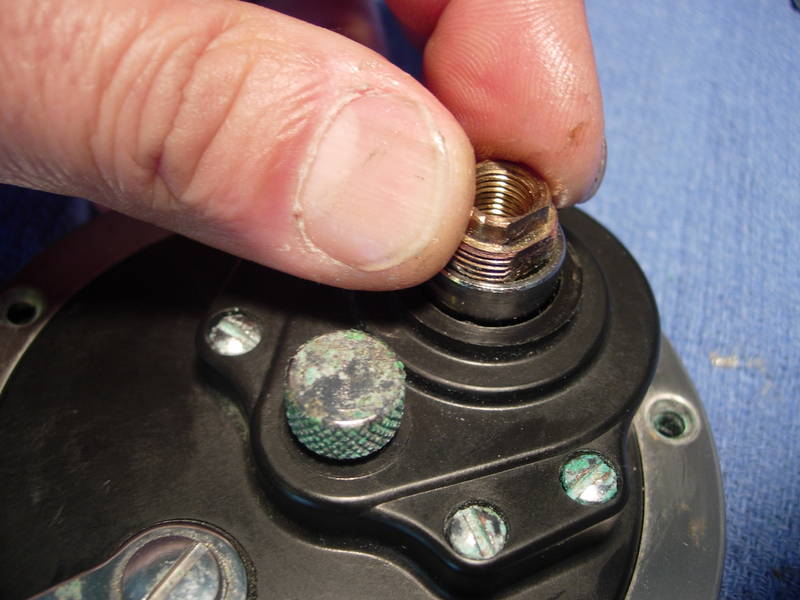
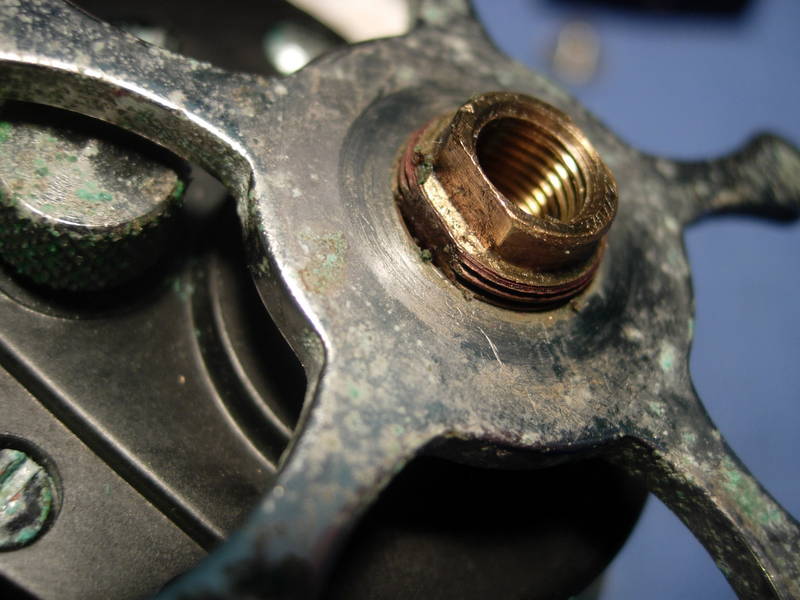
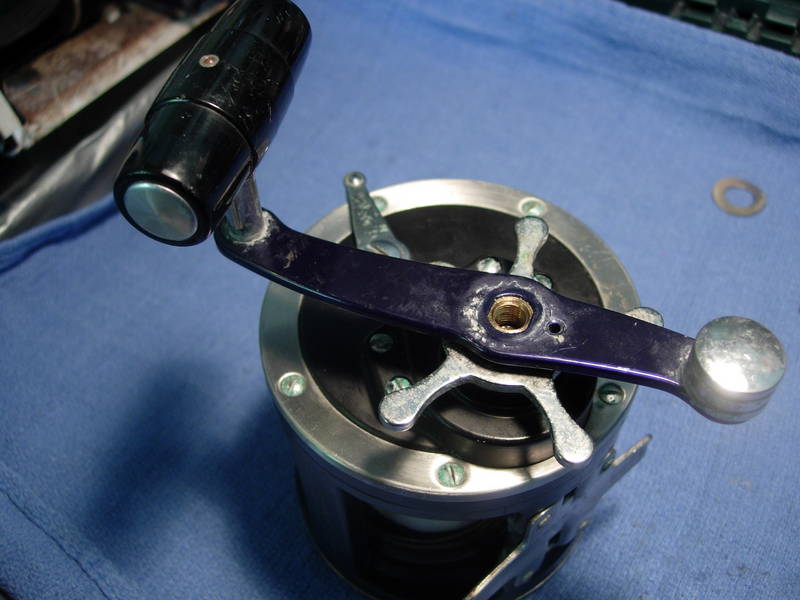
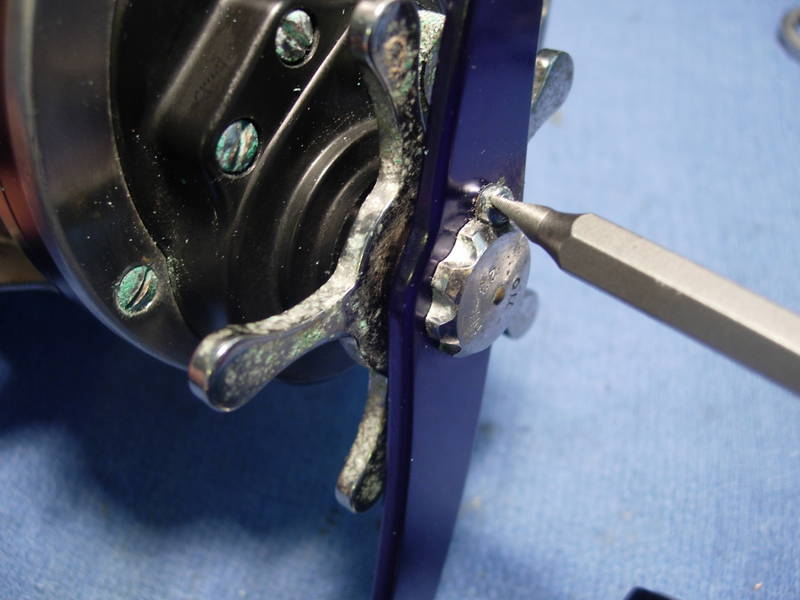
now for the right side plate assembly (key #1). remove the handle lock screw (key #23A).
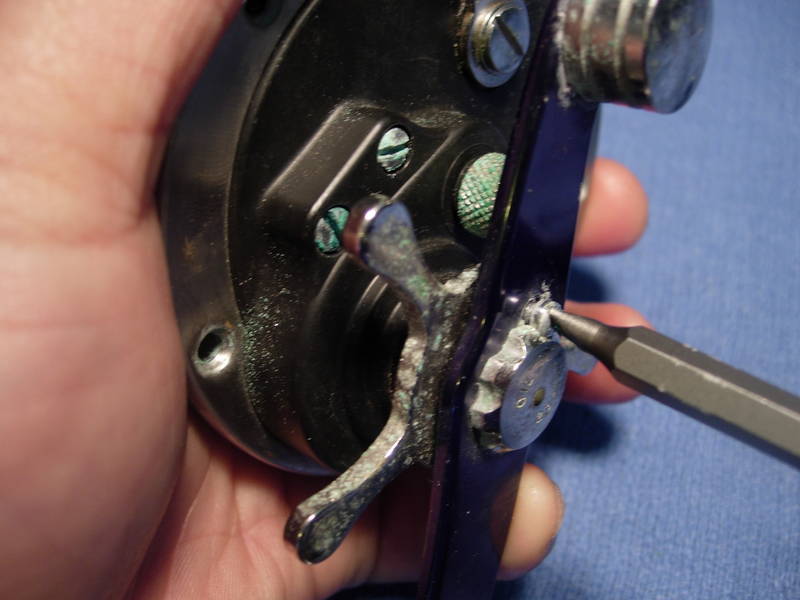
remove the handle assembly screw (key #23).
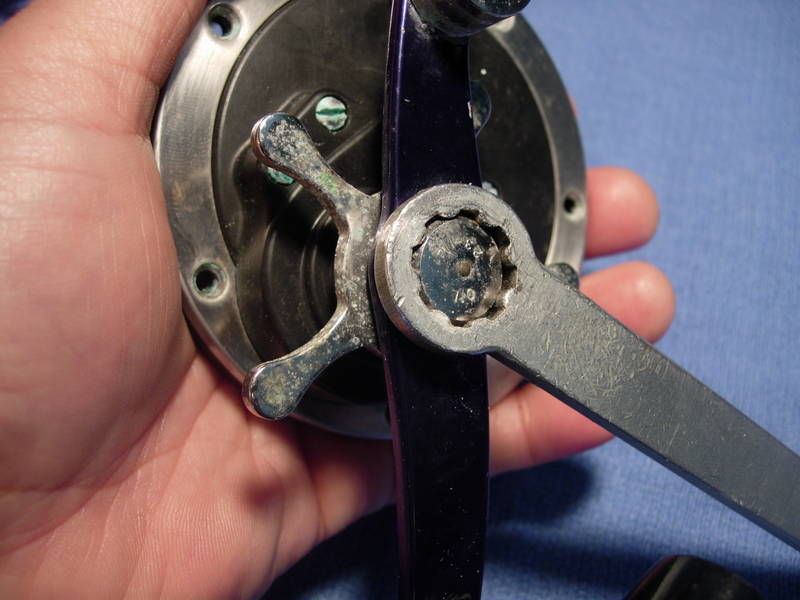
remove the handle assembly (key #24).
remove the star drag (key #10) and tension spring (key #8). i typically discard the tension spring at this point.
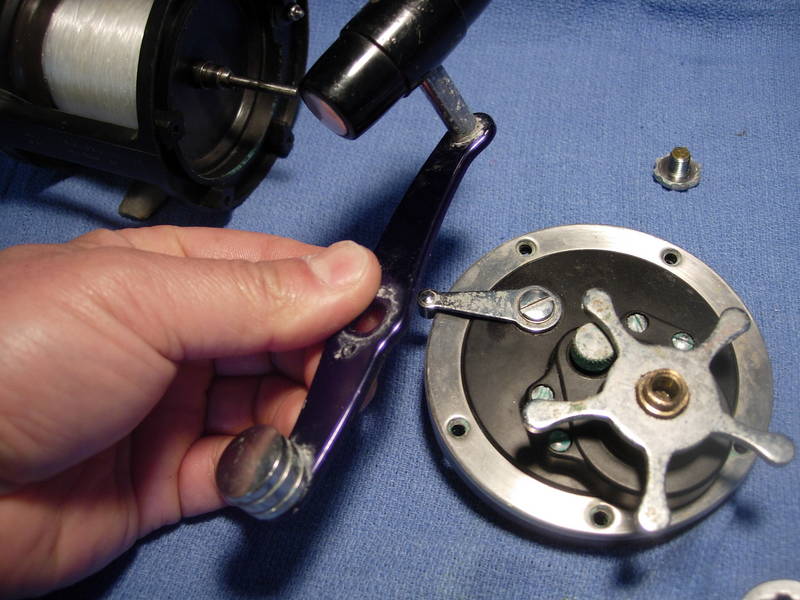
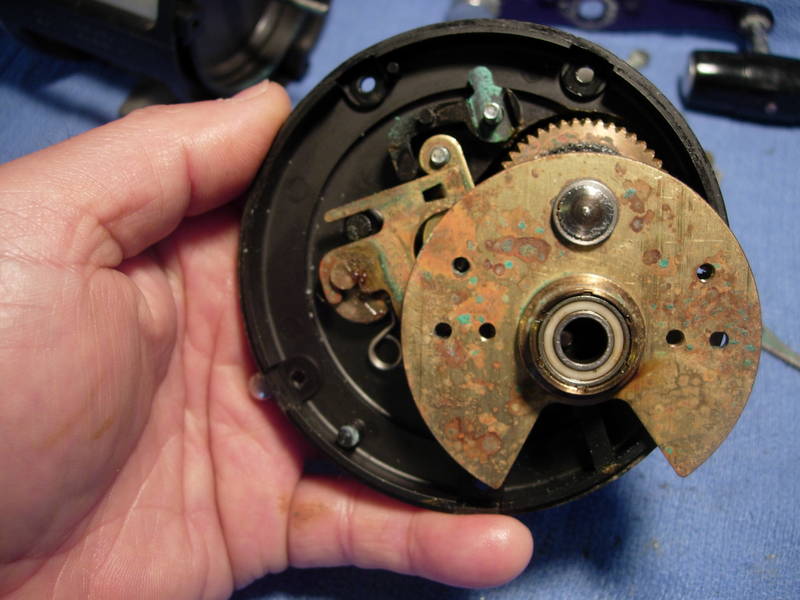
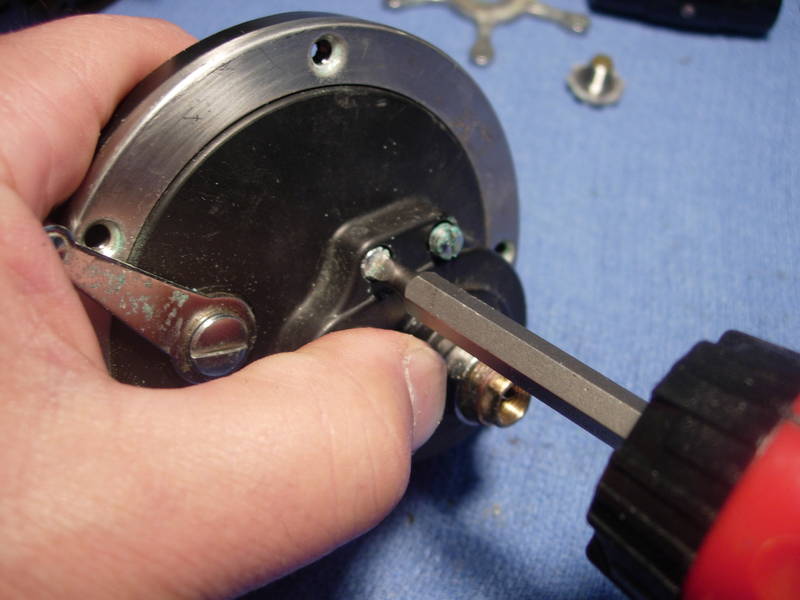
push the eccentric lever assembly (key #21) forward and into gear, then back out all four bridge screws (key #'s 16 and 17) and leave them all in place.
the bridge assembly (key #3) will fall out easily, so catch it without turning the right side plate (key #1) upside down.
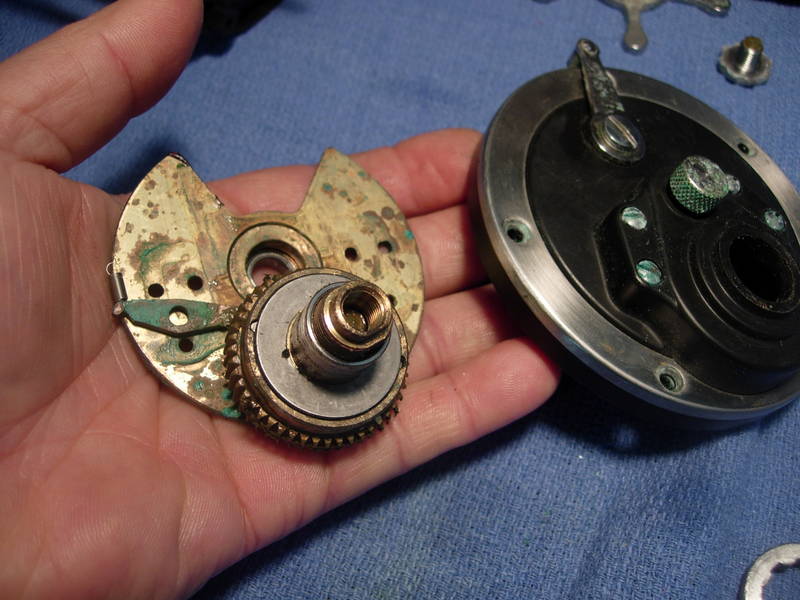
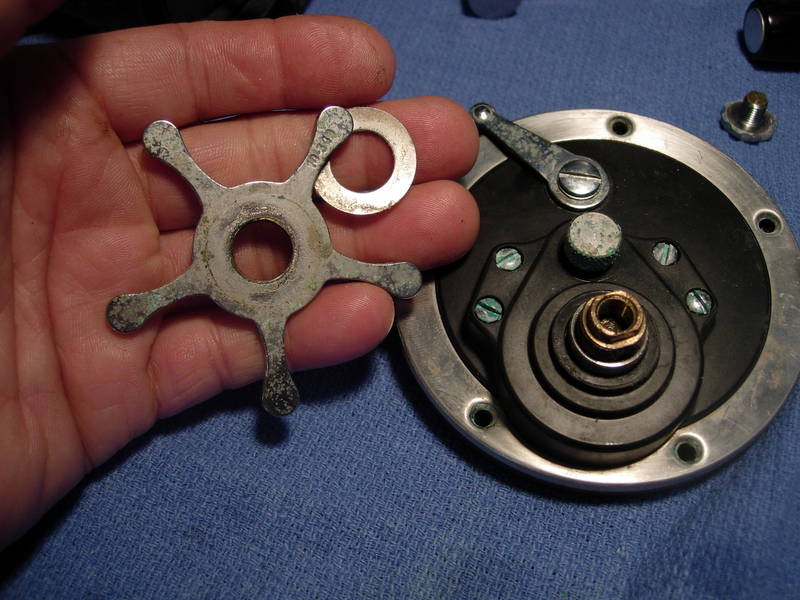
here is an exploded view of the bridge assembly (key #3) and main gear clustger (key #5).

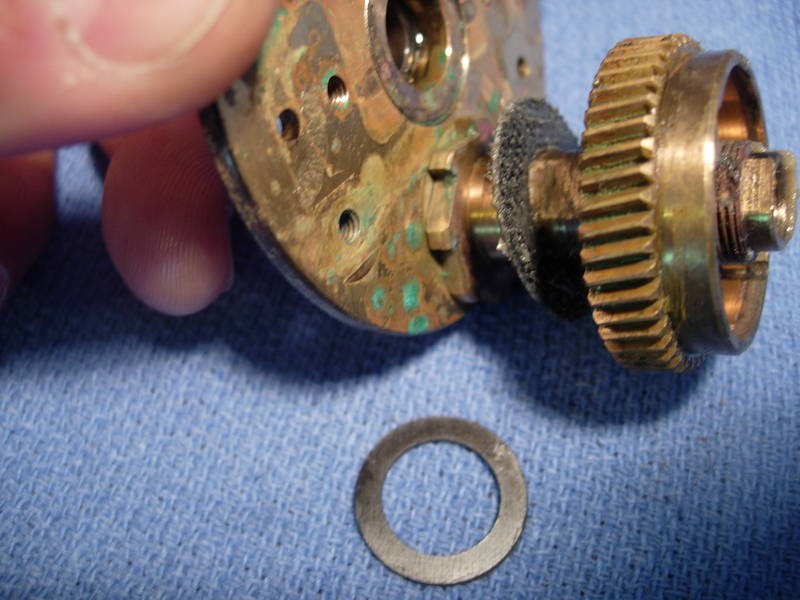
we're going to switch out the fiber washer (key #4) for a drag washer (penn part #6-875).

grease the drag washer (part #6-875).

rebuild the drag stack, starting with the #6-875 washer underneath the main gear.
slap a thick coat of drag grease on all the other carbon fiber drag washers and rebuild the drag stack.

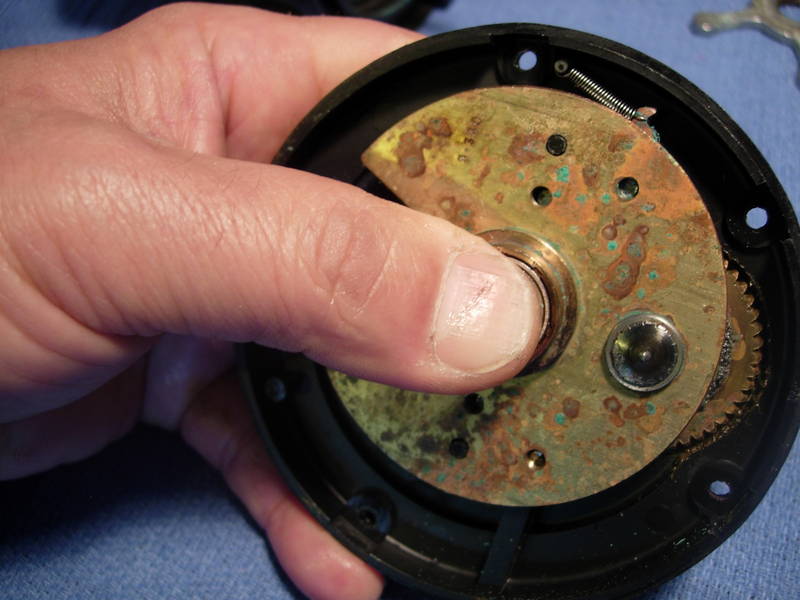
place your left and middle fingers over the bridge screws and lift up the right side plate.
NOTES BY MizMo: Easier than holding the screws in place with your fingers.
Using removable scotch tape (Magic Tape), tape over the bridge screws on the outside to hold them. This frees up your hands to work on the inside parts. MUST be removable tape.
now flip it over and everything should stay in place.
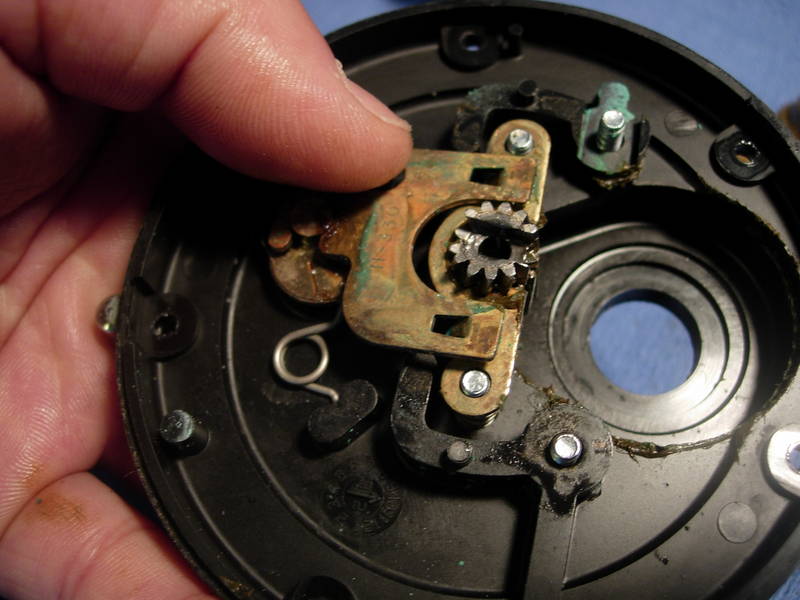
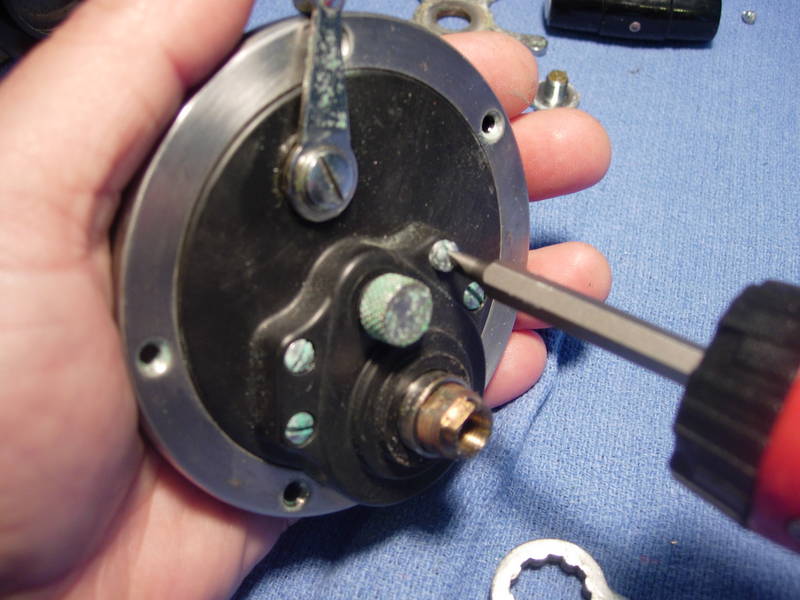
install the bridge assembly (key #3) and rotate the bridge plate 90 degrees counterclockwise from it's final position.
install the dog spring (key #14) and dog (key #15).
NOTES BY MizMo: Here is another place where removable tape can help you.
Using removable scotch tape (Magic Tape), tape over the dog and spring once you have them positioned. Then when you rotate the bridge into position, gently slide out the tape. MUST be removable tape.
rotate the bridge (key #3) 90 degrees clockwise until the bridge plate seats properly.
with a right hand assist, flip the right side plate (key #1) over.
set each bridge screw (key #'s 16 and 17) halfway, then snug them down until they seat properly.
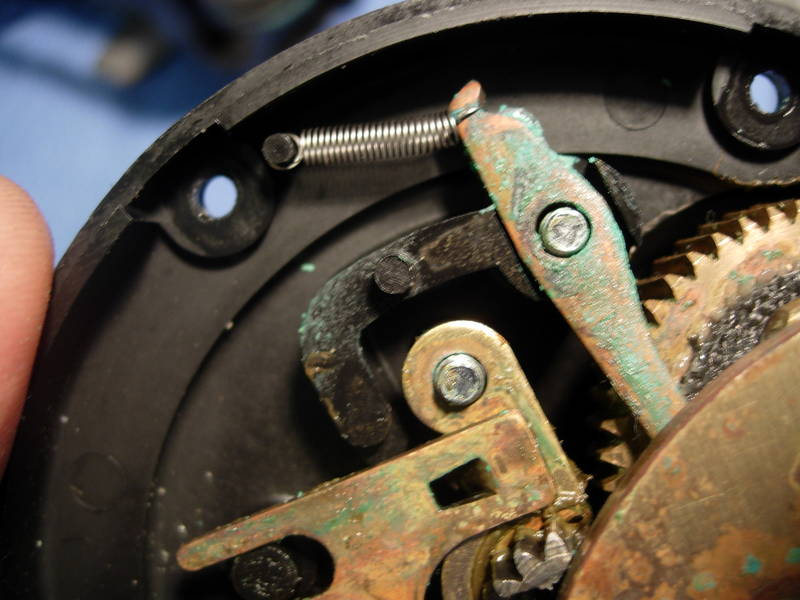
check the function of the anti-reverse mechanism.
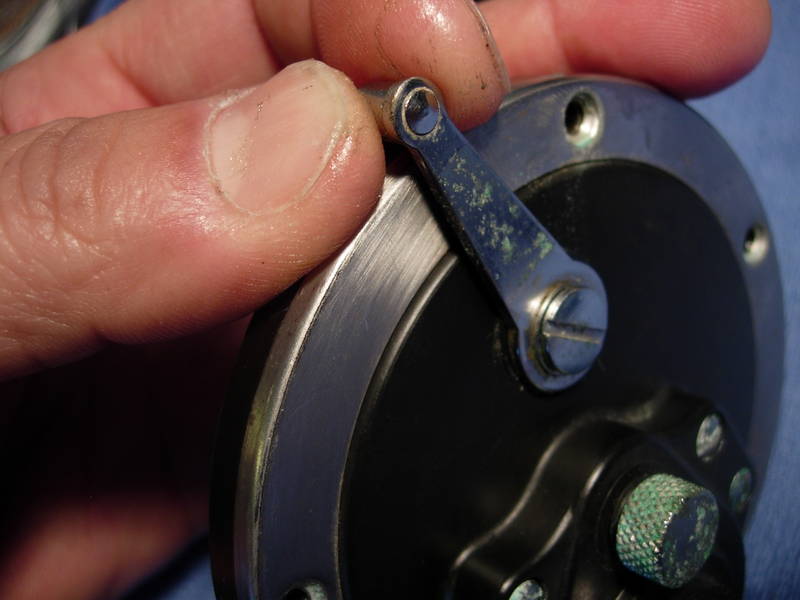
check the function of the eccentric lever assembly (key #21).
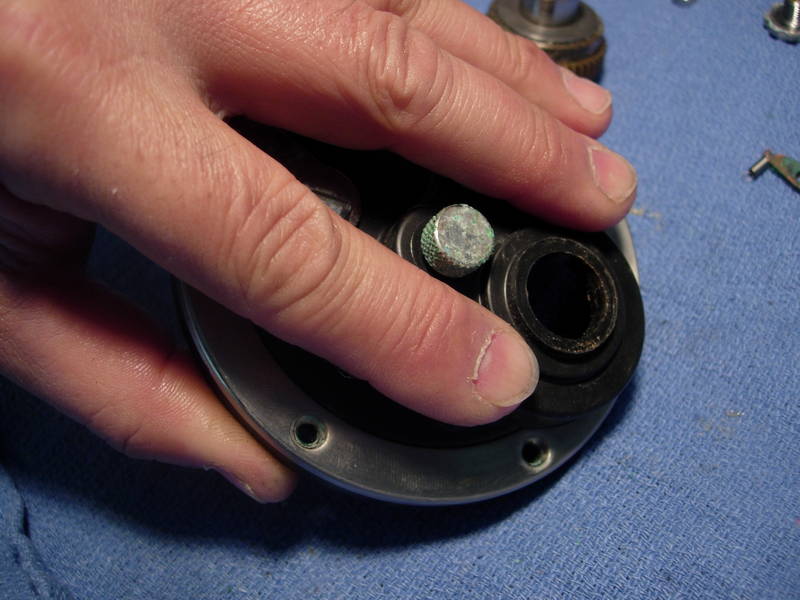
lube the spool shaft (key #29L).
lube the bearing (no key #) in the bridge (key #3).
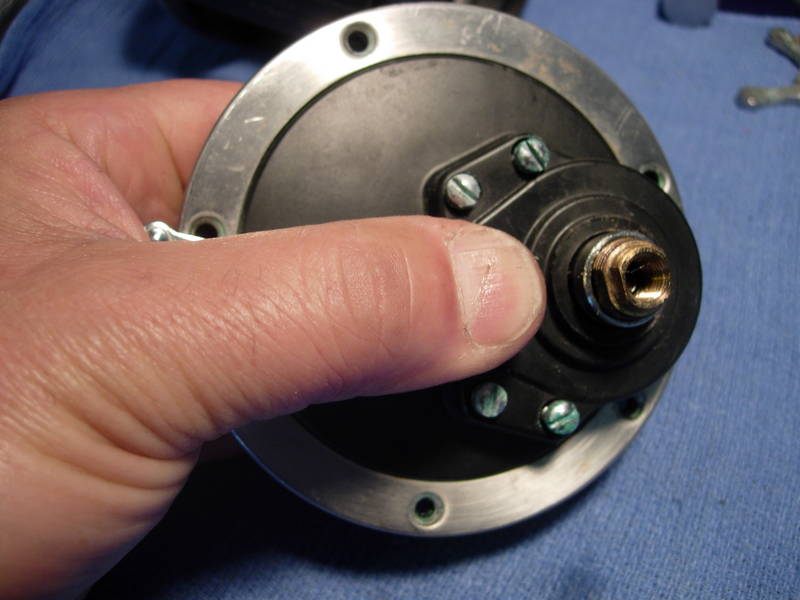
install the right side plate assembly (key #1) and right side plate screws (key #32).
install the star drag (key #10) and turn it down until it clears the shoulders of the gear sleeve (key #98).
install the handle (key #24). note that a penn senator power handle (part #24-349H) may be substituted here as well.
install the handle assembly screw (key #23).

install the handle lock screw (key #23A).
done!
written 5/5/08
Copyright © Alan Tani Reprinted with permission of the author.
Order parts online for this reel(s):
https://www.mysticparts.com/PennParts/Conventional.aspx#GTLevelwind
0 Comments