 Copyright © Alan Tani Reprinted with permission of the author.
Menu:
Eccentric Spring Installation
Star Drag and it's washers
Bridge and drag washers
Anti-reverse dogs and springs
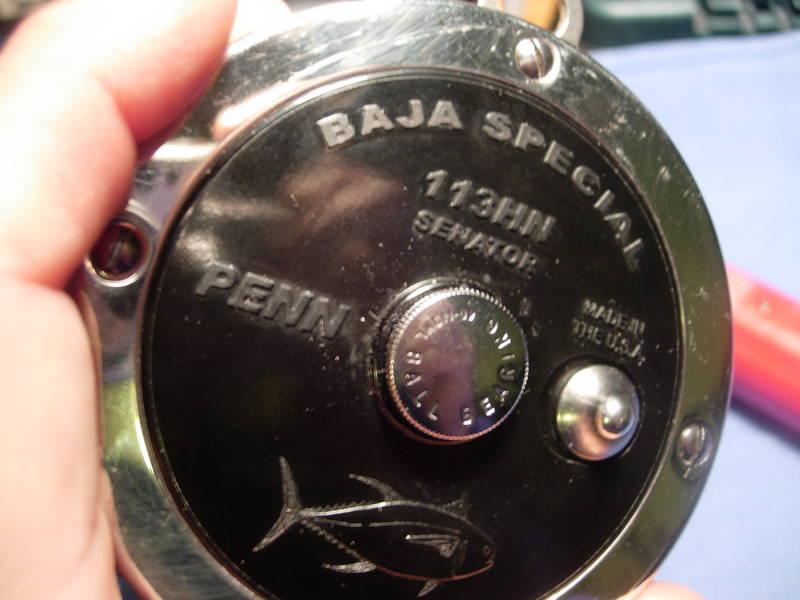
ford had the edsel. penn had the 113hn. i think the penn 113hn baja special died a quick death because no one took the time to look under the hood. pity, it was not your grandfather's 4/0 senator. it is also unlikely that this reel will ever be revived. (Penn did revive this reel, it's currently available to purchase as of 2011)
pull the schematics at https://www.mysticparts.com/PennParts/Penn113HN.aspx there were a number of upgrades to this reel during it's short lifespan. the reel you will see was a recent edition. your's may be older.
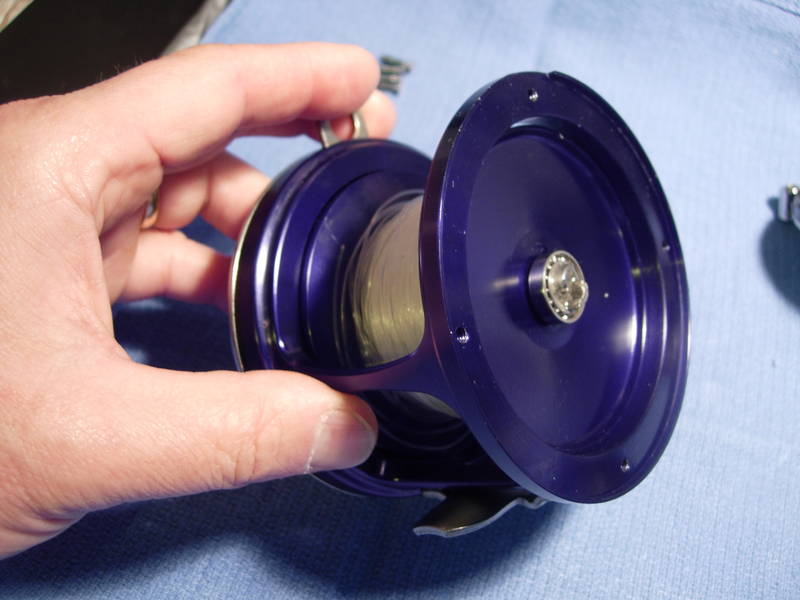
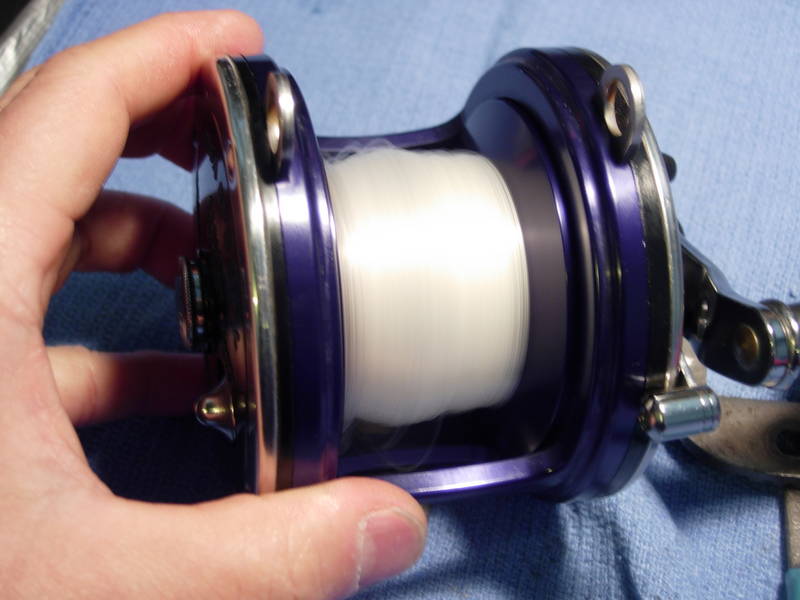
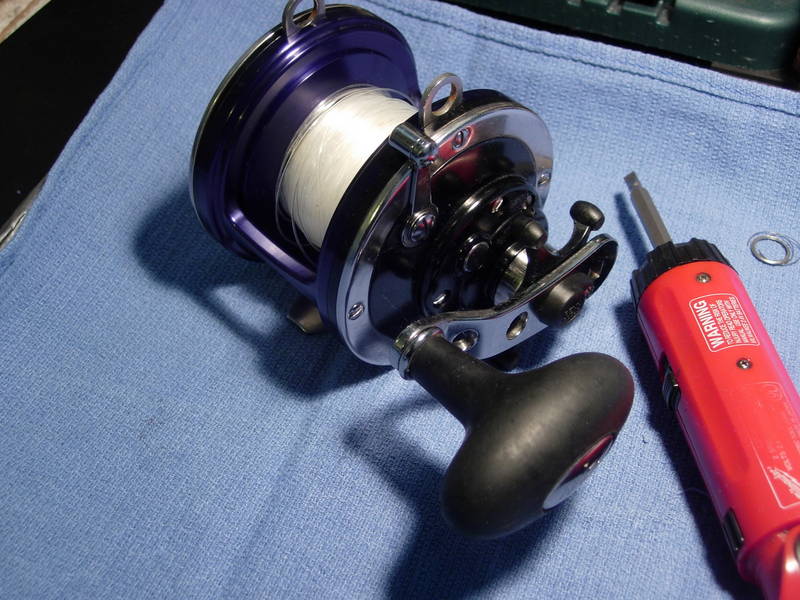
and here is the reel.
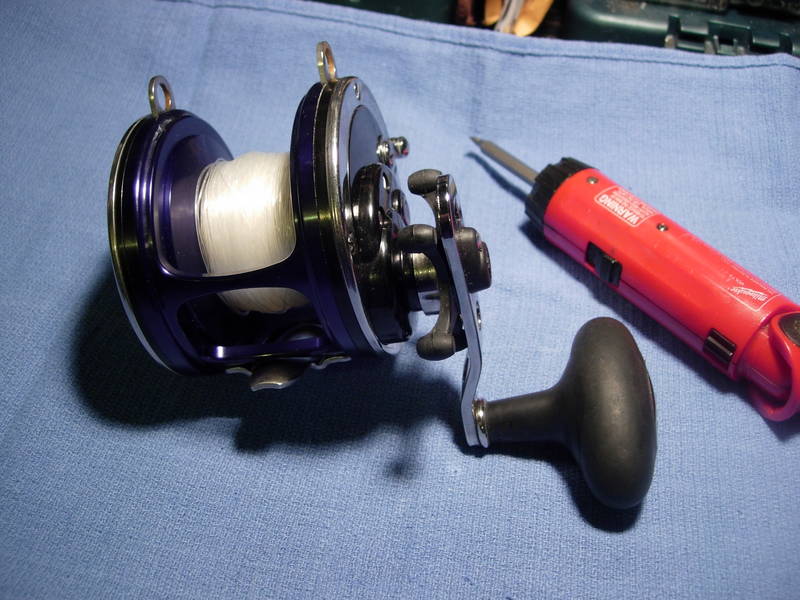
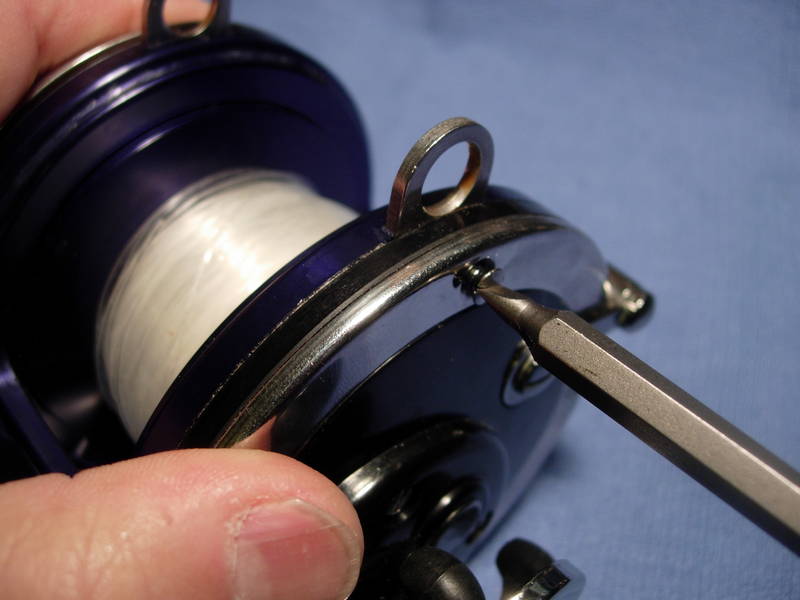
first, let's back out each left side plate screw (key #38), one at a time, and add a bead of grease.
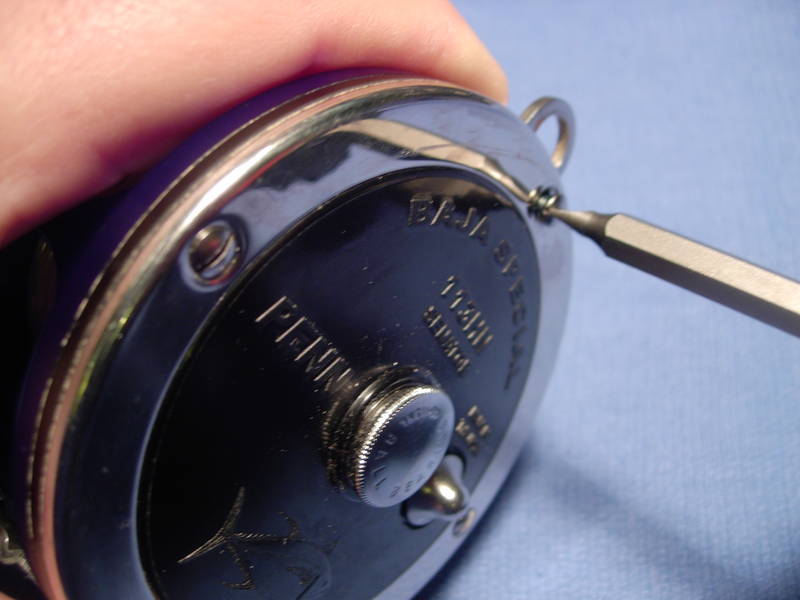
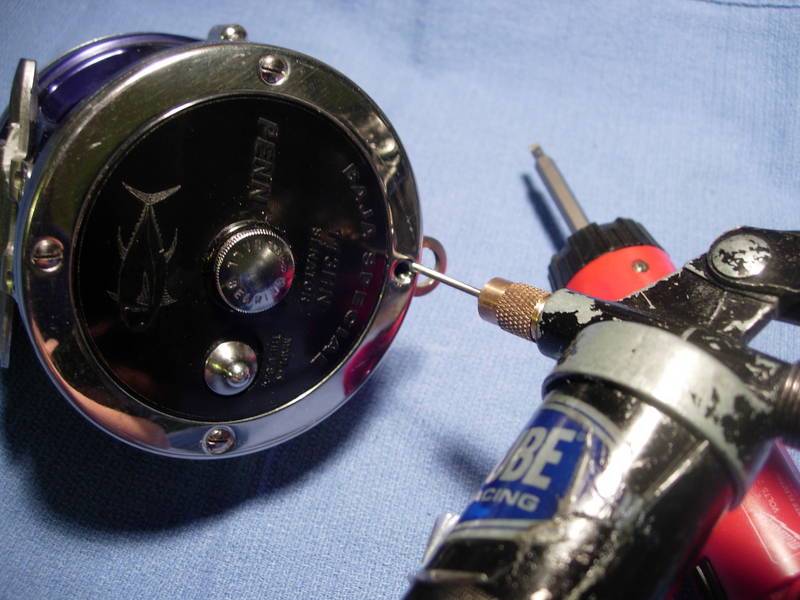
now for the right side plate. remove all four right side plate screws (key #39).
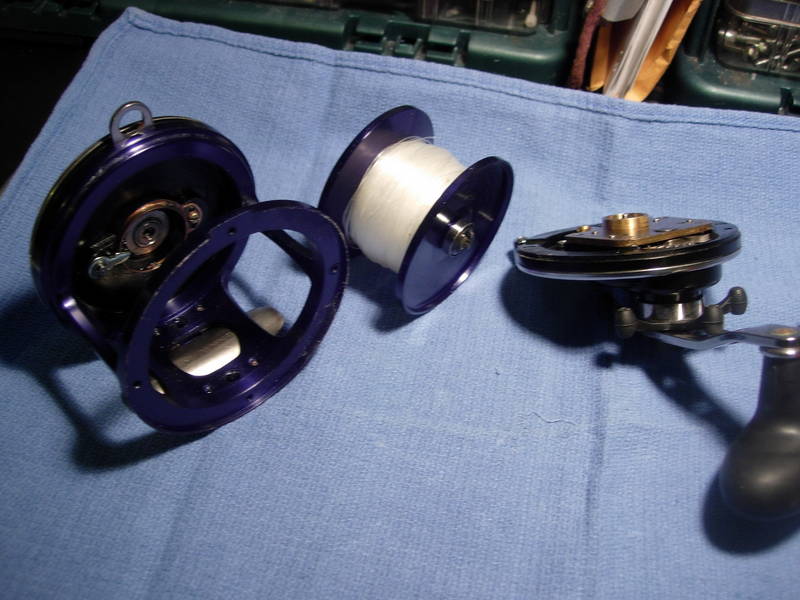
the reel separates cleanly into three pieces, a frame assembly, a spool assembly and a right side plate assembly.
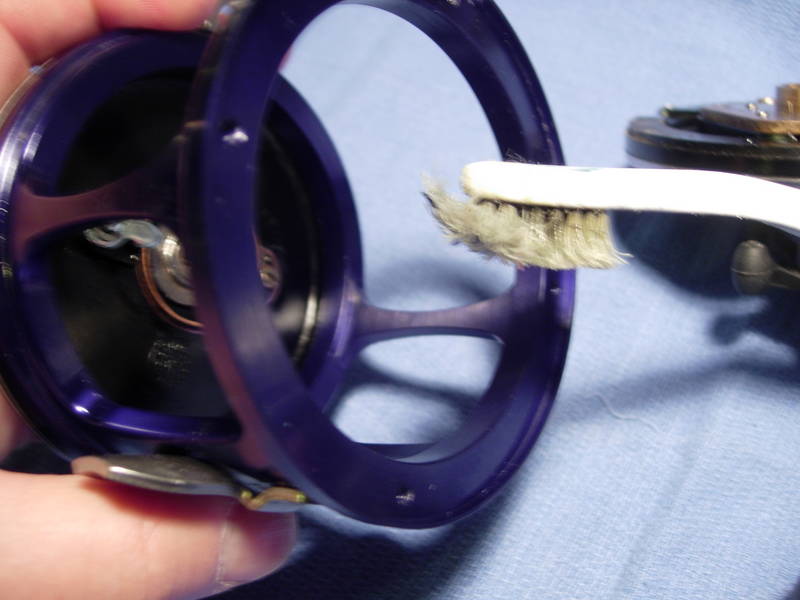
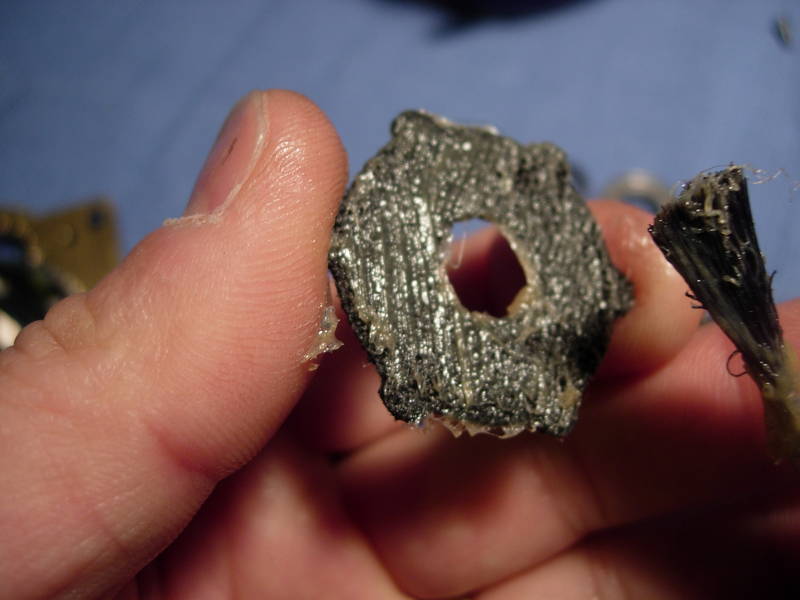
you never thought this ratty old toothbrush would last so long, did you! clean up the inside of the frame assembly, leaving a light coat of grease on all the non-exposed metal surfaces.
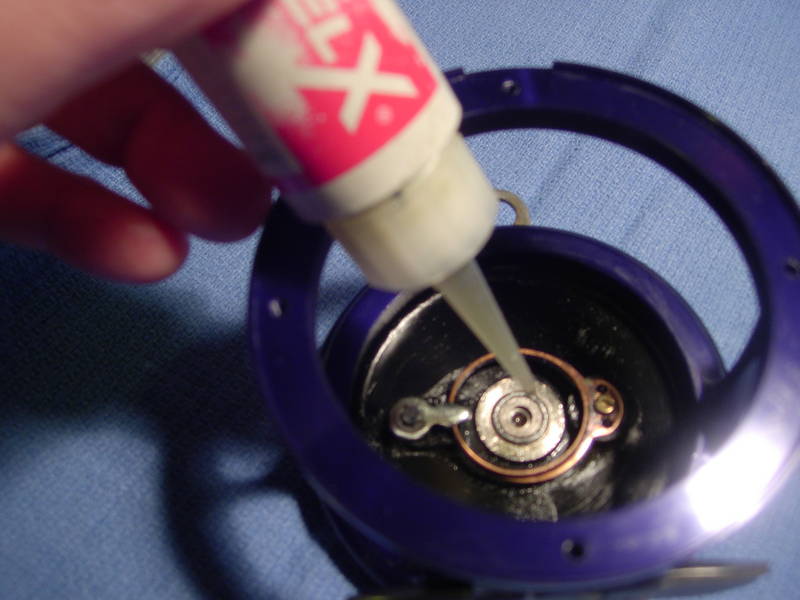
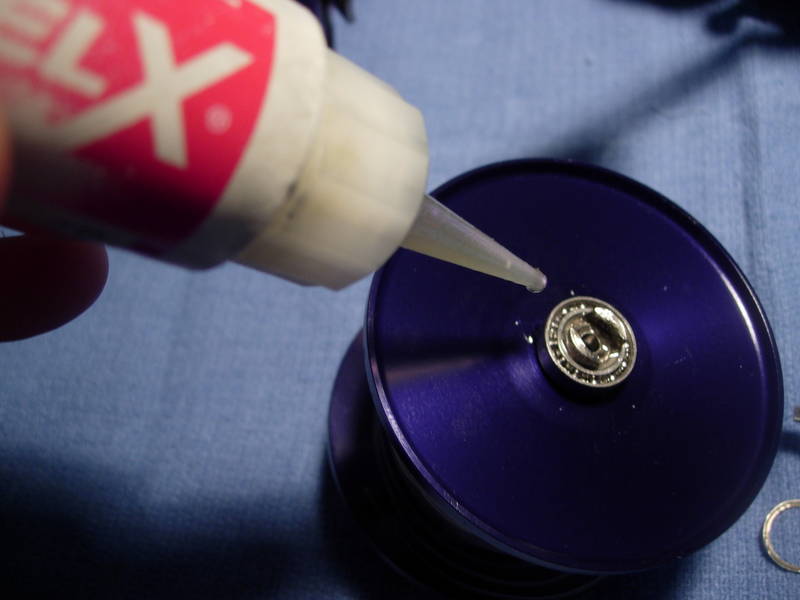
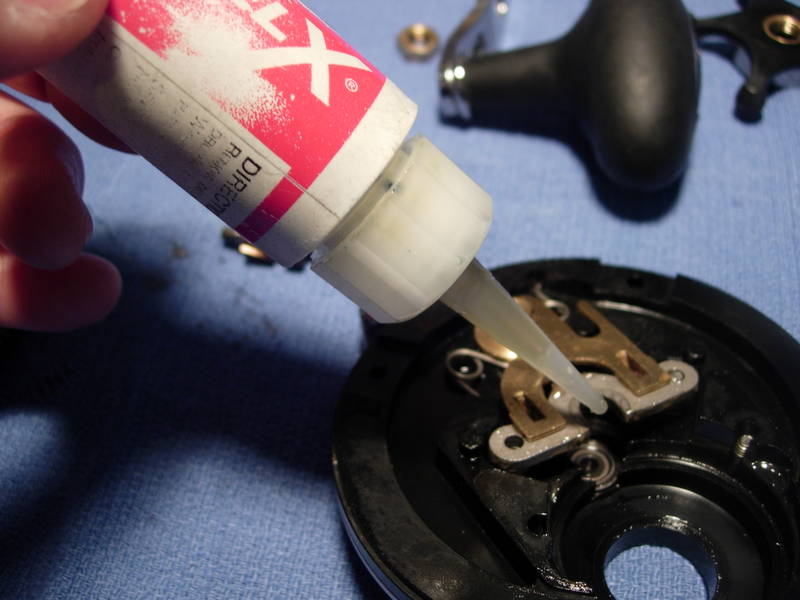
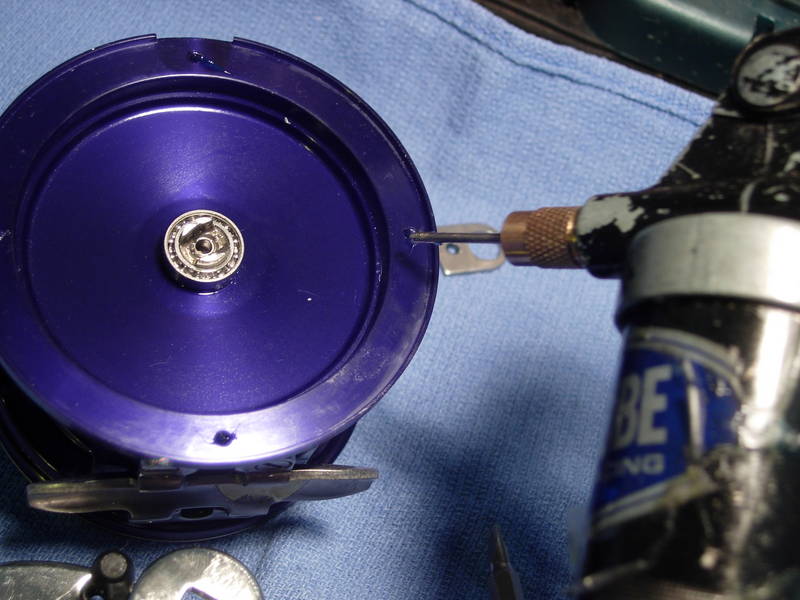
this reel already had great freespool. we'll just add a drop of corrosion x anyway.
back out each stand screw (key #101) one at a time and add a small bead of grease. per our previous discussions, i make this recommendation because i believe in principle that corrosion anywhere in a reel is bad. to avoid corrosion, these screws are greased, but you have now created a situation where they can back out. this means you have to check these screws on a regular basis.
brush a little grease on each side of the spool.
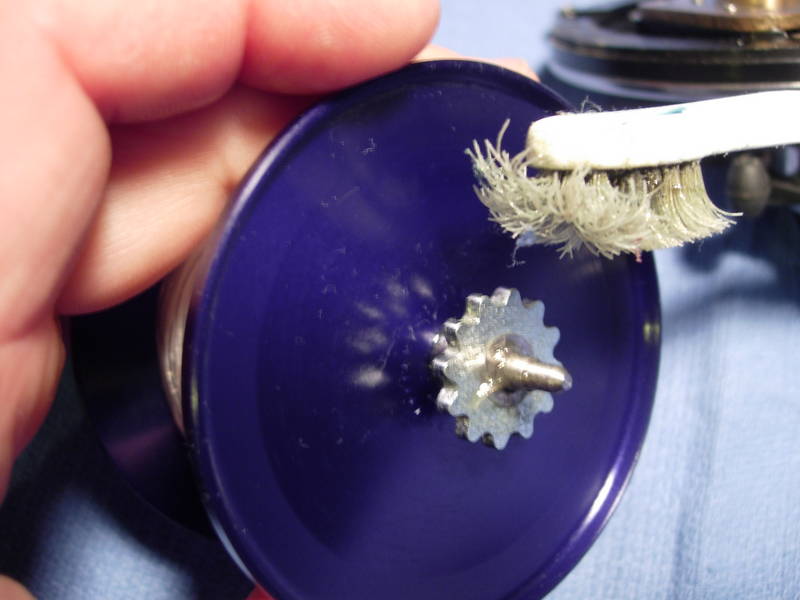
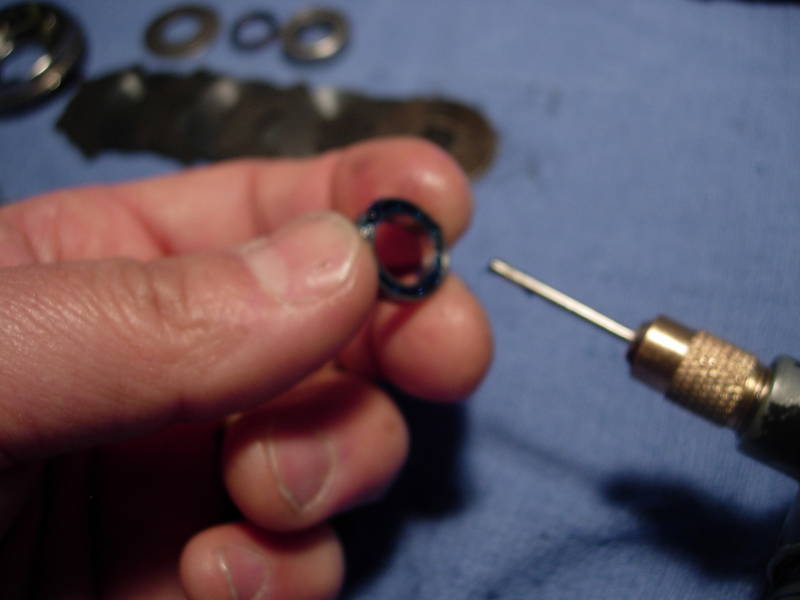
remove the right spool bearing (key #55a).
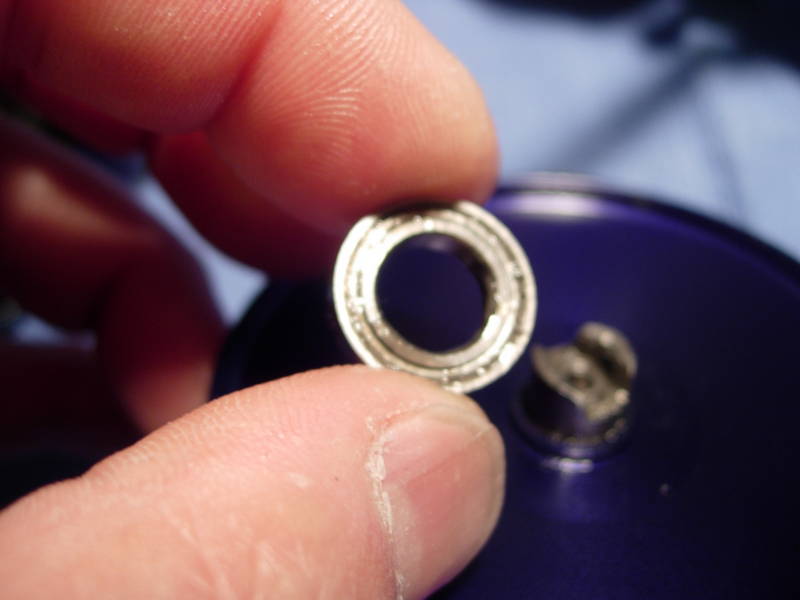
pull the shields, clean out the grease, relube it with corrosion x and install it open back onto the spool shaft.
install the spool assembly back into the frame.
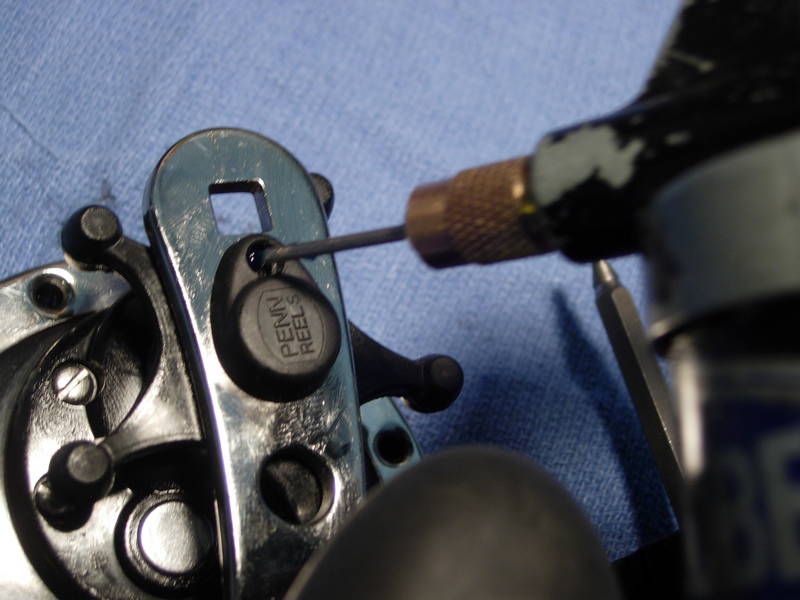
for routine maintenance, this is all you are looking at. that is, of course, once we finish the right side plate. let's start on the right side plate by removing the handle lock screw (key #23a).

remove the handle nut cap (key #110).
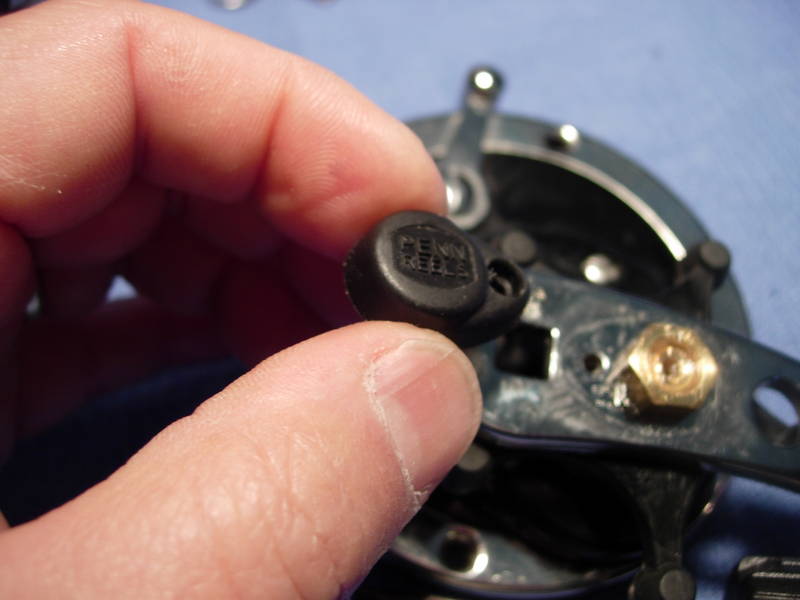
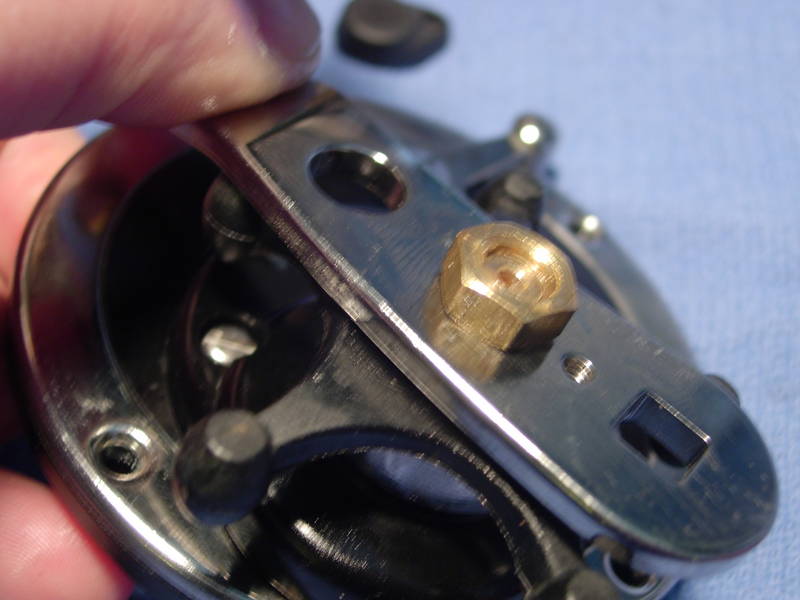
remove the handle nut (key #23).
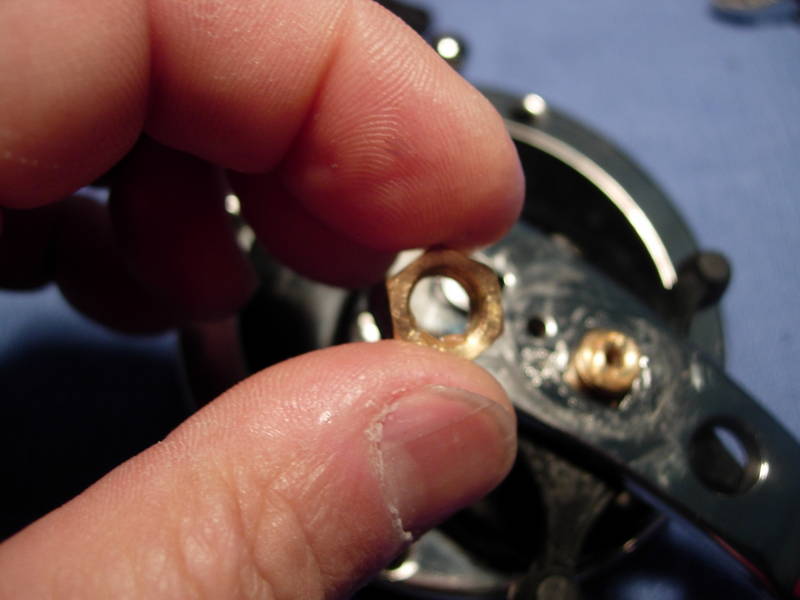
remove the handle (key #24).
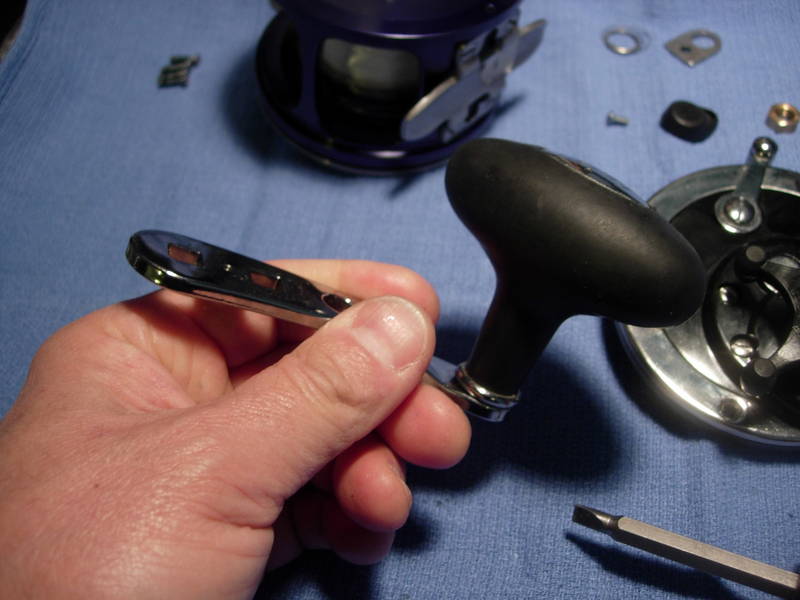
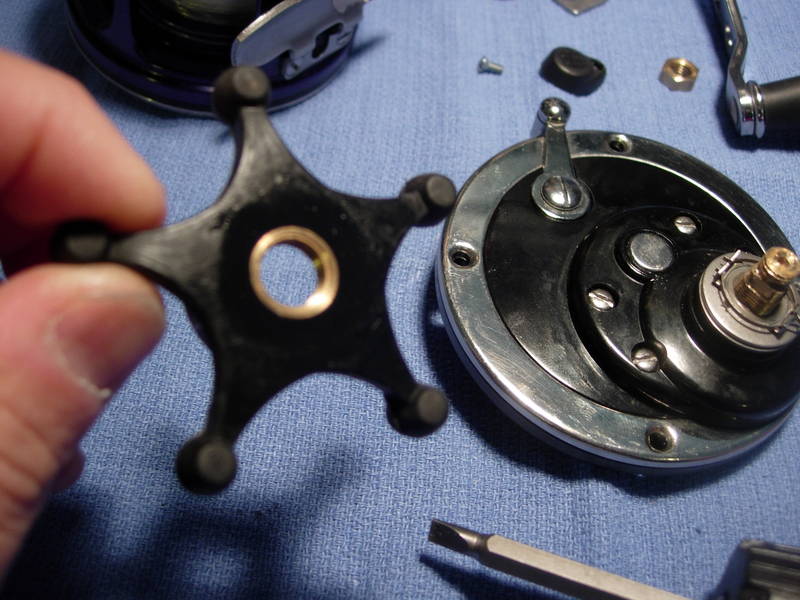
remove the star drag wheel (key #10). these graphite stars can break. an all metal replacement is available through penn or mysticparts.com.
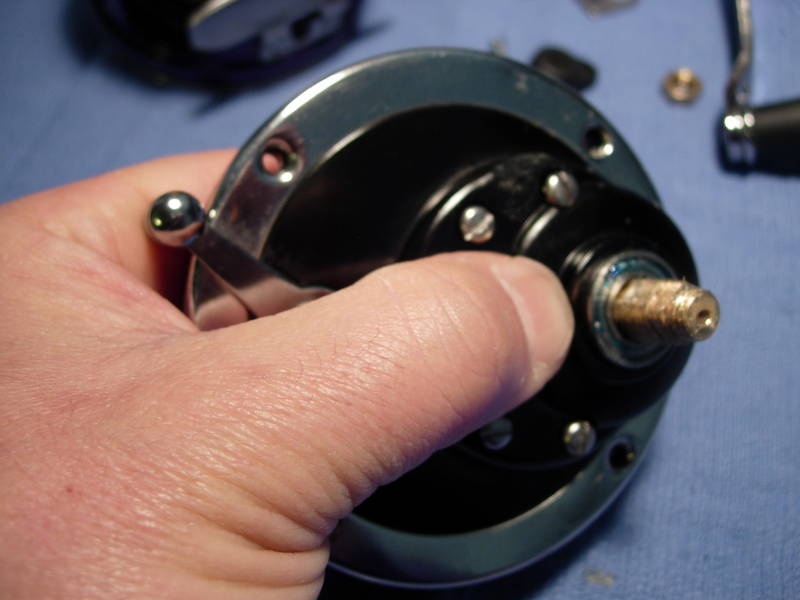
remove the click washer assembly (key #'s 8a and 8b).
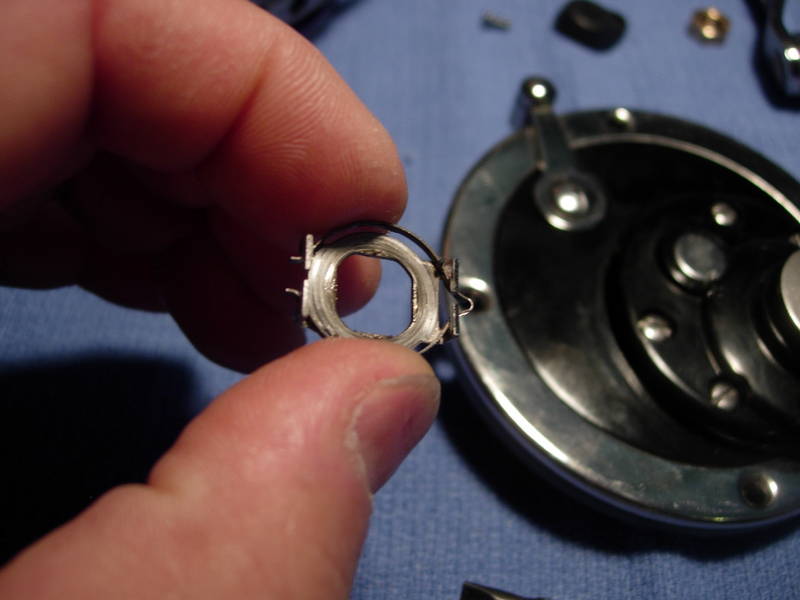
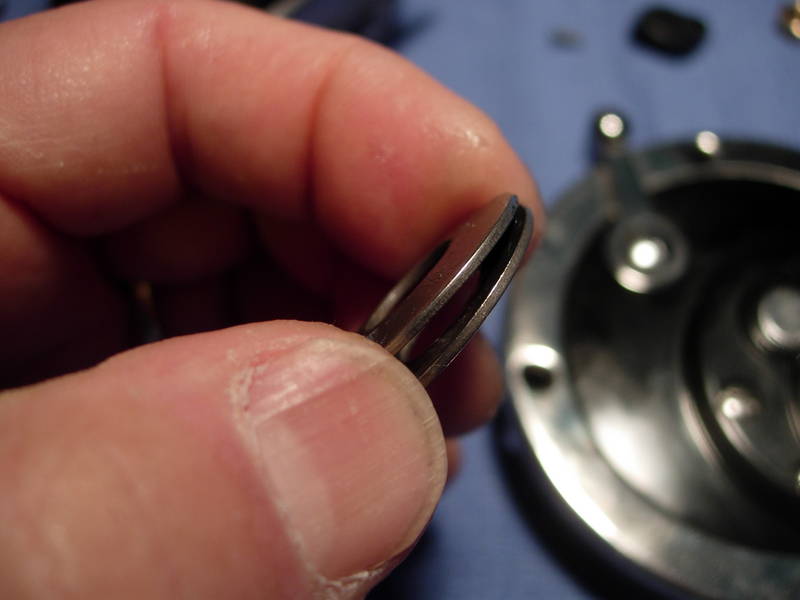
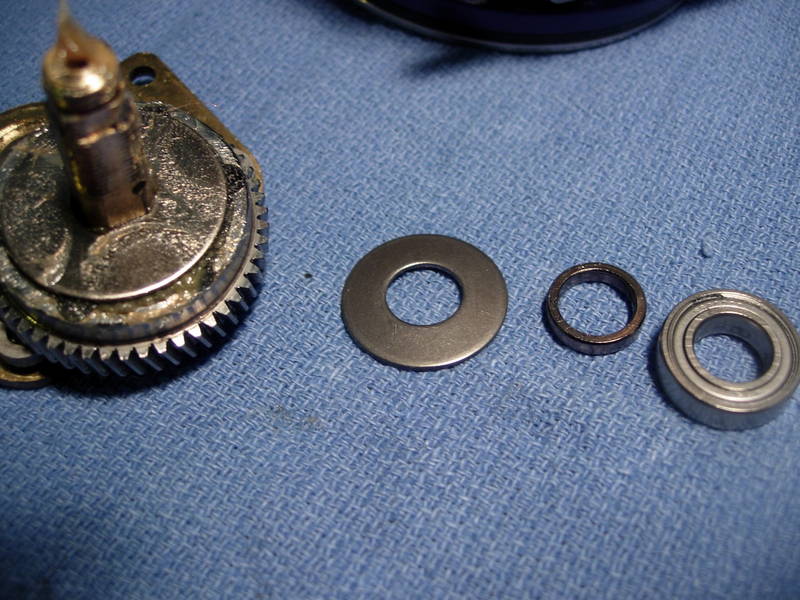
remove the stainless steel belleville tension washers (key #8) and note that they are cupped oppositely.
line everything up.
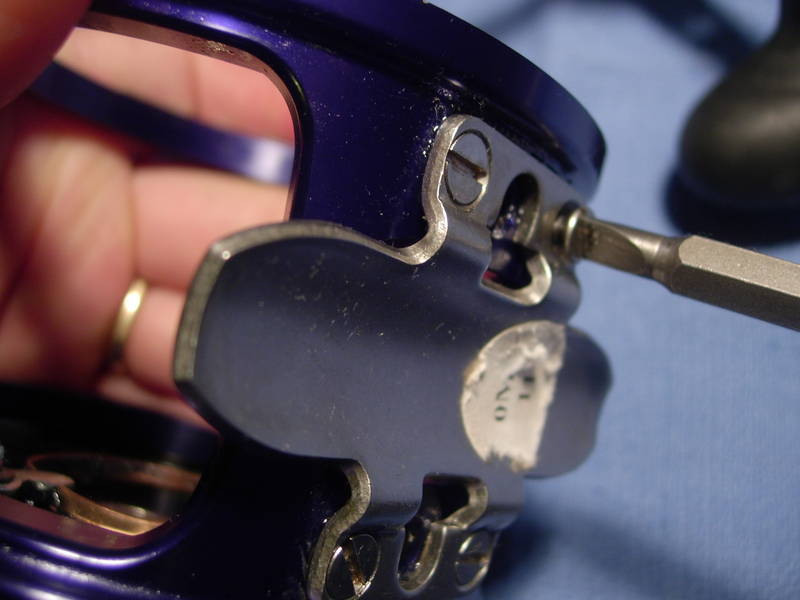
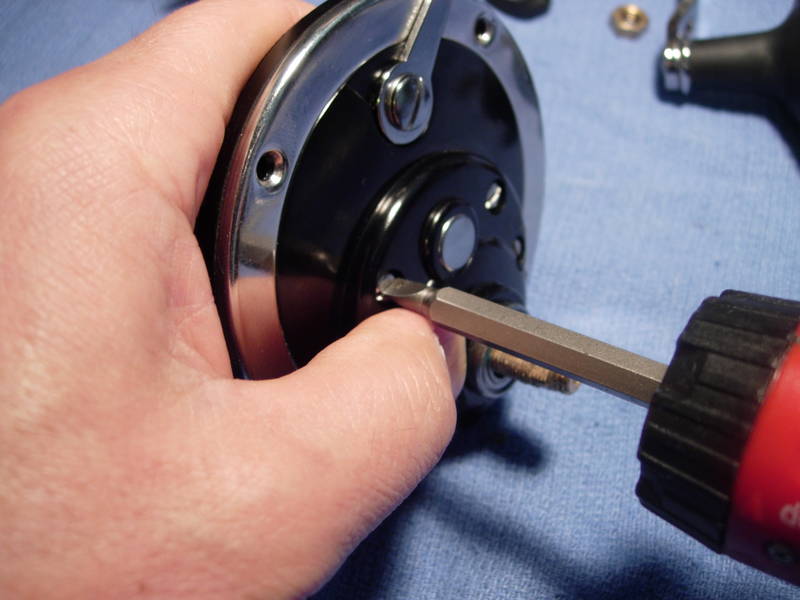
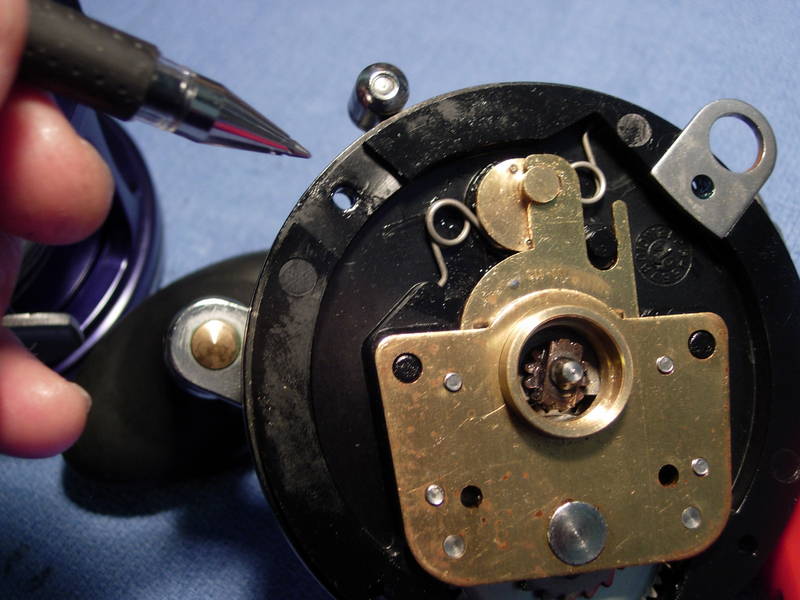
our 113hn is a later model with a bearing underneath the tension washers. back out the four bridge screws (key #16), leaving them in place.
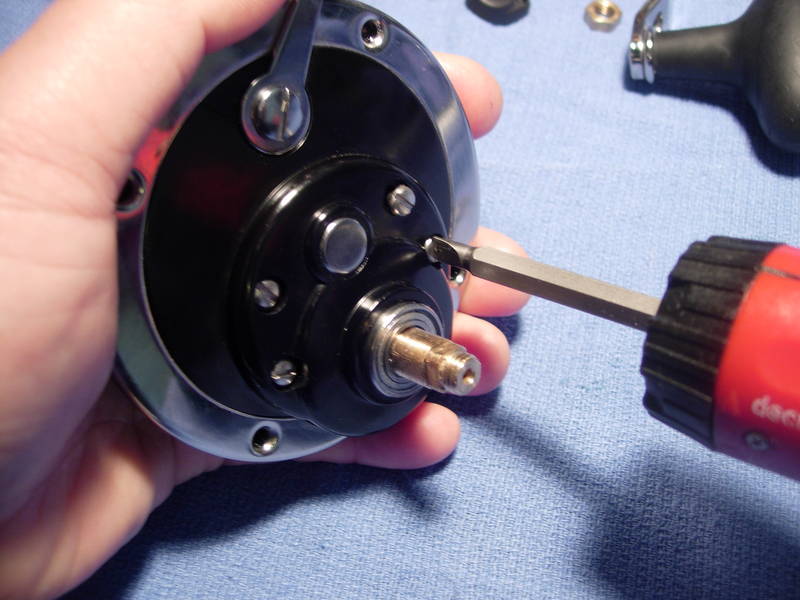
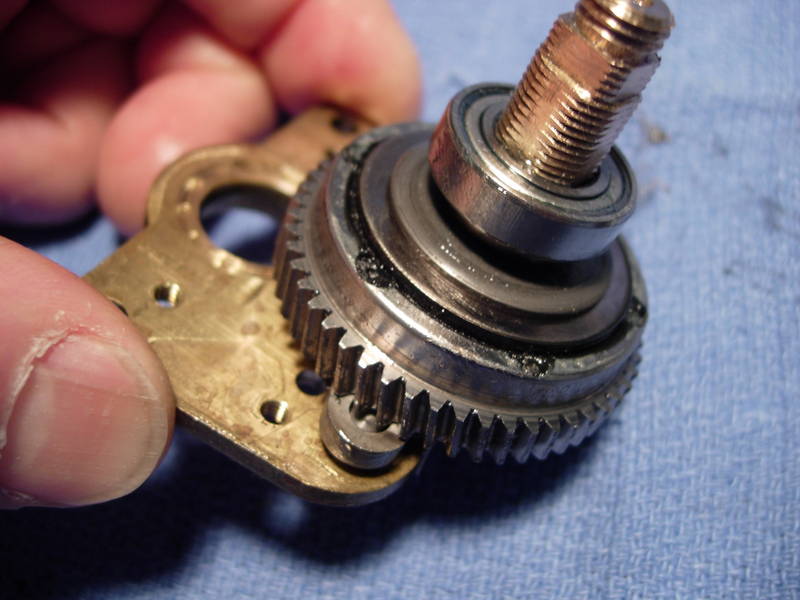
the bridge and main gear assembly drop straight down.
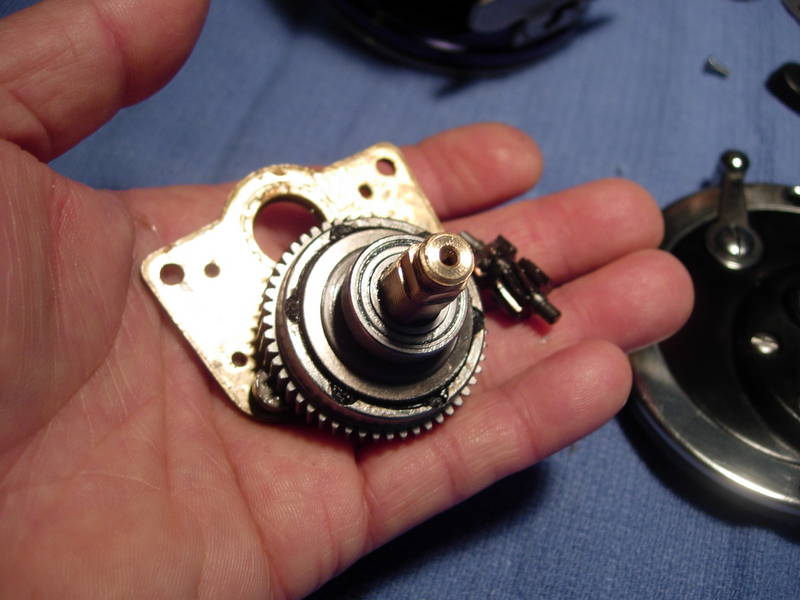
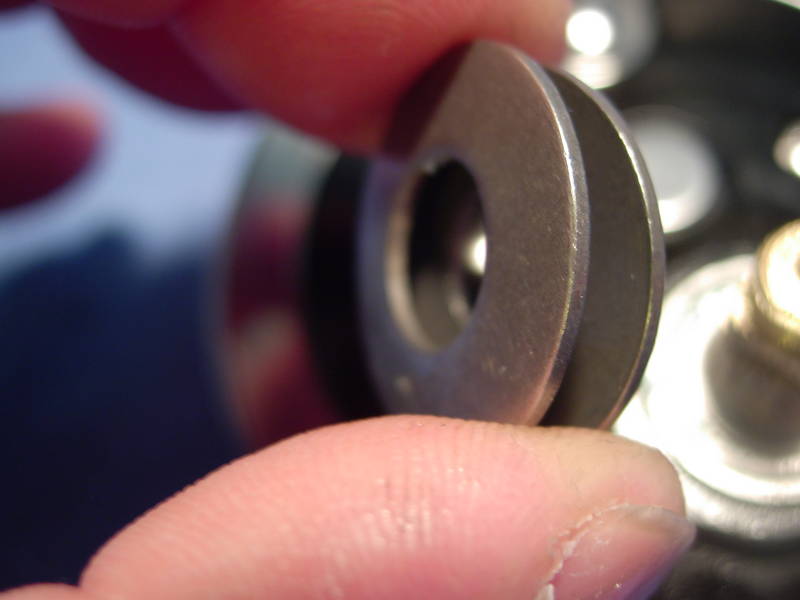
take a moment now to lube the right side plate bearing (key #26). note also the double thick stainless steel pinion yoke (key #12). a most excellent feature.
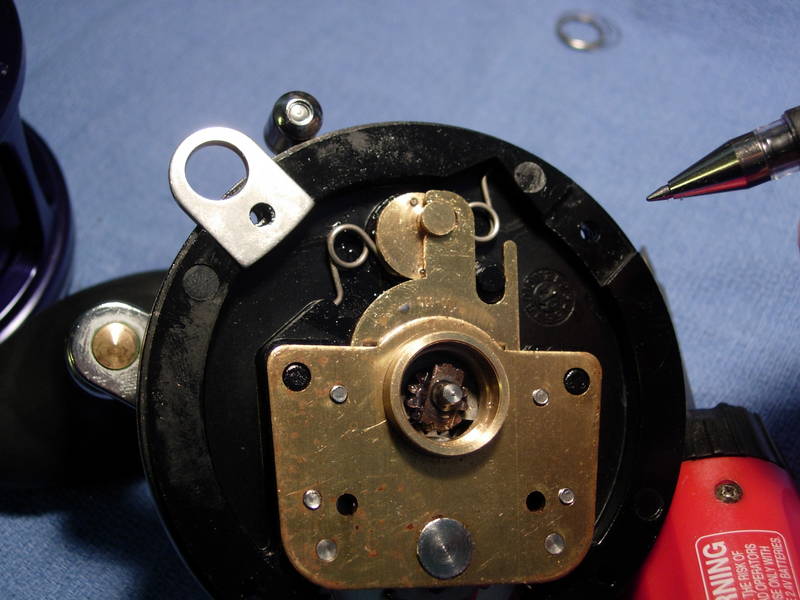
if it fell out, as in the previous photo, replace the pinion gear (key #13) and sub shaft (key #13a) and set the right side plate assembly aside.
now we will service the bridge and main gear assembly. a hardened stainless steel main gear (key #5) is a very nice upgrade from the bronze alloy main gear of the standard penn 113h.
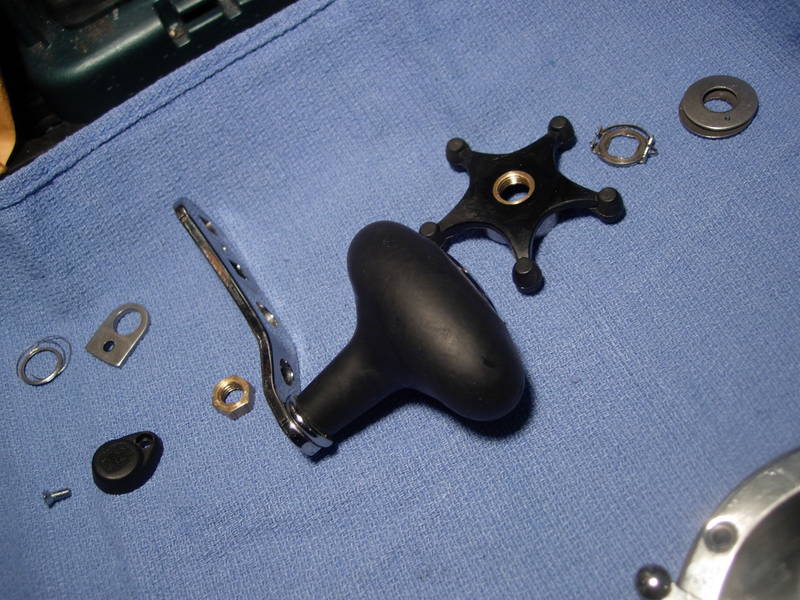
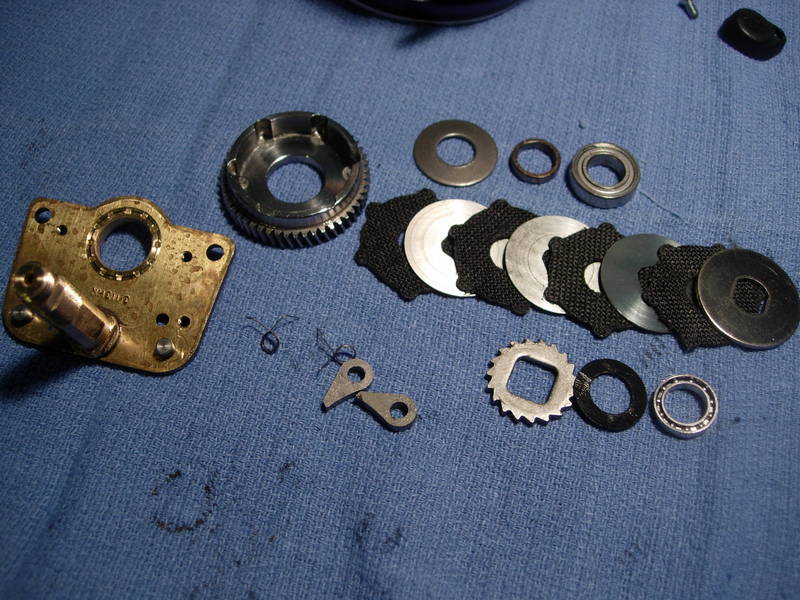
let's pull everything apart, in order, and line everything up.
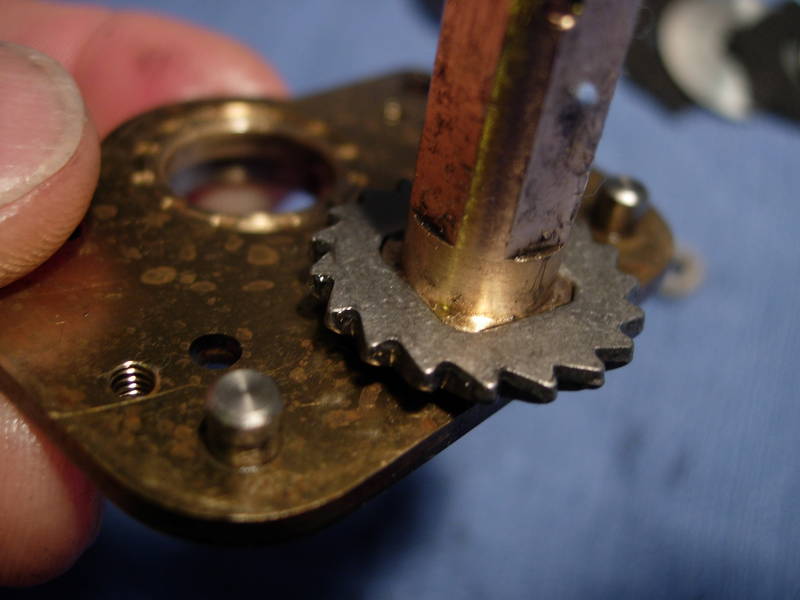
install the anti-reverse ratchet (key #98r). make sure the teeth are pointed in the right direction.
install the fiber washer (key #4). in most penn reels, i would substitute a drag washer in this spot. i decided not to because there was so little room.
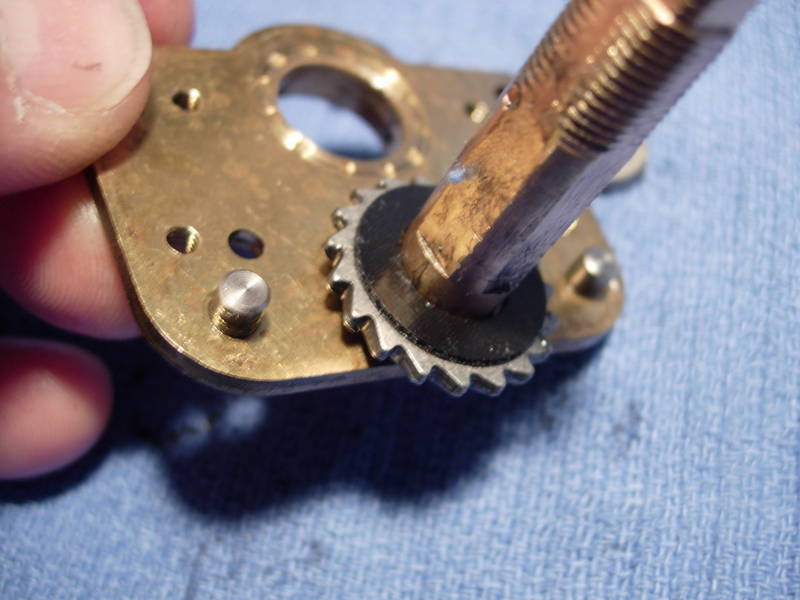
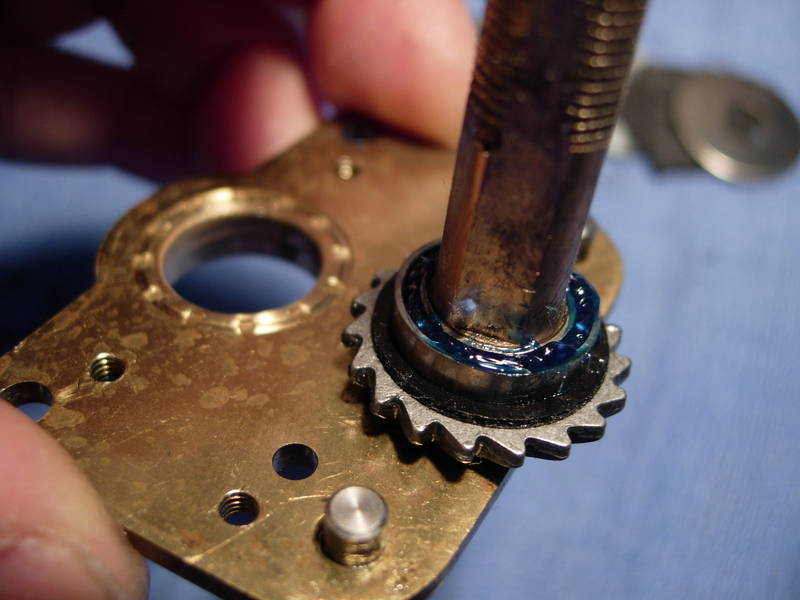
grease and install the main gear bearing (key #5a). i used yamaha engine grease. thinking about it now, i should have used cal's drag grease. it should not make a difference, but it would probably be better not to use the two greases so close to each other.
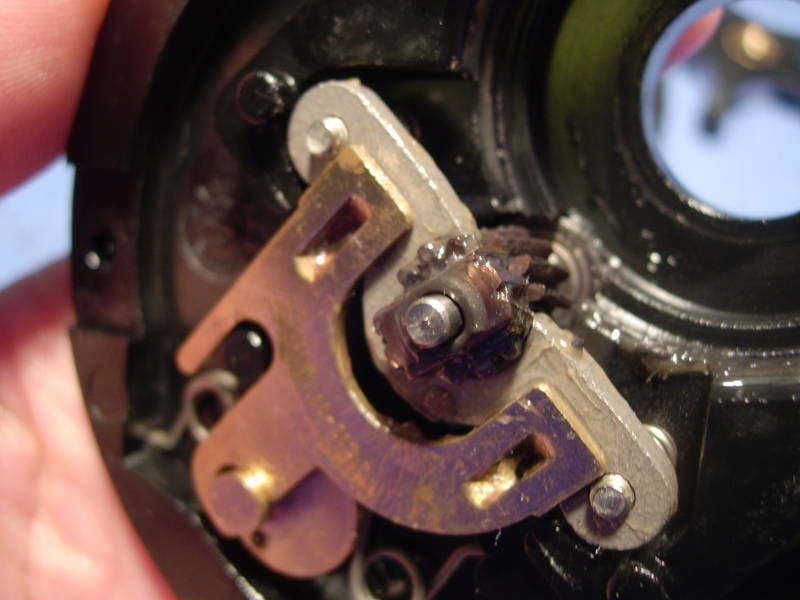
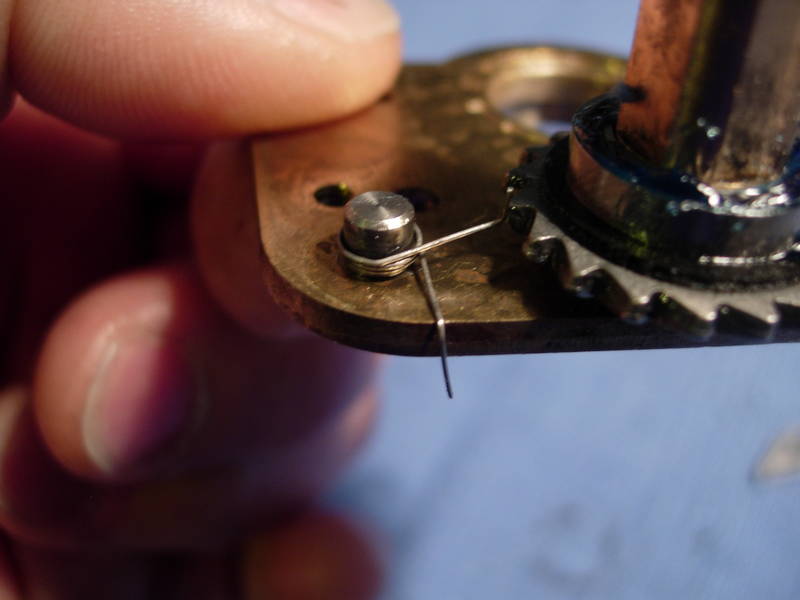
now for the dog springs (key #14).
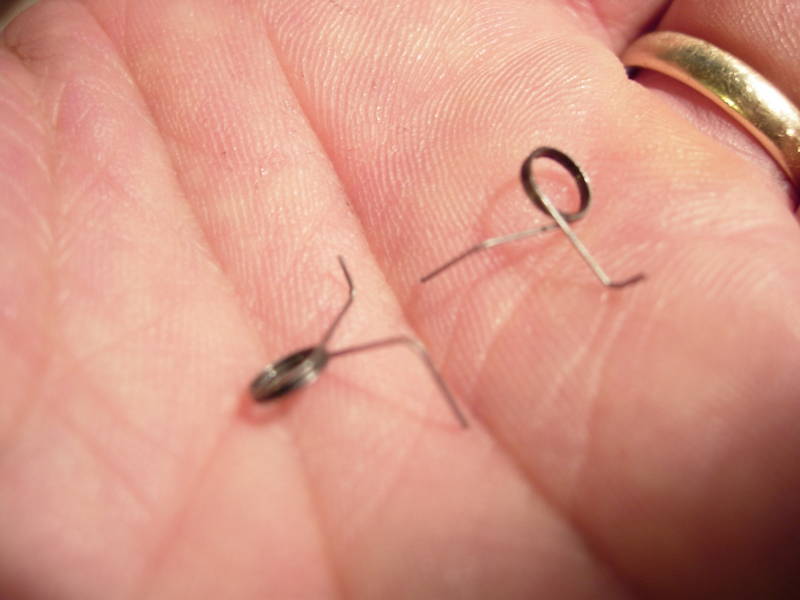
the easiest way to remember is that the long end is pointed down.
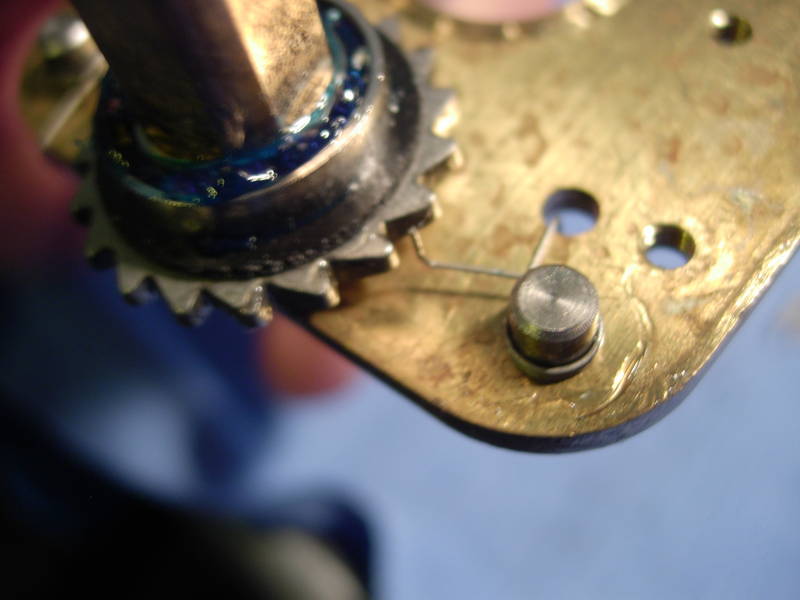
slide the dogs (key #15) into position.
apply a generous coat of cal's drag grease (or shimano's) to the drag washers (key #7L). don't worry about the excess. under extreme pressure of the star, all of the excess will be squeezed out.
reassemble the drag stack.
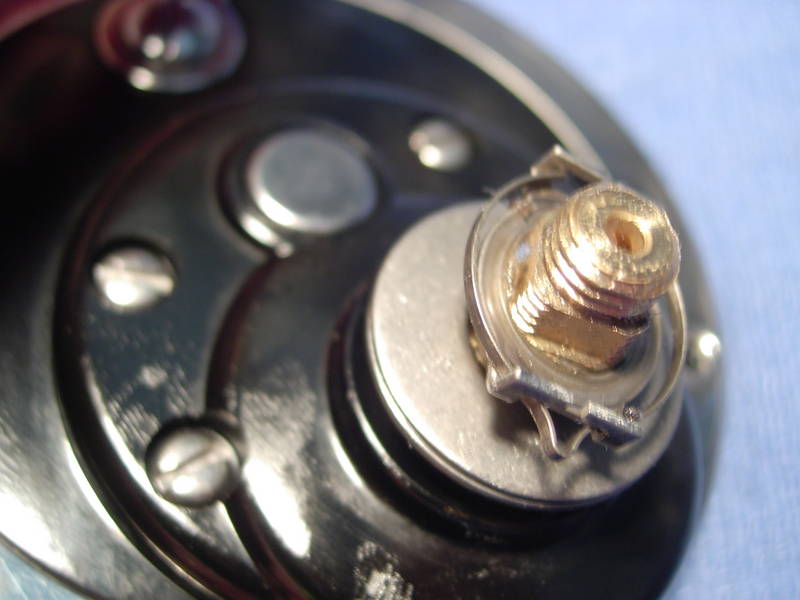
pack the gear sleeve bearing (key #55b) with yamaha engine grease and install the belleville tension washer (key #8), the spacing sleeve (key #9) and the bearing (key #55b).

now, the right side plate assembly has been quietly sitting and remains in one piece, right? place your left index and middle finger over the bridge screws (key #16). you've done this plenty of times before with the jigmaster and the other senators so you're all experts at this.
NOTES BY MizMo: Easier than holding the screws in place with your fingers.
Using removable scotch tape (Magic Tape), tape over the bridge screws on the outside to hold them. This frees up your hands to work on the inside parts. MUST be removable tape.
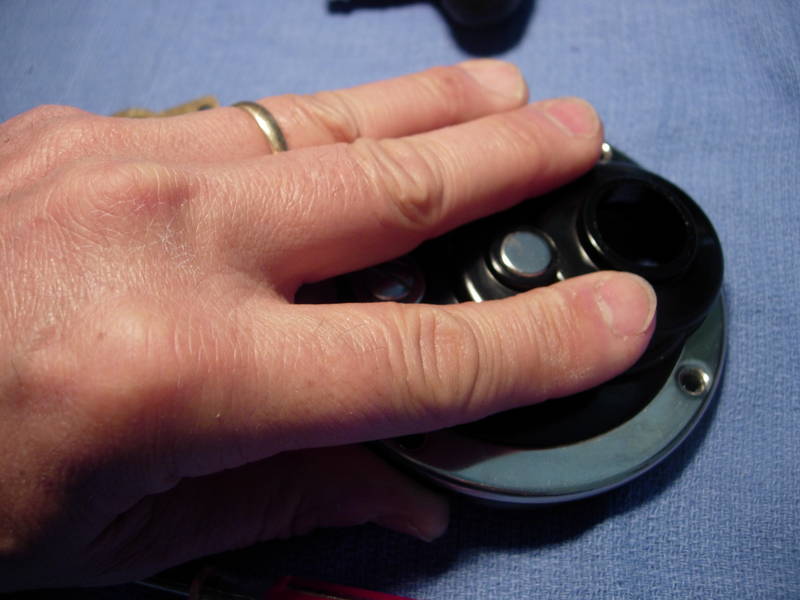
with two fingers to hold the bridge screws in place, flip over the right side plate assembly and make sure everything is in its proper place.
just like the jigmaster and the newell, the 113hn bridge assembly drops straight into place. there should be no dog spring "troubles" here.
with a right hand assist, flip the right side plate assembly over.
cinch down each bridge screw (key #16) half way, then go back around and seat each screw tightly.
install both belleville tension spring washers (key #8), the first cupped up and the second cupped down.
install the click washer (key #8a) and spring (key #8b) assembly.
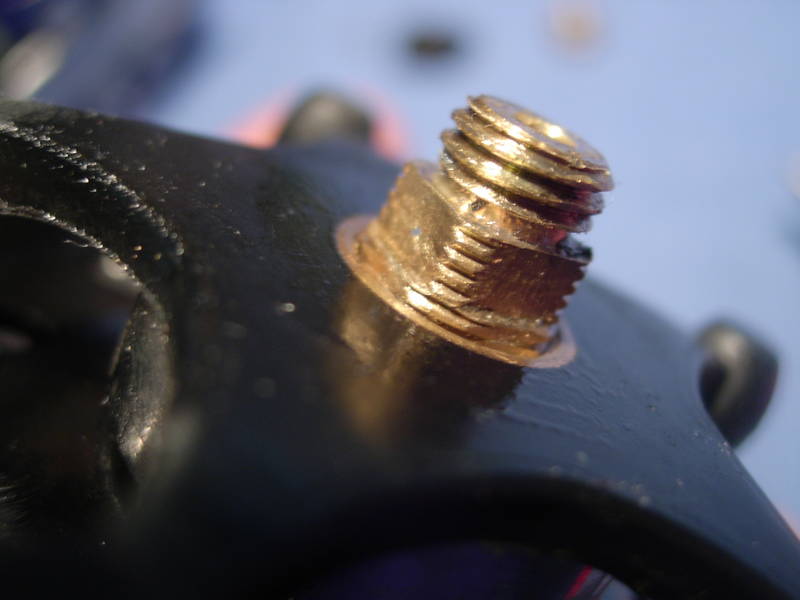
install the star drag wheel (key #10) and turn it down until it clears the shoulder of the gear sleeve (key #98) that supports the handle (key #24).
install the handle (key #24) and handle nut (key #23).
install the handle nut cap (key #110) and add a bead of grease to the screw hole.
install the handle nut cap screw (key #23a).
add a bead of grease to each of the four screw holes of the right side of the frame (key #183).
note that the side plate assembly can be installed with the handle swung forward or back. you can also install the harness lugs (key #54) in the up position or down. i keep forgetting to ask if these same 113hn lugs (part #54-113hn) will fit in the standard penn 113h.
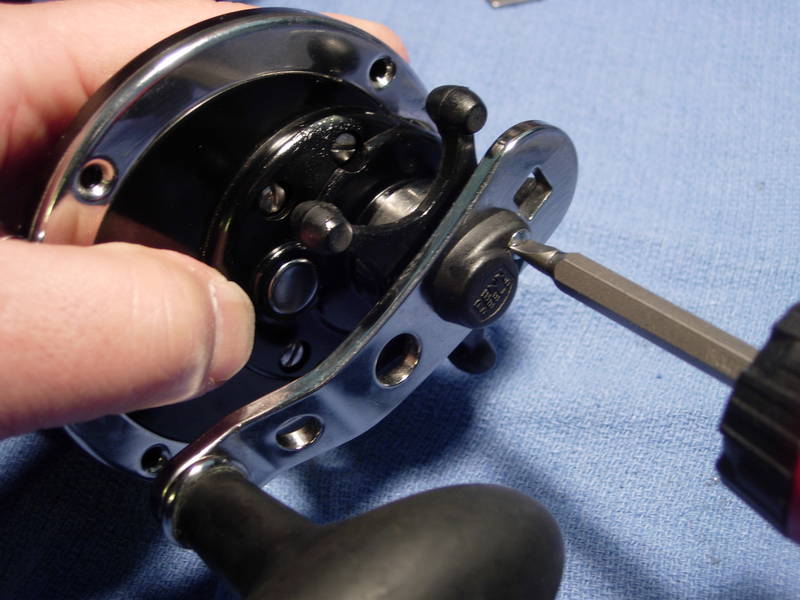
pick a position for the right side plate assembly and install the four right side plate screws (key #39).
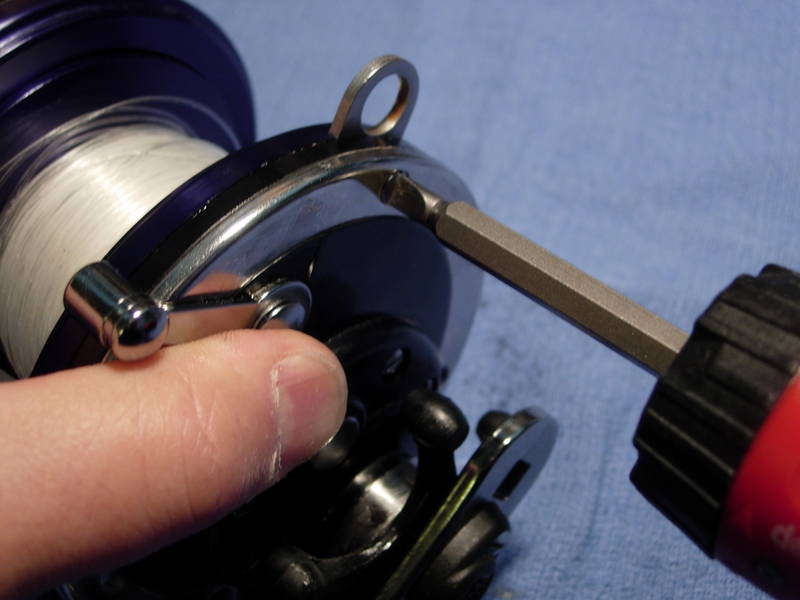
check to make sure the handle (key #24) turns freel, the eccentric lever (key #21) works an that the reel has good freespool.
done! note that the handle is now swung forward. this gives easy access to the eccentric (freespool) lever.
now for some comments. there are three major features that are combined in this one reel to set it apart from all others. first, a disengaging spool. this is a feature found in several daiwa reels that allows the spool to spin in freespool with contact only at the bearings. star drag reels with a single piece spool shaft may have problems with the spool shaft rubbing against the inside of the pinion gear, thus slowing down freespool. a disengaging spool shaft that means that the 113hn will freespool as well or better than an equivalent size lever drag reel.
second is the use of keyed drag washers. this allows a stack of 4 keyed drag washers (key #6) and 4 slotted metal washers (key #7L and 7H) to function as a stack of 7 traditional round drag washers sandwiched in between 7 slotted and keyed metal washers. the result is an easy 25 pounds of drag, perhaps more.
third is the use of double spring loaded dogs that will hold up against any amount of load that the drag washers can deliver.
there are other nice touches to this reel, such as the two position right side plate, the reversible harness lugs, the heavy duty pinion yoke, the hardened stainless steel main and pinion gears, and the bearings spread out all over the reel. what truly sets this reel apart from all others is use of a disengaging spool, the stack of drag washers and the double dogs. it is because of these features that i call the penn 113hn baja special the best in it's class.
Eccentric Installation (This section by M K Albertson)
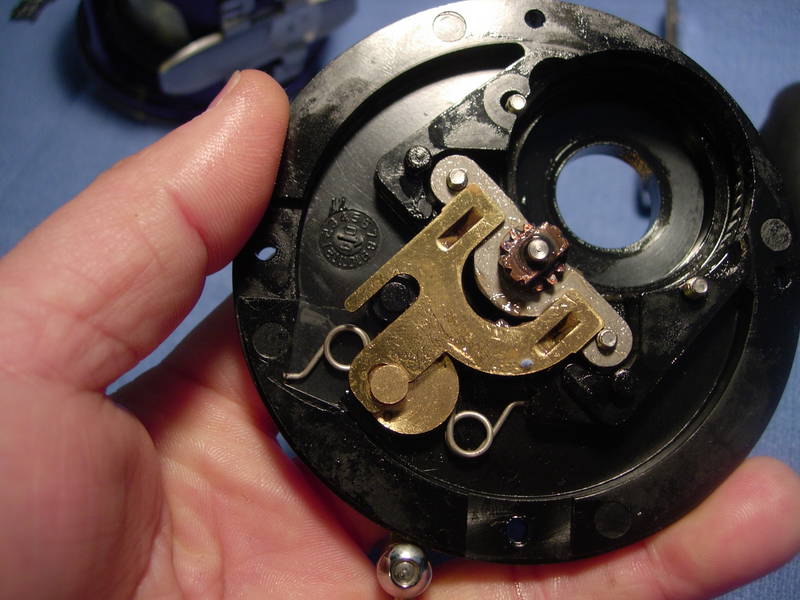
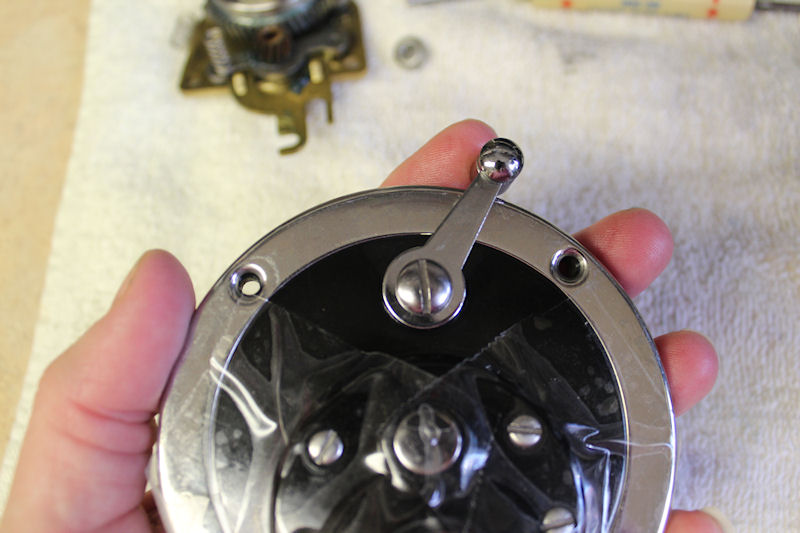
Starting with the removed handle side plate
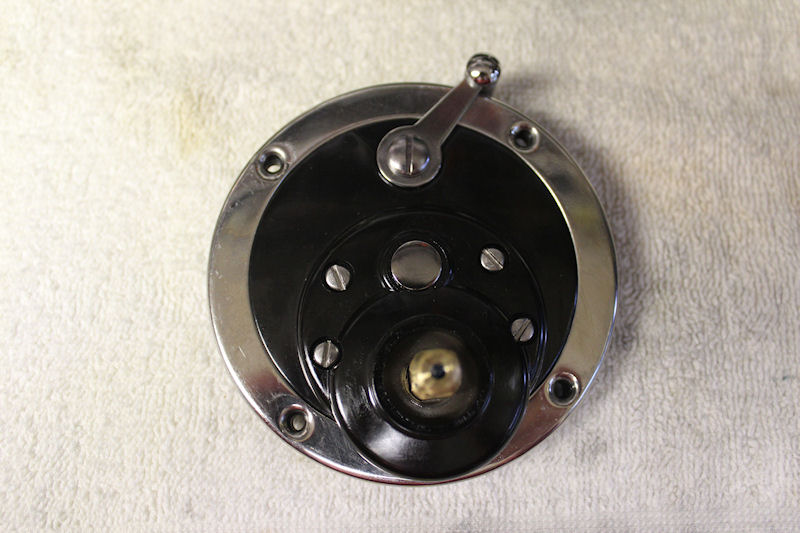
Above is the position the lever (key #21) will be in when we put it back together.
Which puts the springs (key #20) and eccentric (key #19) in this position.
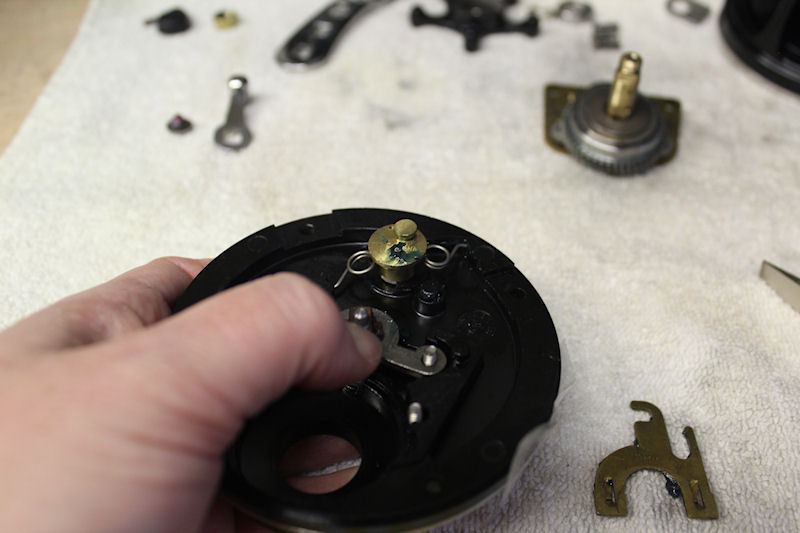
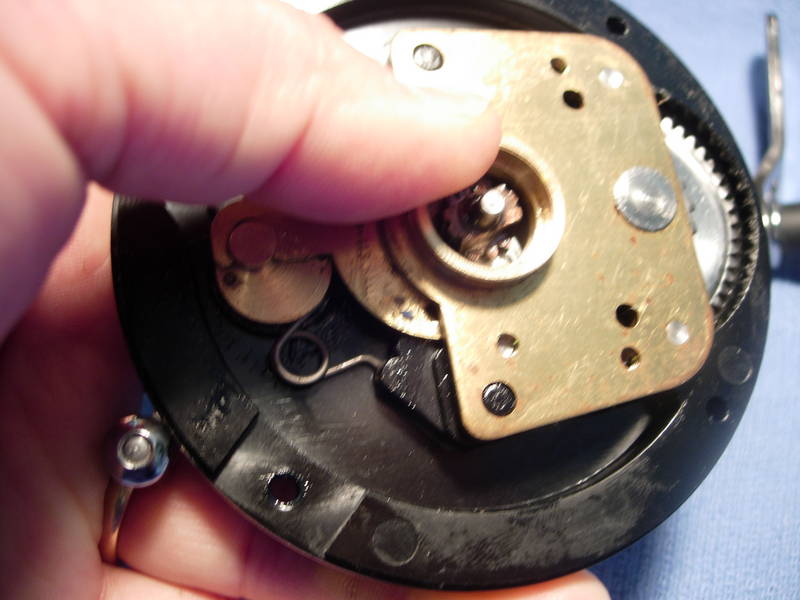
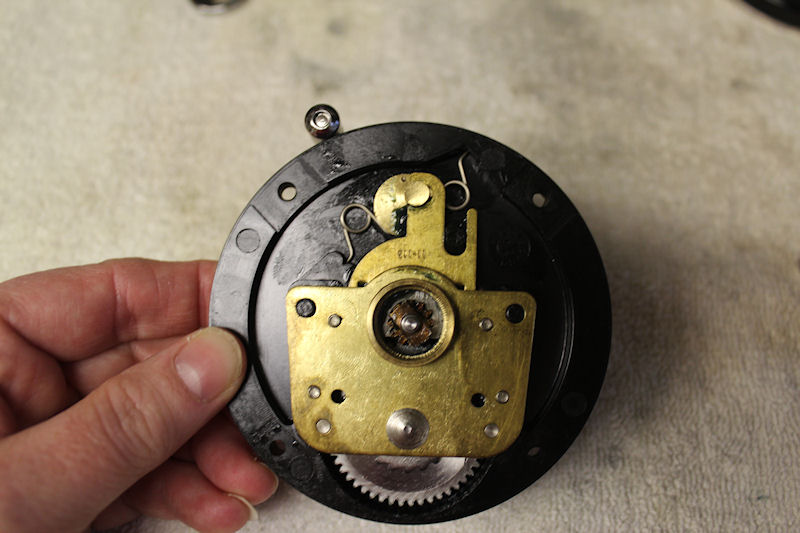
Remove the bridge assembly and set it aside. I use strong tape to hold the bridge screws in while I'm working on the reel. Remove the lever and pop out the eccentric and springs. NOTE: See how it looks here? The temptation when reassembling is to put the springs back in just like this and push the whole thing down. DON'T DO IT! It won't work and you spend hours fighting with it.
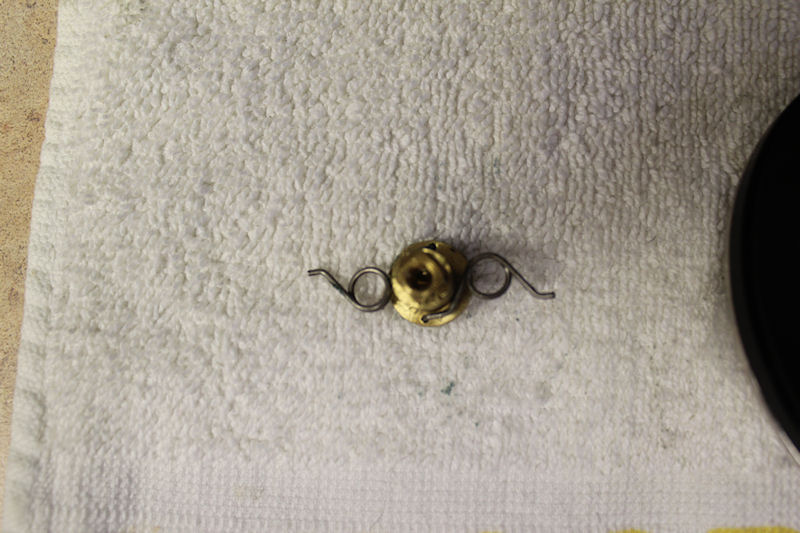
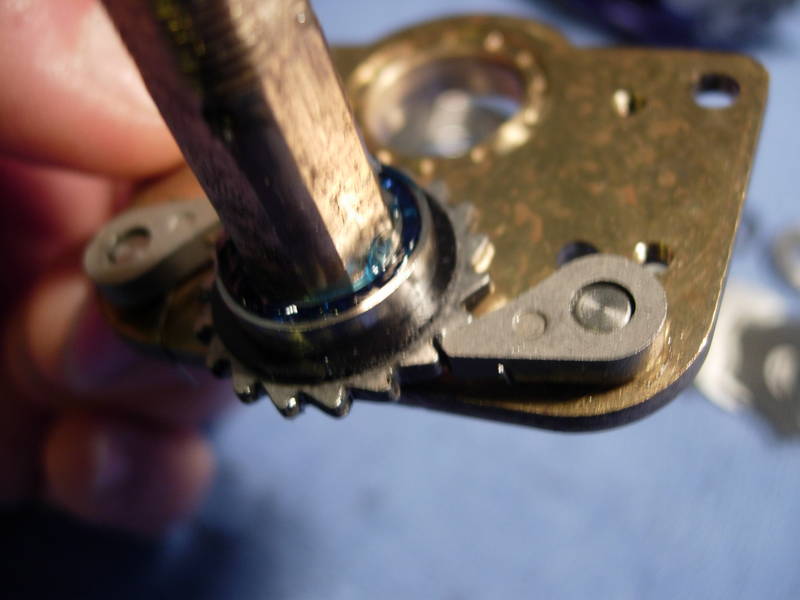
Install the eccentric as shown in this photo, with the springs in the relaxed positions.
Install the eccentric lever, same position that we started out in above.
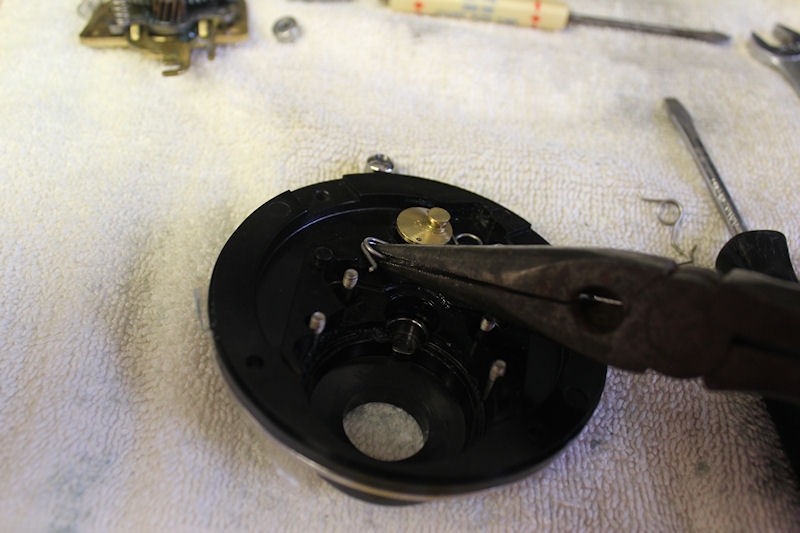
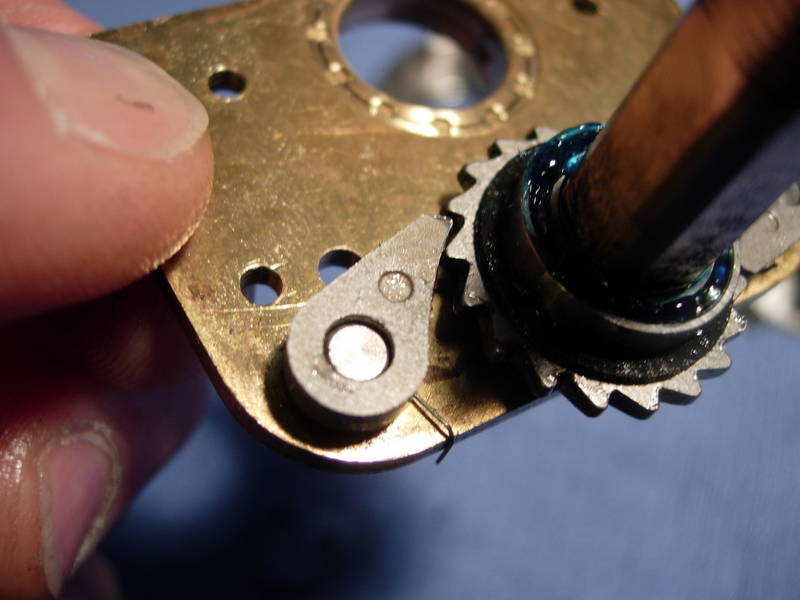
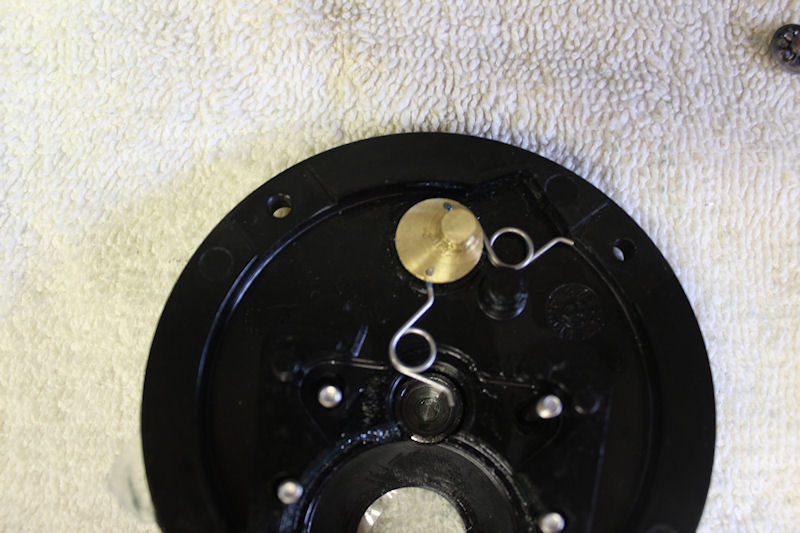
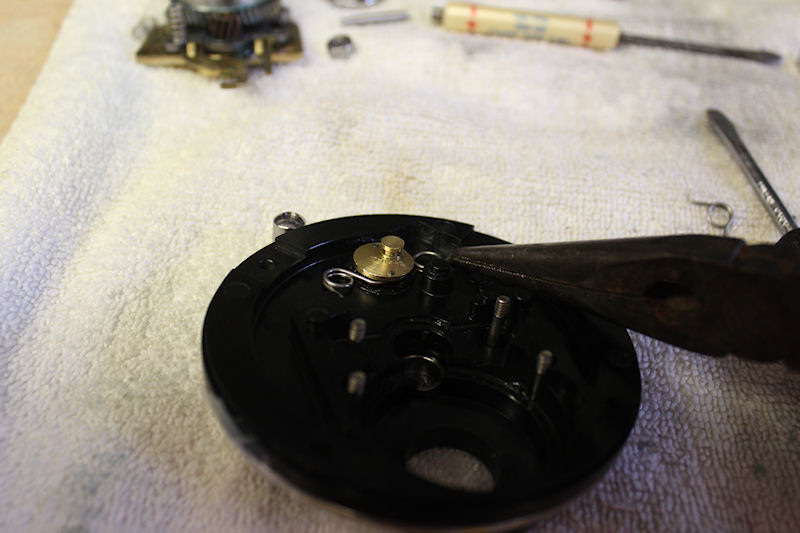
Use long nose pliers to manuever the springs up into position, then push each one down.
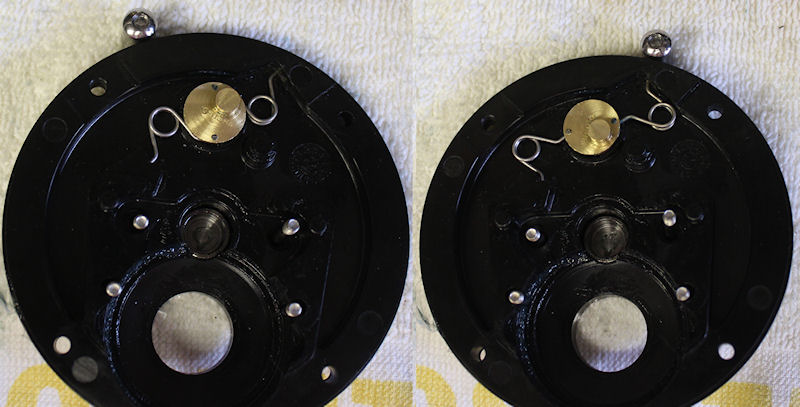
Flip the lever back and forth to test the springs. They should look like this.
Copyright © Alan Tani Reprinted with permission of the author.
Order parts online for this reel(s):
https://www.mysticparts.com/PennParts/Penn113HN.aspx
0 Comments