 |
By Maureen Albertson |

We've gotten many emails about how to assemble certain parts of the SSg reels, so we are doing a breakdown of the 450SSg as a sample to help with re-assembly of these reels.
- Quick jump to specific parts:
- Bail Spring
- Cam and Trip Levers
- Clicker
- Drag Washers
- Gears, Main Gear and Crosswind Gear
- Clutch (Anti-Reverse)
- Gear, Pinion
Or just start reading from here:
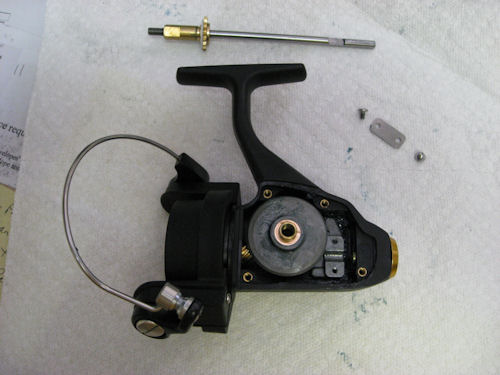
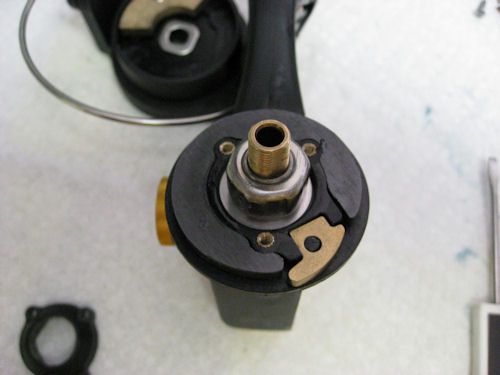
Start by removing the drag knob, spool and housing cover. Remove the crosswind block screws, take out the crosswind block plate. Remove the nut that holds the shaft to the rotor (you can do this without removing the balance weight but taking the weight off makes it easier), then slide out the shaft.
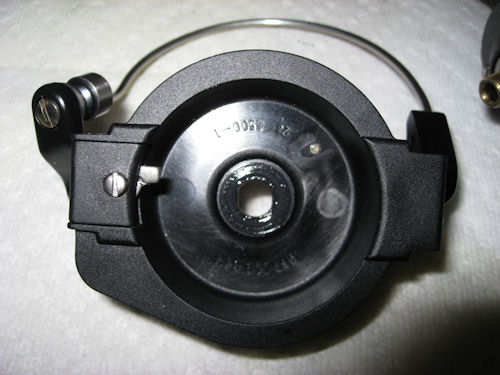
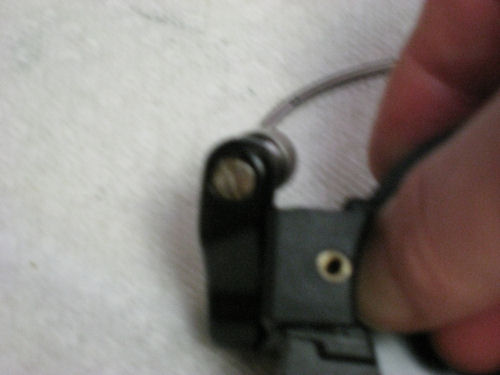
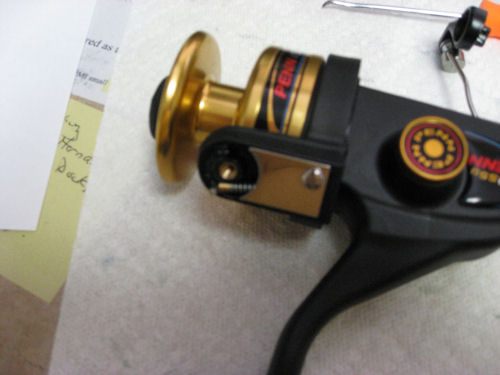
Shot of the rotor with the cam leverand spring fully assembled and covered. Remove the cover screw and slide the cover off. The cam lever will most likely jump right off the spring.
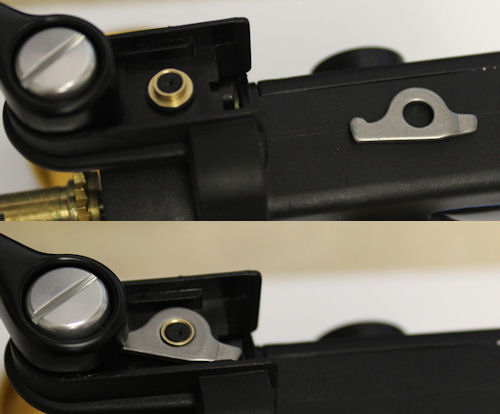
Position of the trip lever. I some of these pics while rotor was on the body rather than off. You can do this etiher way.
YOU CAN CLICK THIS IMAGE TO ENLARGE IT!
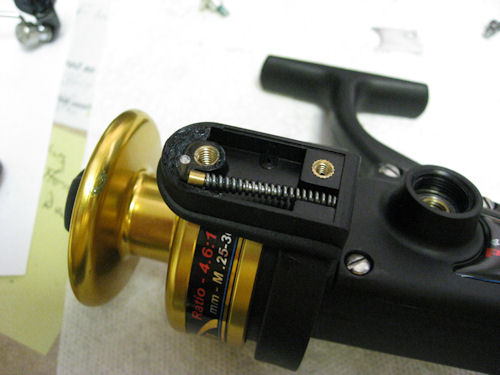
Cam lever spring - note the positioning. The straight end of the spring is under the tip of the trip lever. The hooked end of the spring is towards the inside of the rotor and on top. That hooked end fits into the grooved end of the cam lever. It's a bit hard to see the spring, but this is better than my first attempt.
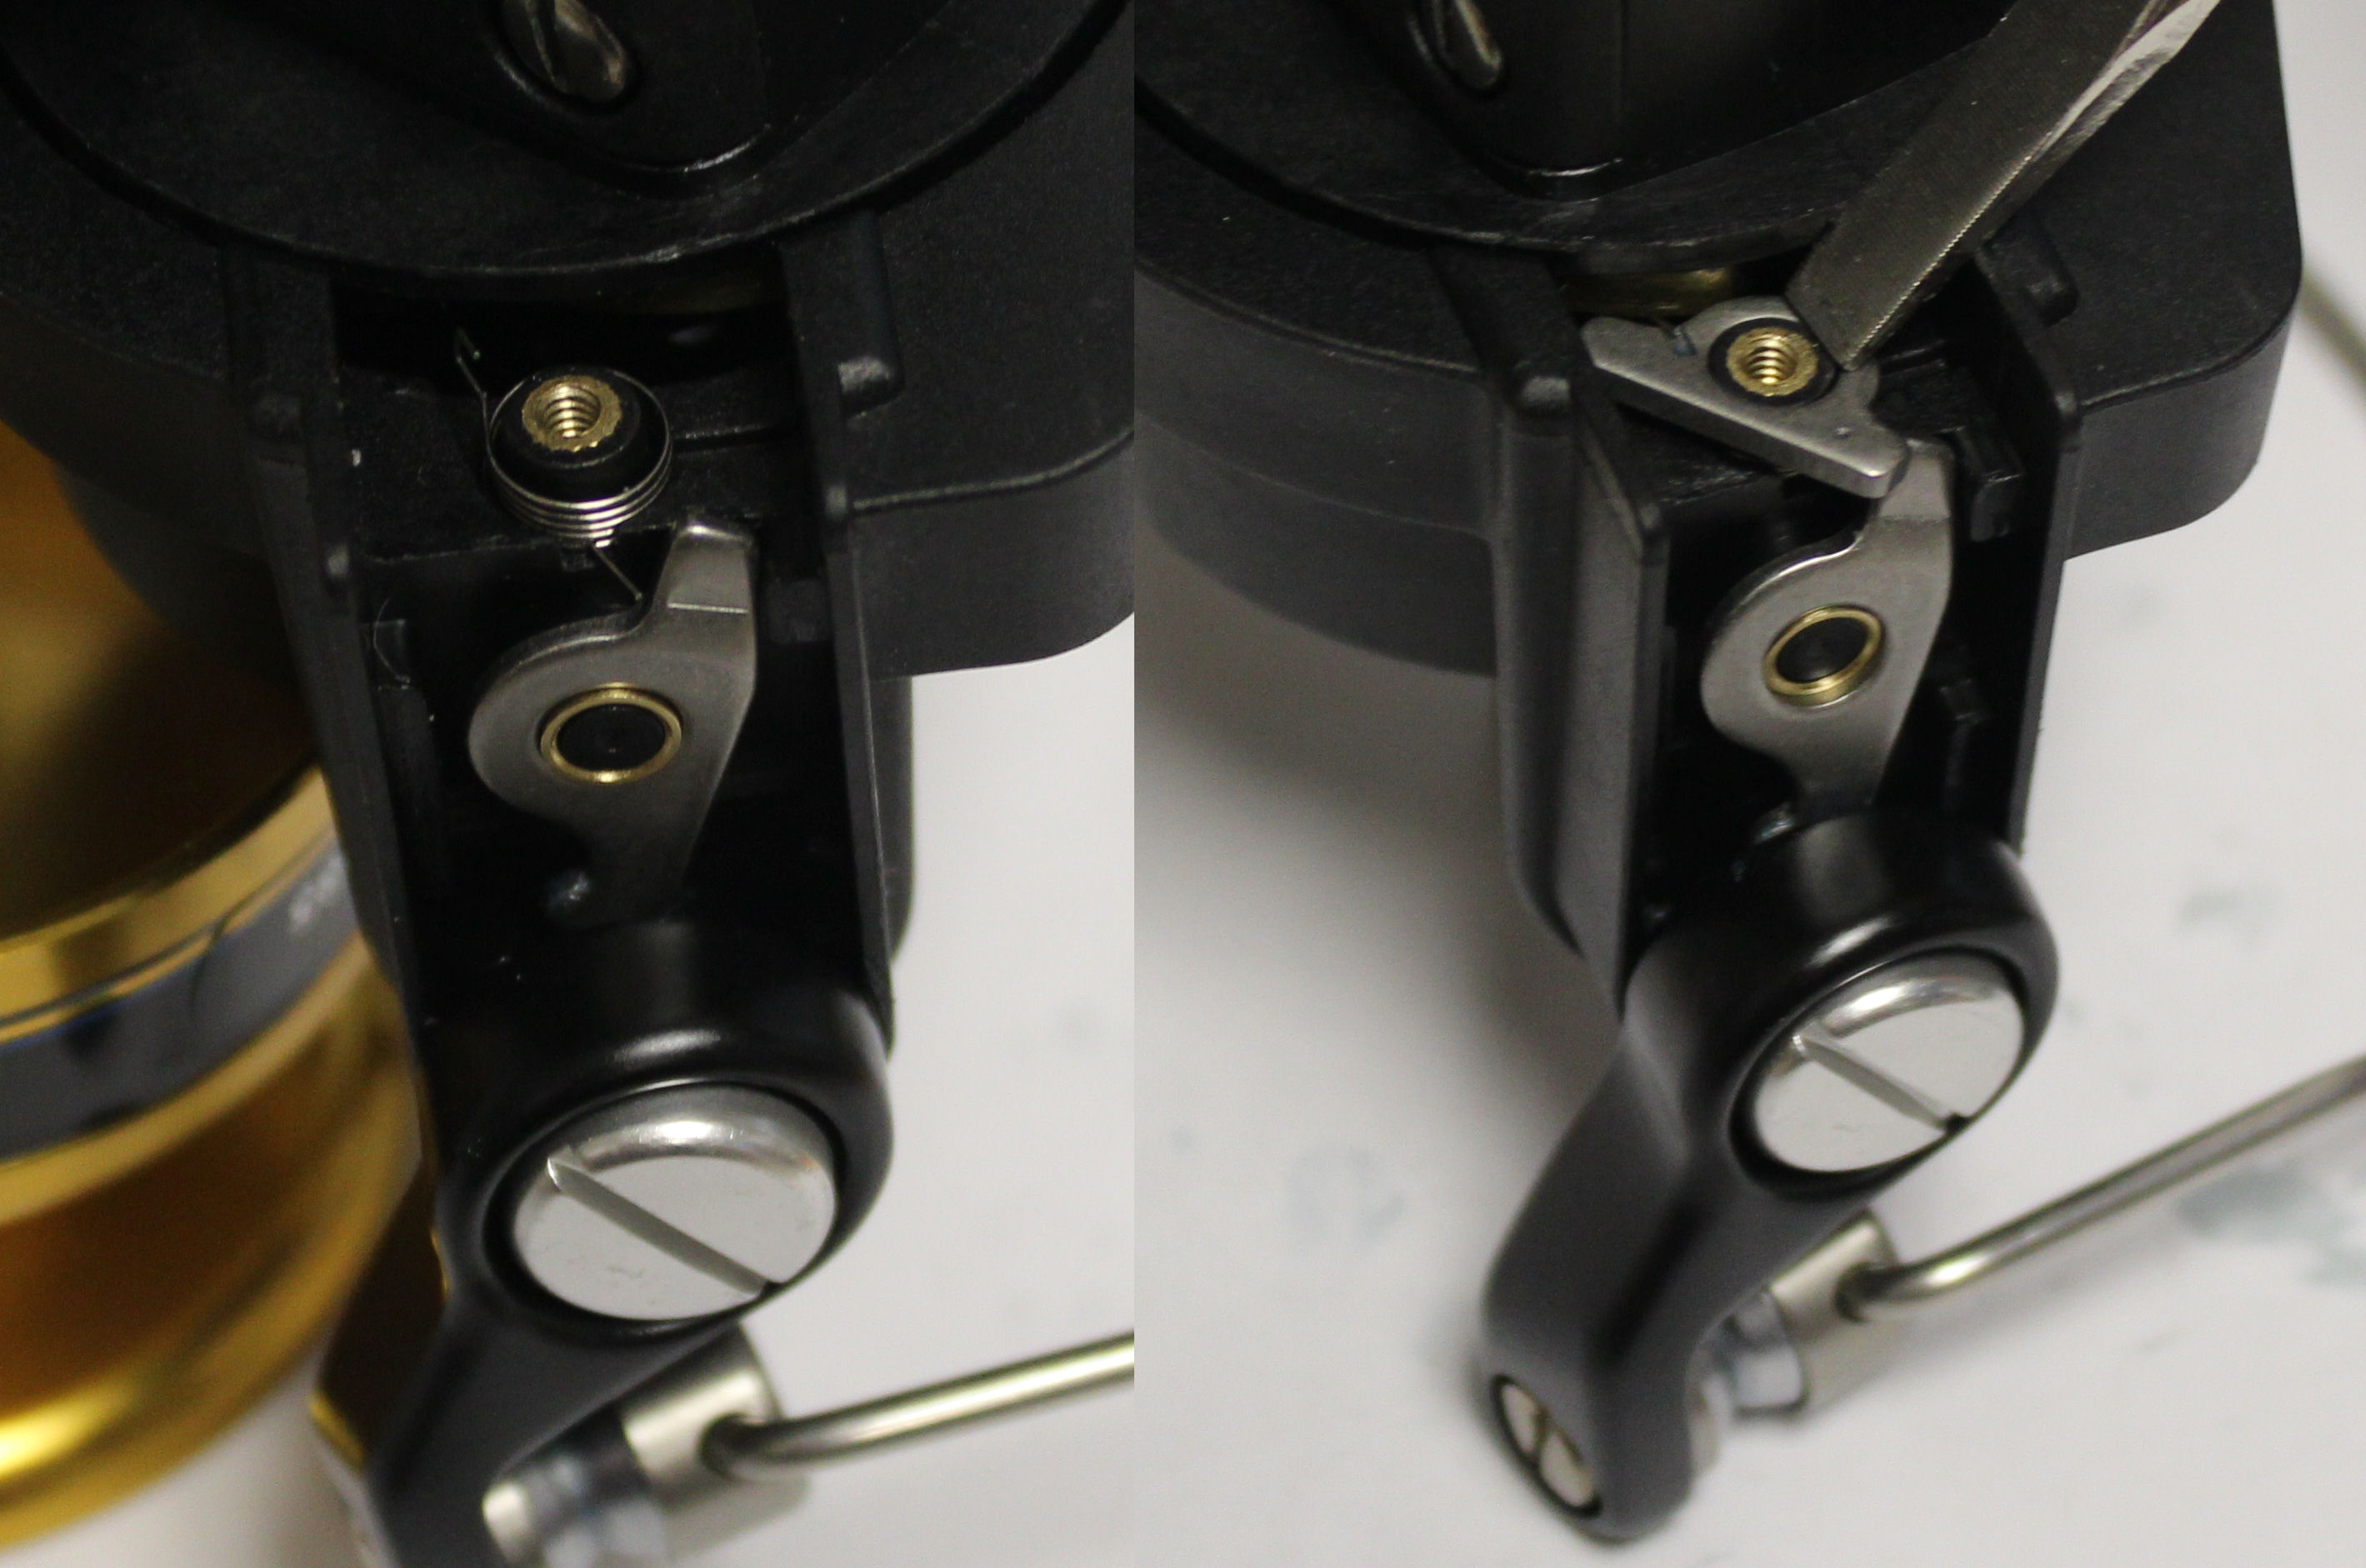
Using the screwdriver to hold the cam lever in place so that you can see the positioning.
Holding the cam lever and spring firmly in place with one thumb, use the other hand to push the cover back into position, carefully sliding your thumb off the cam lever and snugging the cover down. This may take a couple of tries before you can screw it in place, as that lever will try to jump off the spring.
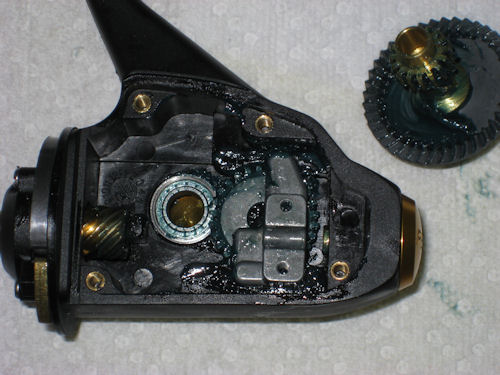
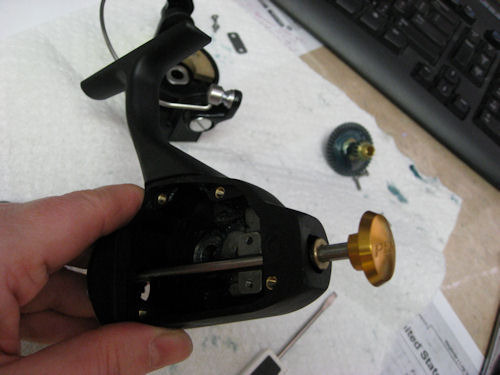
Slide out the main gear, noting the position of the crosswind gear and block. You now have access to the bearing inside of the housing.
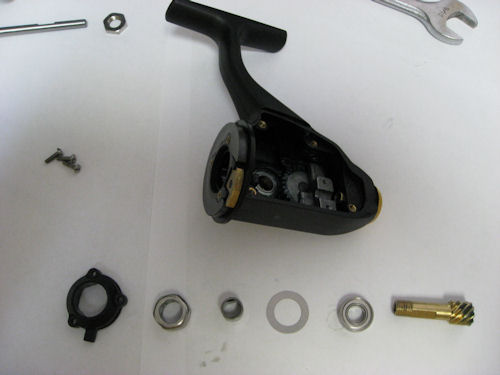
General reel repair tip - keep your parts in groups as you take them off - it makes reassembly much easier when you are done.
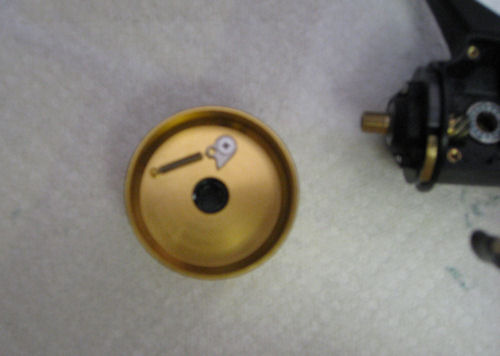
Positioning of the clicker. The washer is installed under the click tongue.
Taking out the drags by popping the spring with the end of a screw driver at the open end of the spring. Keep fingers in place to keep the spring from launching across the room!
The drag stack from left to right is top to bottom inside the spool. When putting these back in, make sure that the two keyed washers are turned inside the spool so that those flat edges are in the same direction; otherwise, the spool won't seat all the way down on the shaft. You can use the flat edge of a screw driver to help line them up.
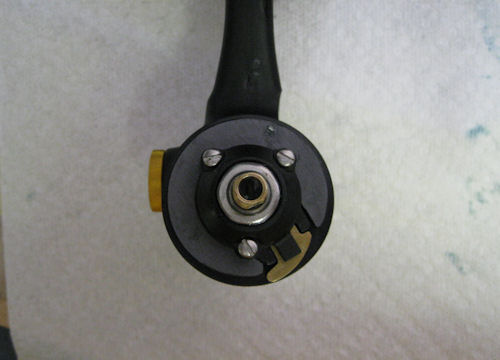
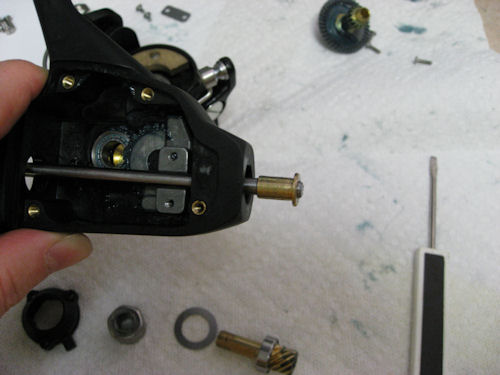
The assembled clutch and pinion gear.
Angled shot showing the assembly and a better view of the trip cam.
Remove the retainer to disassemble the clutch.
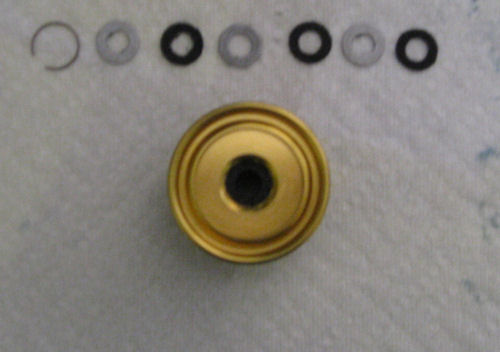
Disassembled Clutch/Pinion System: The retainer, the clutch bearing with sleeve inside, washer, ball bearing and pinion gear.

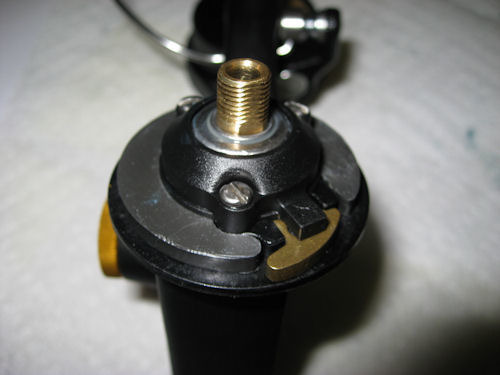
If you need to change out the spool shaft bushing, once the clutch/pinion have been removed, you can use the shaft itself as a removal tool.
Push the end of the shaft up into the bushing from the inside of the spool, and bang carefully on the housing with your hand to push the cap up out of the housing. You could also use a small hammer to tap on the end of the shaft to push the cap out instead of pushing the housing down, repairman's choice.
The bushing will then just slide out. Shown here on the end of the shaft.
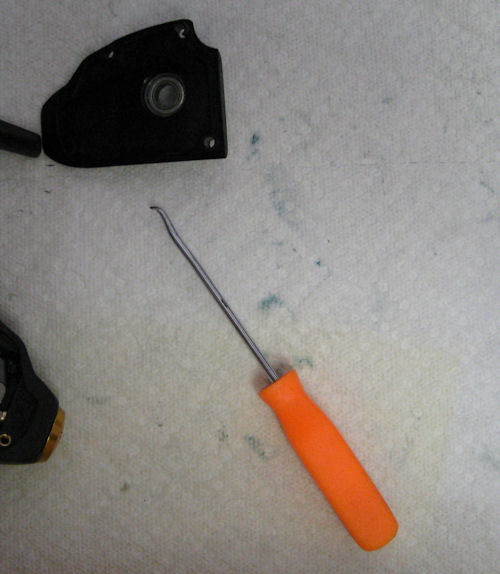
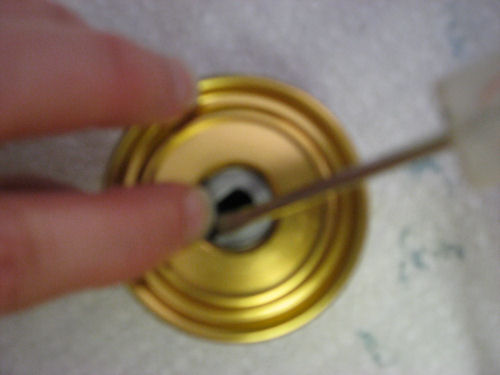
We made this ball bearing removal tool using an icepick. We bent the end about 3/4" down so that it was slightly angled, then bent the tip a bit more in the other direction and flattened out the tip. You use the tip by sliding it under the bearing and pull up on it to extract it. This reel isn't usually a problem, but getting the bearings out on some of reels is difficult, so this helps.
Remove the bail wire to work on the bail spring. You can remove just that side if wished. I removed it completely for the purposes of the breakdown. The bail spring shown here with the cover still on and the end of the pivot arm sticking out.
Remove the cover to access the bail spring and pivot arm assembly.
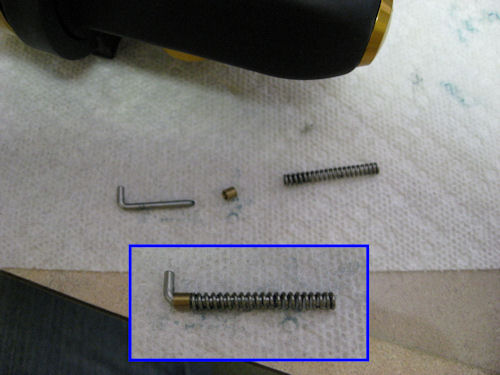
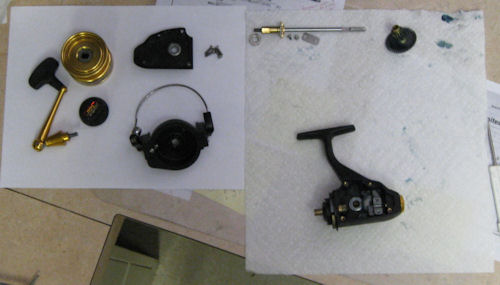
Parts shown assembled and disassembled. The Pivot Arm, Bushing and Bail Spring.
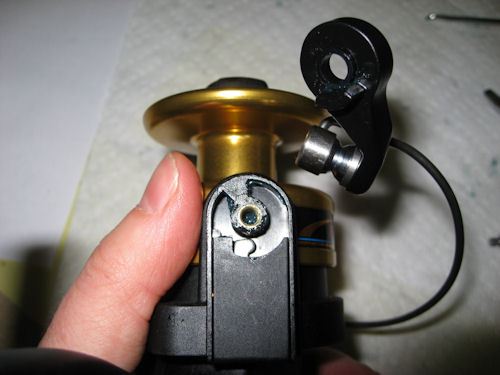
Reinstalling the bail wire on the line roller side. Note the hooked end of the trip lever inside the opening. Bail wire must be in the open position.
Make sure that the curved ridge on the underside of the bail arm fits into that groove the the right of the trip lever.

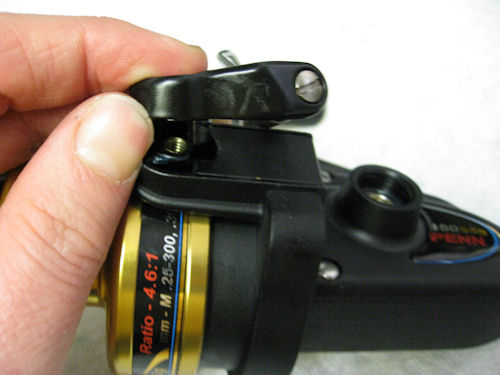
Turn the bail arm slightly so that you can snug it down with the screw.
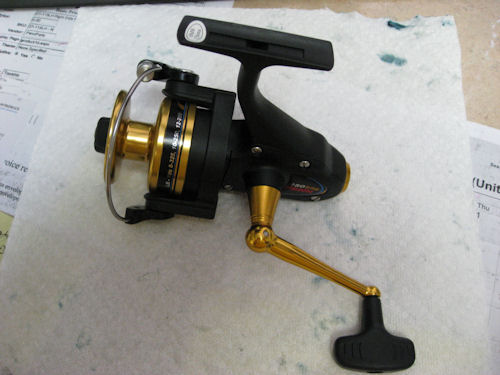
The 450SSg Re-Assembled.
Order parts online for this reel(s):
https://www.mysticparts.com/PennParts/Spinning.aspx#SS4thGen


2 Comments