 Copyright © Alan Tani Reprinted with permission of the author.
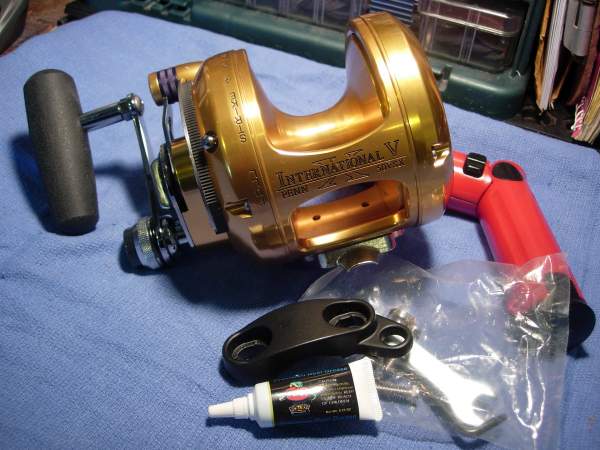
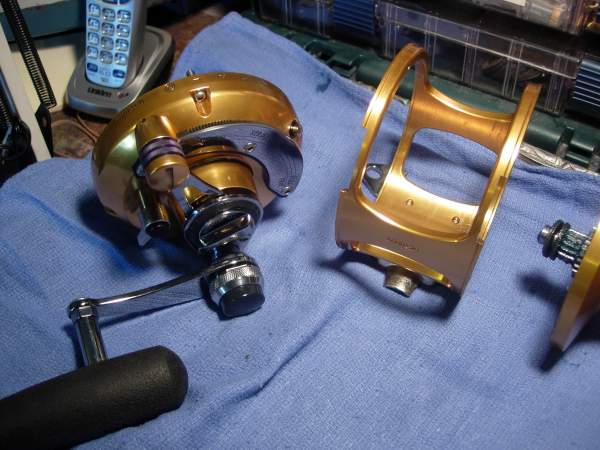
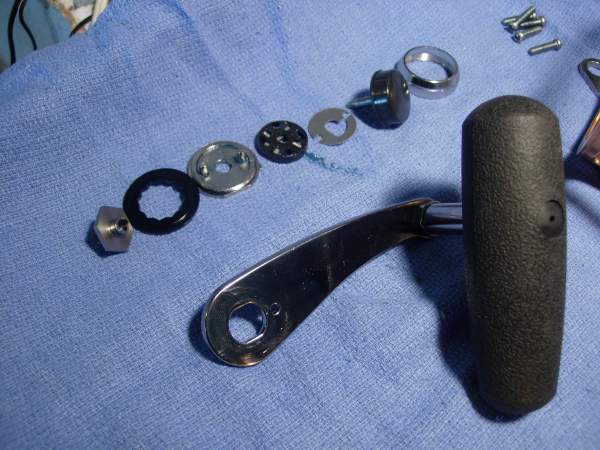
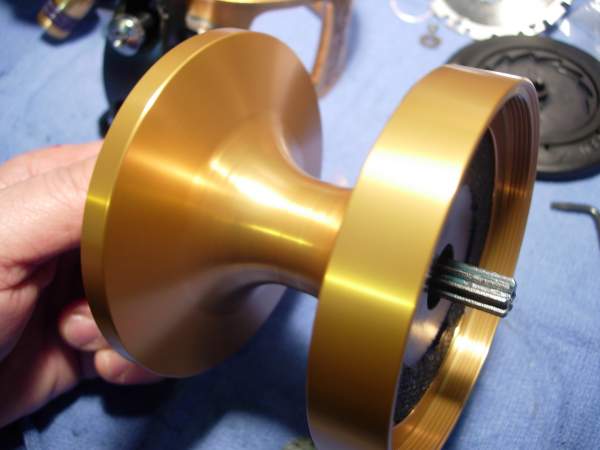
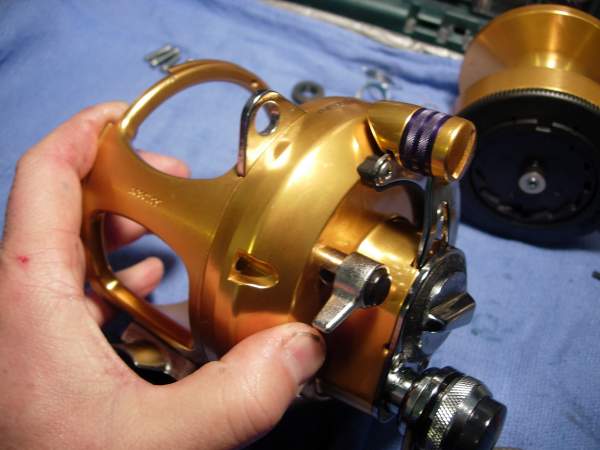
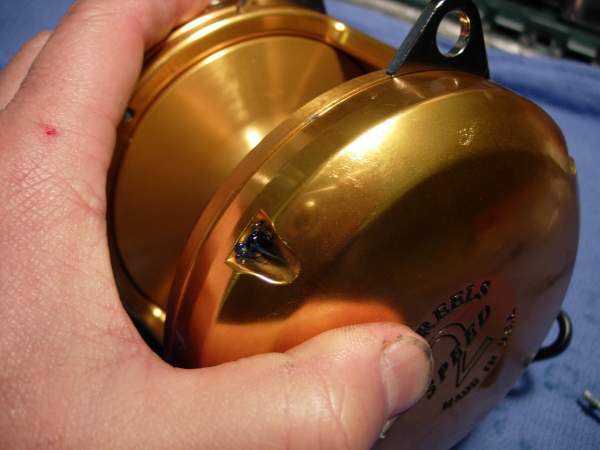
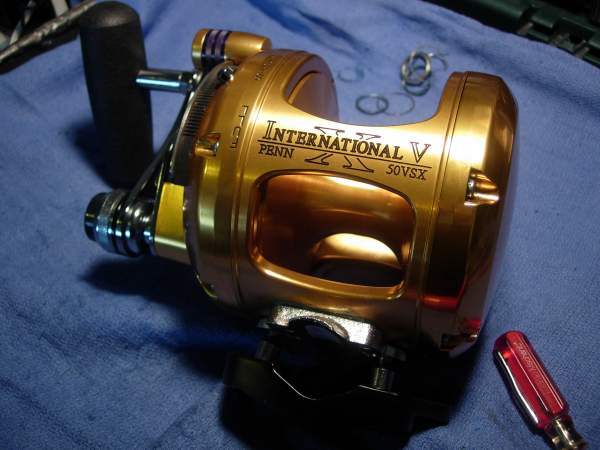
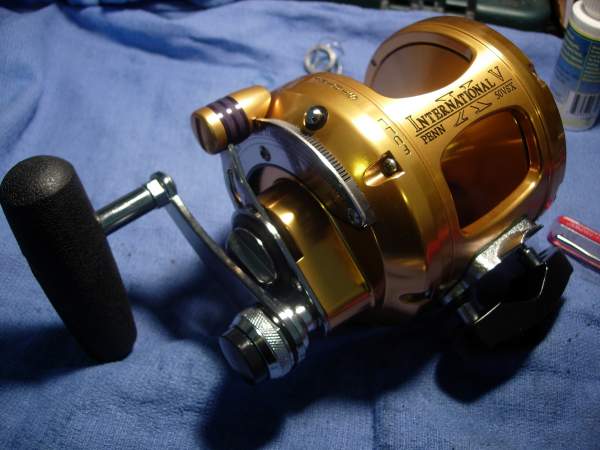
if you've followed my posts, you know how big a fan I am of the old school internationals. I am just as impressed with the new "V" series internationals. here is the reel.

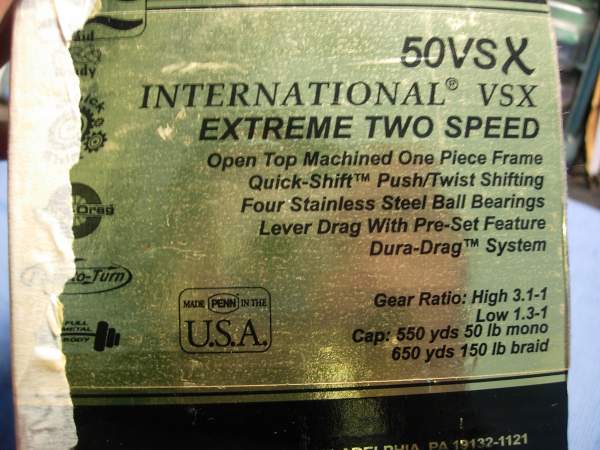
here's a link to the schematic.
https://www.mysticparts.com/Assets/images/pennparts/schematics/50vsx.pdf
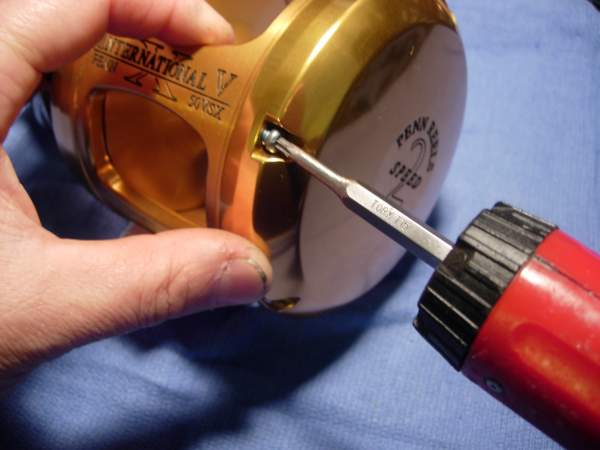
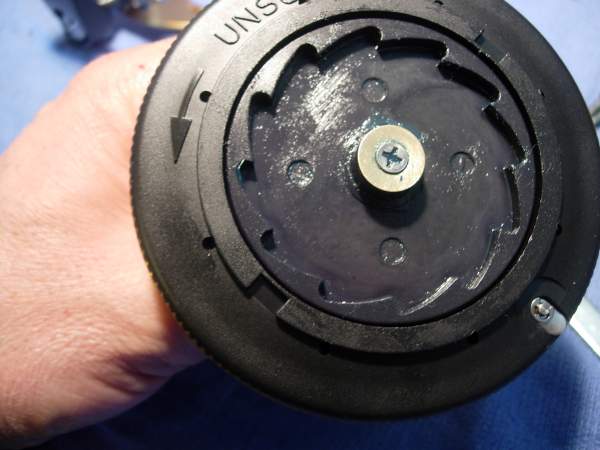
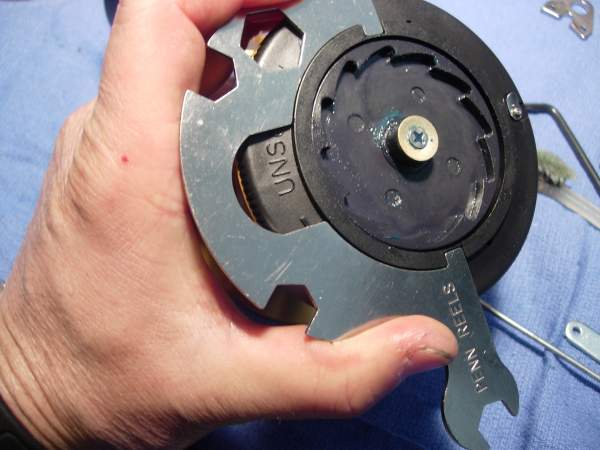
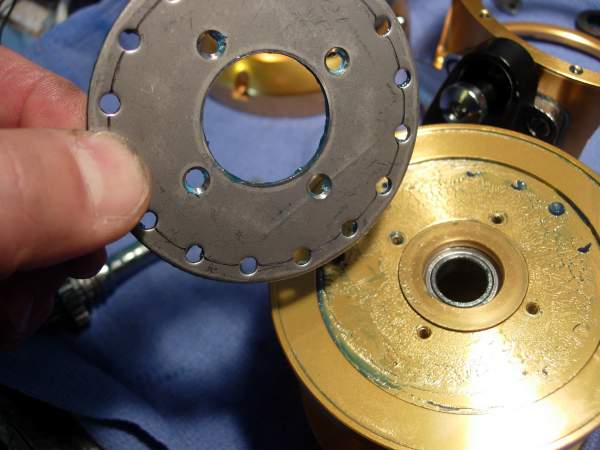
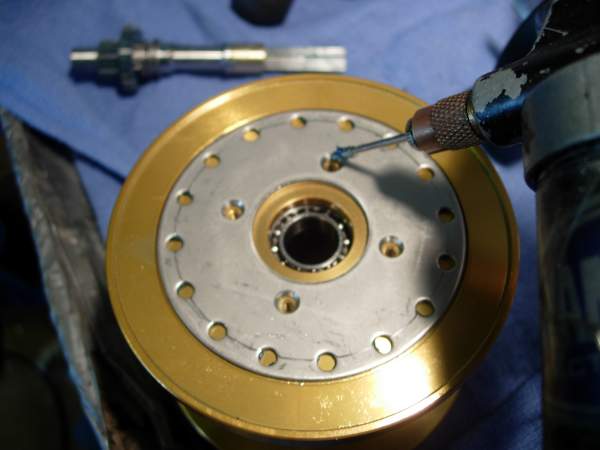
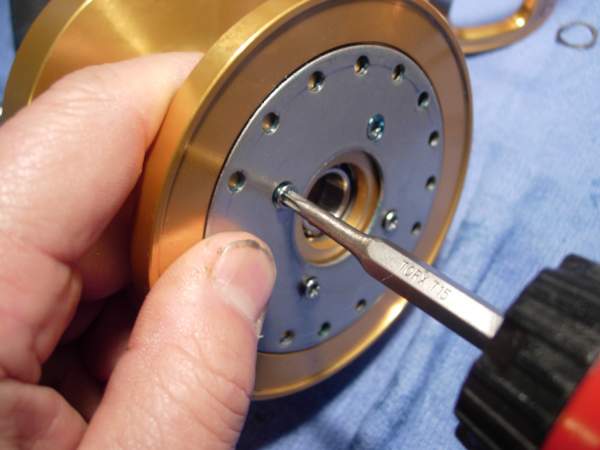
we need a no. 15 torx bit to back out the five left side plate screws (key #39).
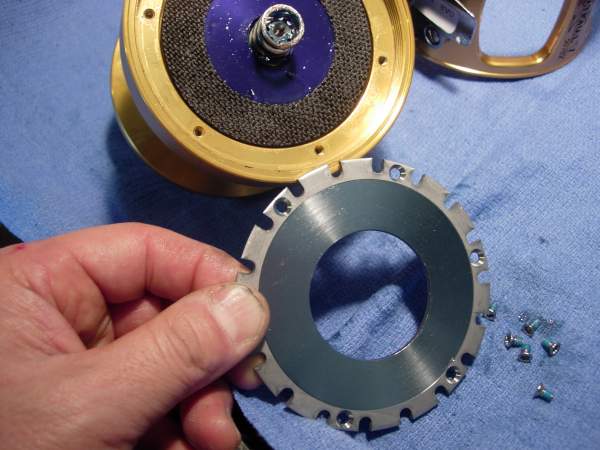
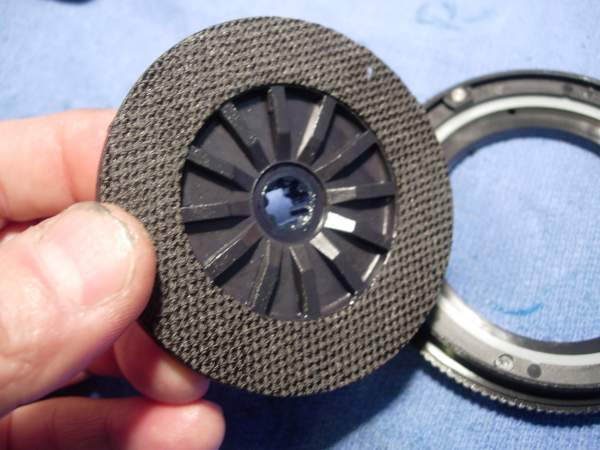
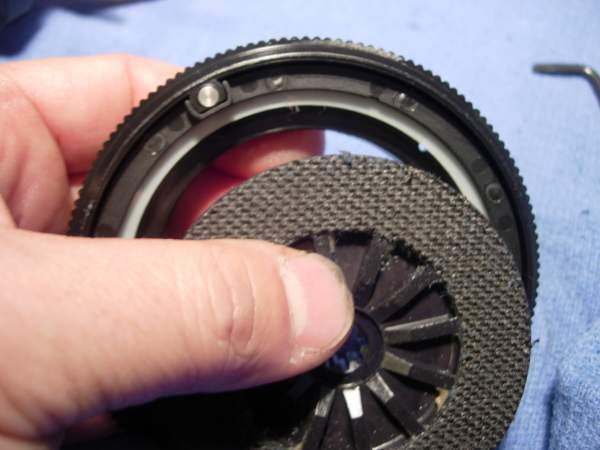
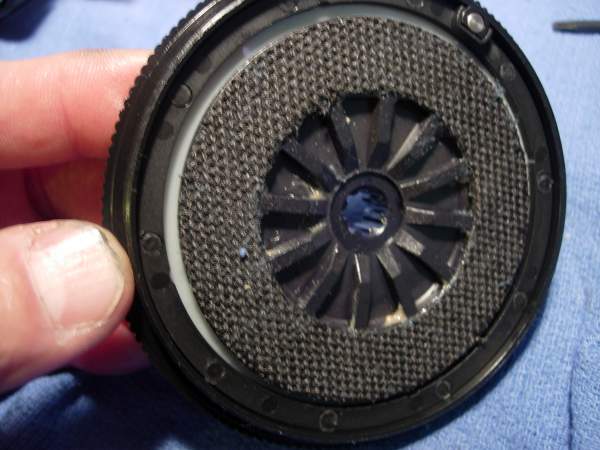
it separates easily to remove the spool assembly (key #29).
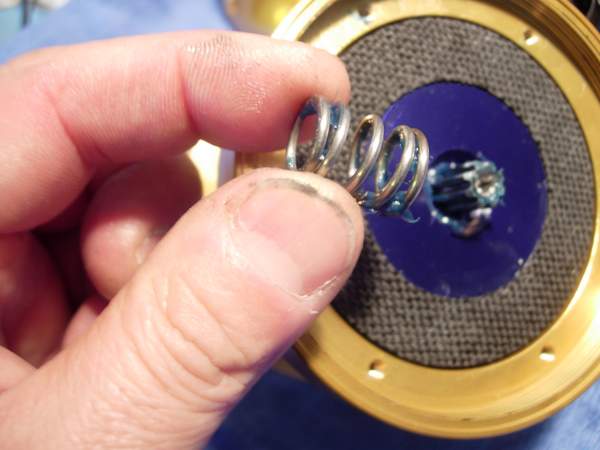
before they get lost, let's find the disc clutch springs (key #'s 18 and 18A).
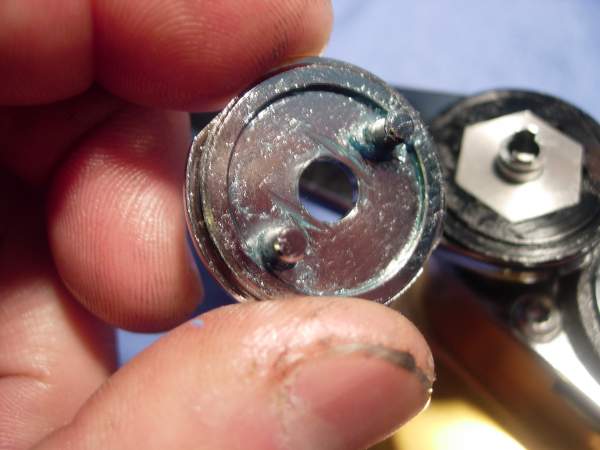
remove the five right side plate screws (key #38).
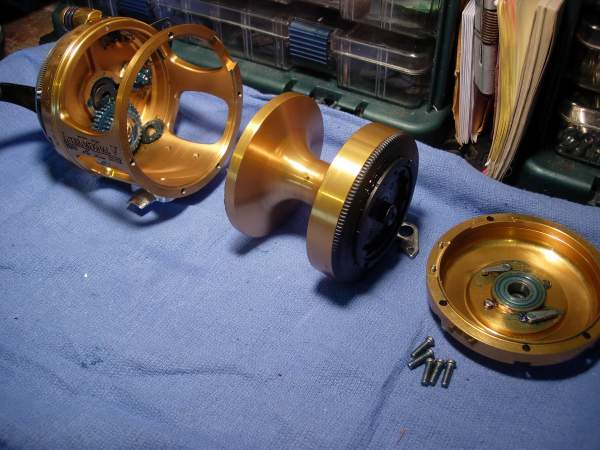
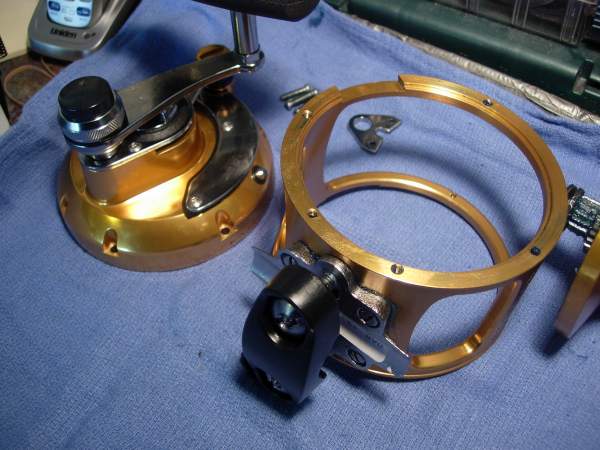
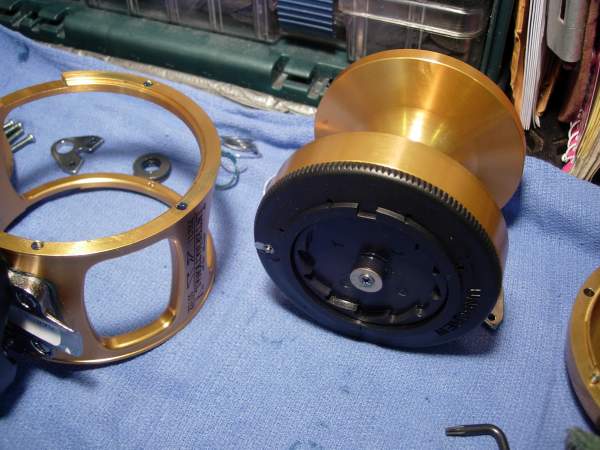
we now have four separate pieces, the right side plate assembly (key #1), the frame assembly (key #183), the spool assembly (key #29) and the left side plate assembly (key #27).
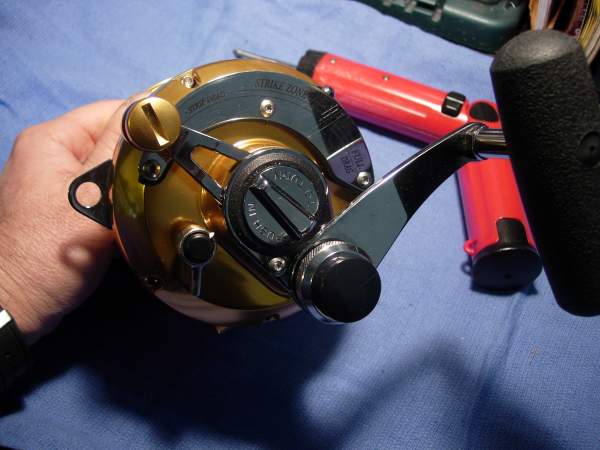
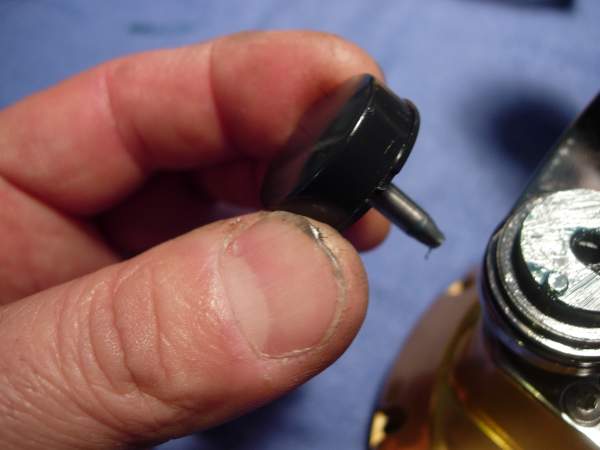
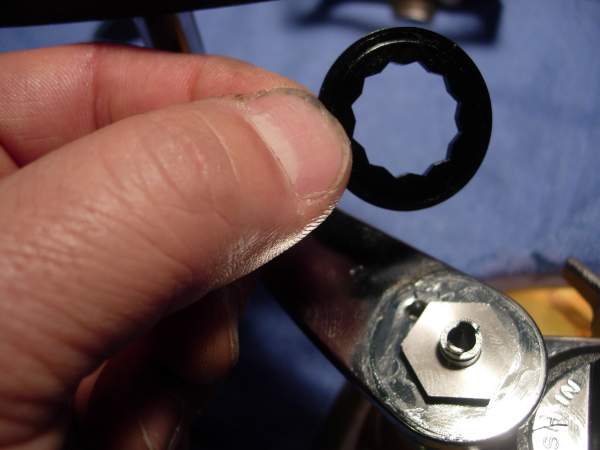
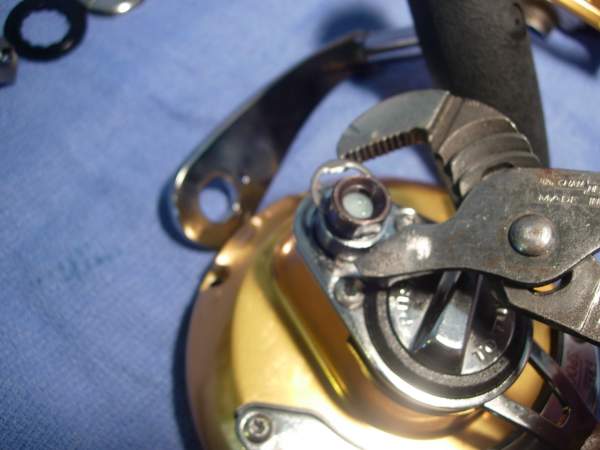
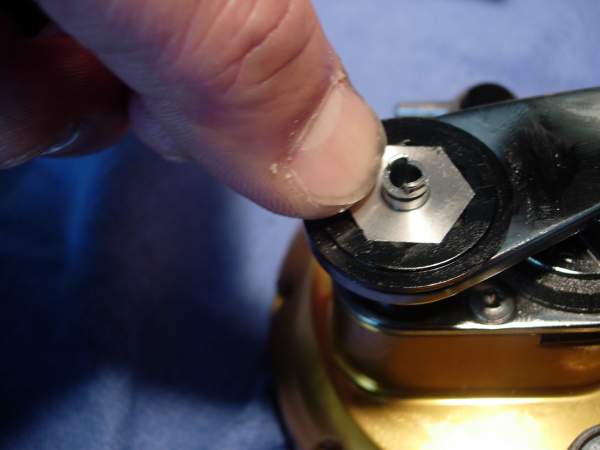
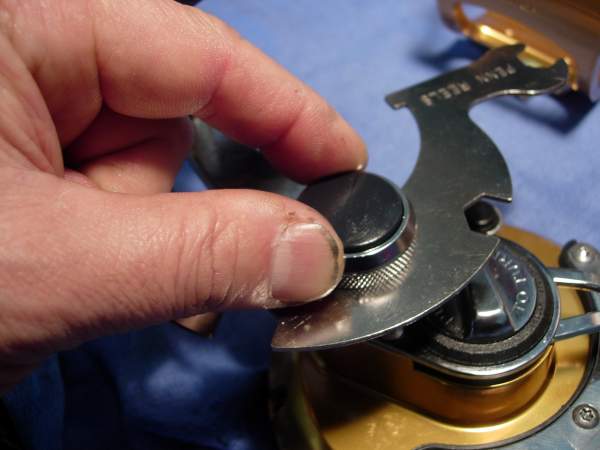
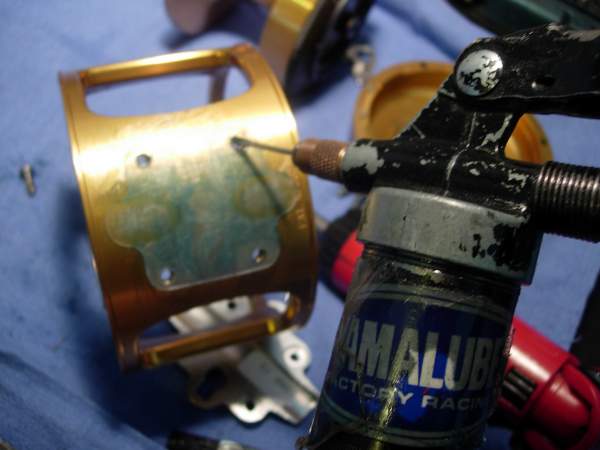
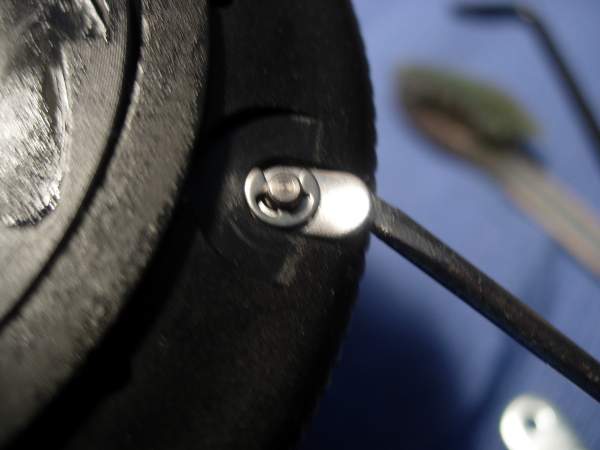
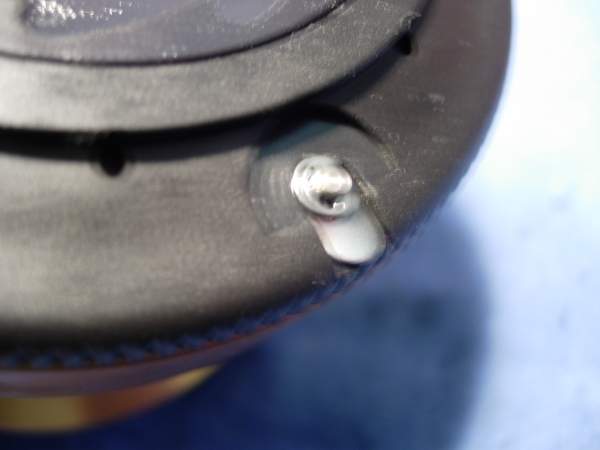
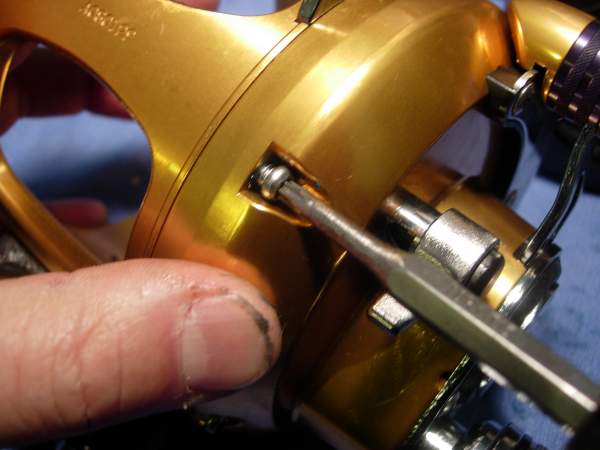
the hardest part of servicing this reel is removing the handle. you'll need to have a special wrench (part #168-30VS).
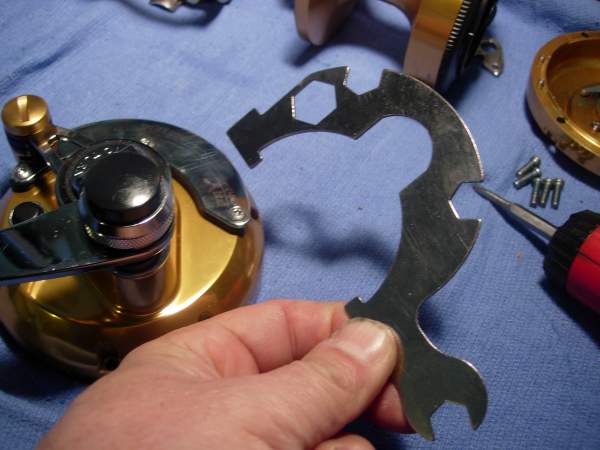
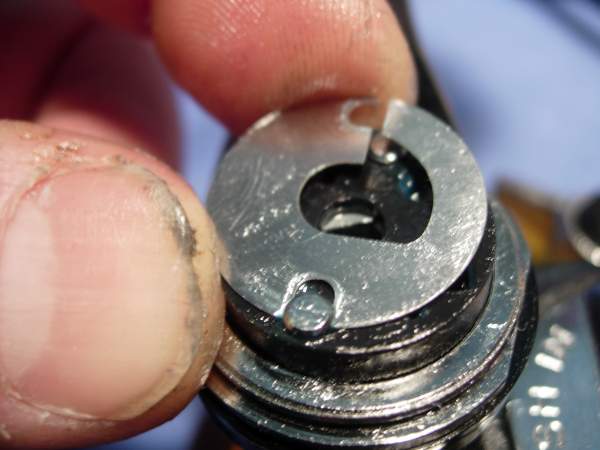
slide the wrench under the shifter button retaining ring (key #110C) to hold the shift housing (key #110B).
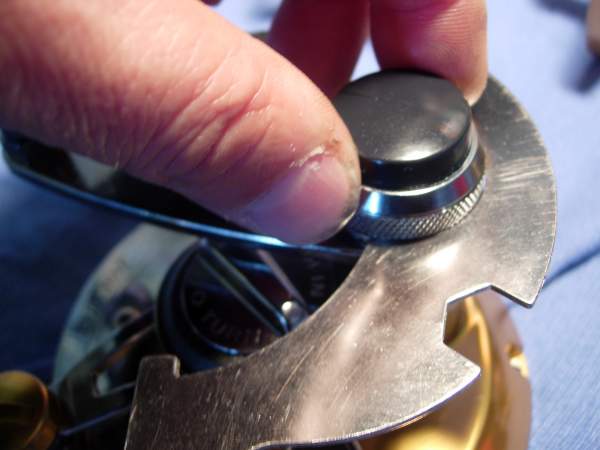
unscrew the shifter button retaining ring (key #110C).
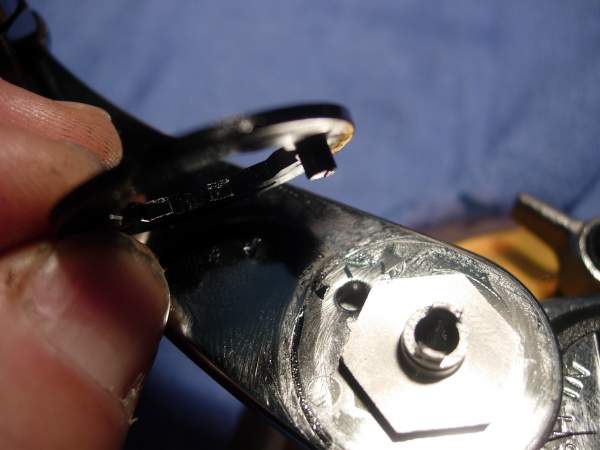
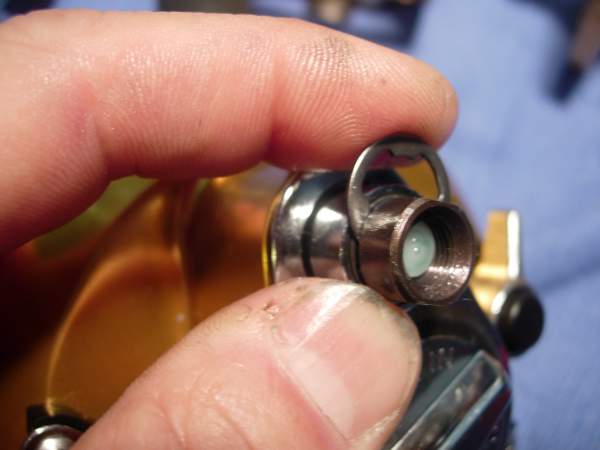
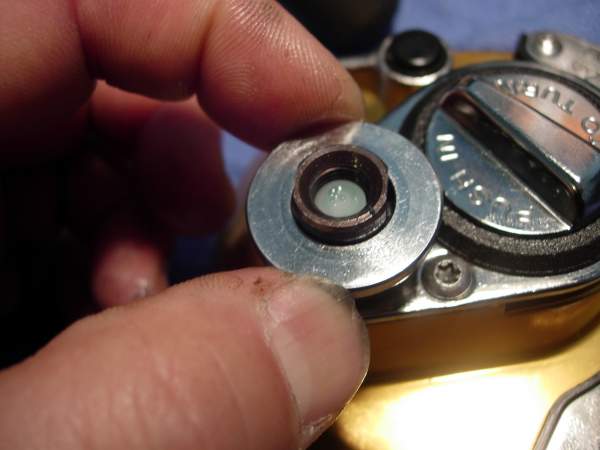
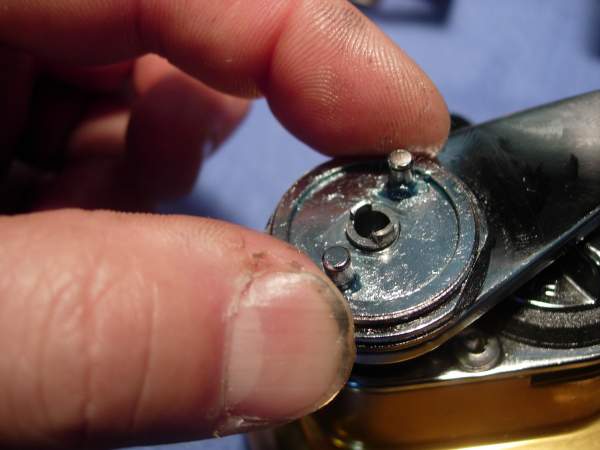
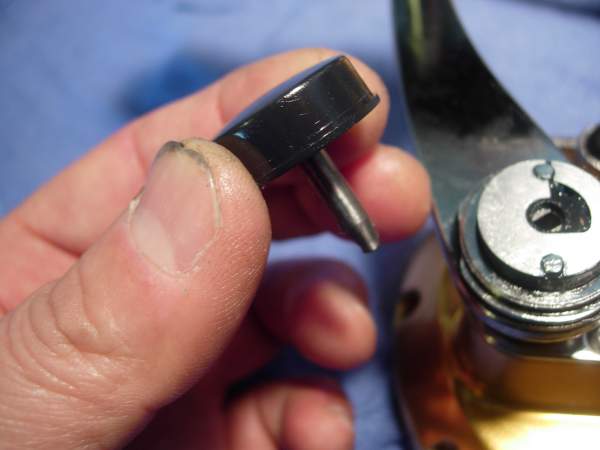
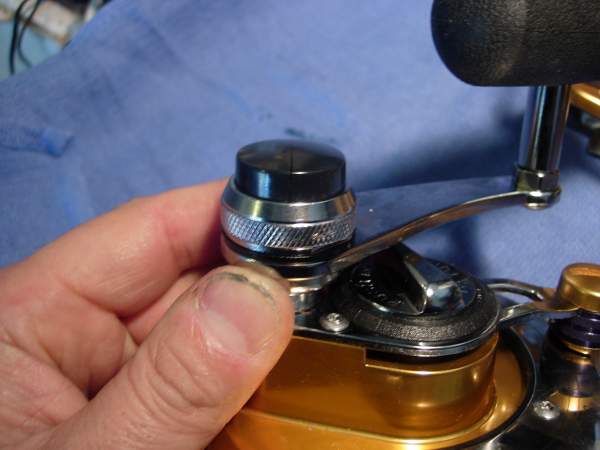
the shift button (key #172) pulls right out.
remove the shifter retaining plate (key #133).
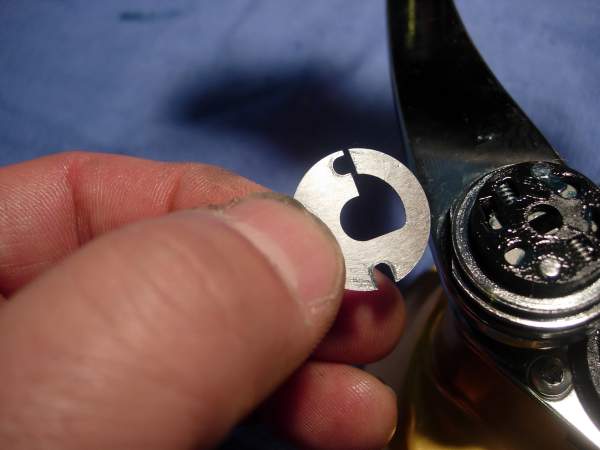
the shifter catch holder assembly (key #170) pulls straight up.
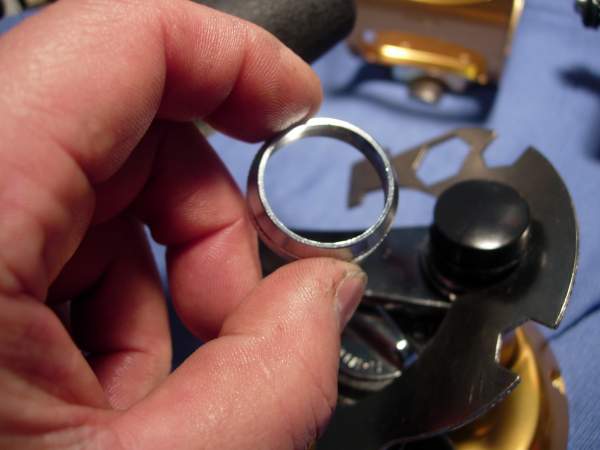
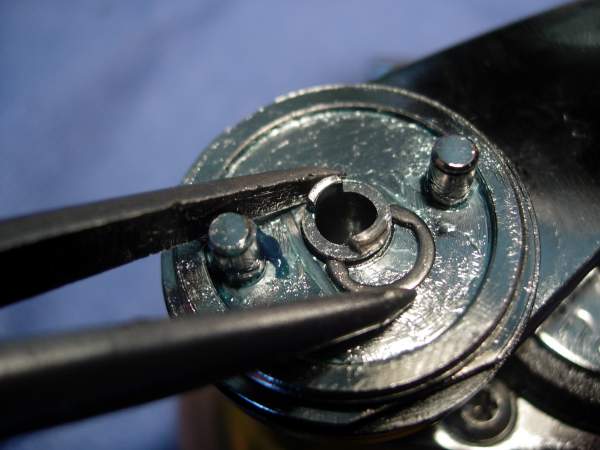
remove the shifter retaining ring (key #67B).
the shift housing (key #110B) lifts straight up.
remove the handle locking plate (key #110A).
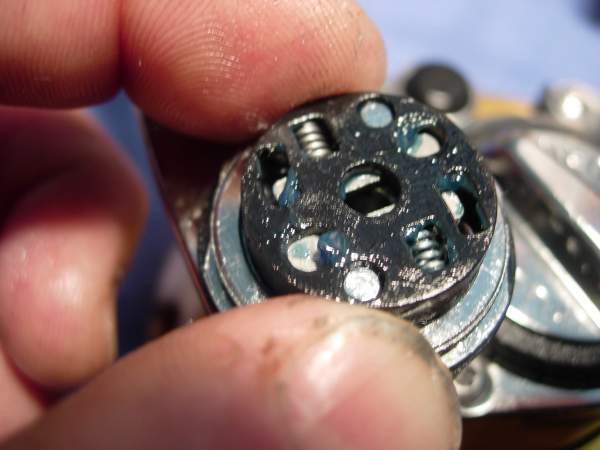
note the position of the peg underneath and the matching hole in the handle arm.
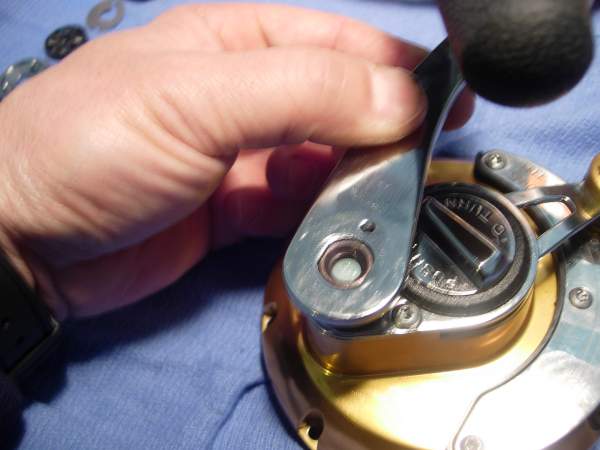
remove the handle screw (key #23).
remove the handle assembly (key #24). ok, I don't know about you guys, but I think this is way too complicated to just remove a handle.
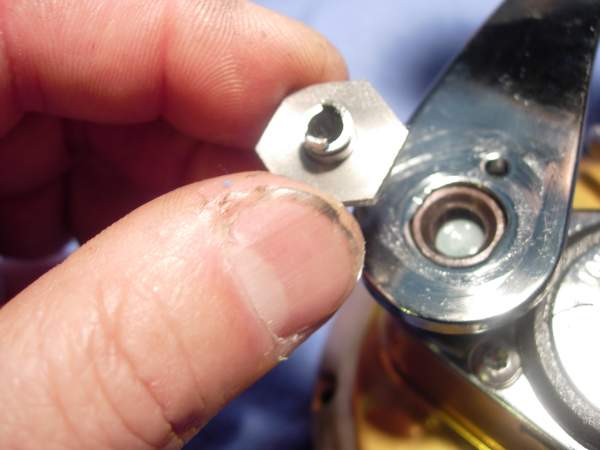
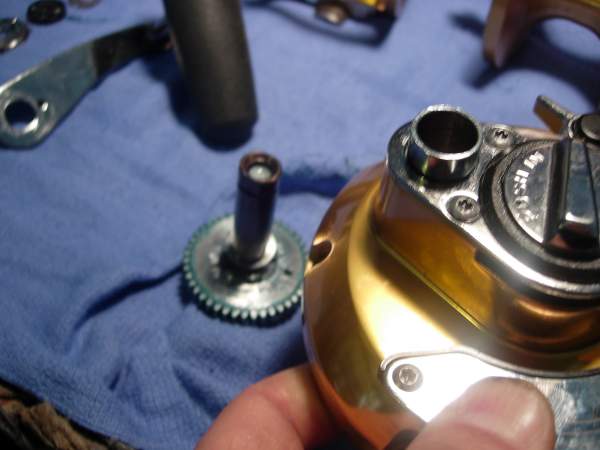
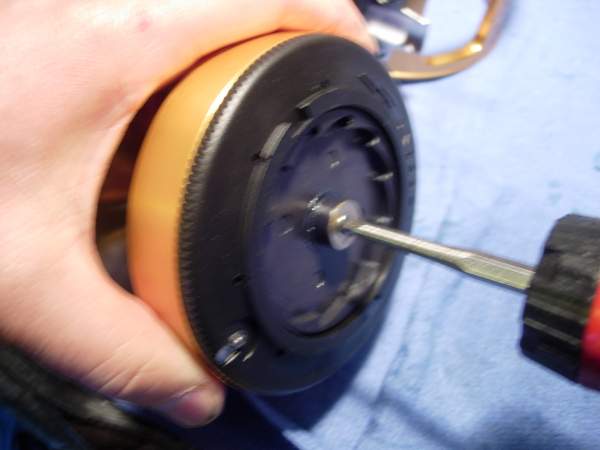
remove the gear stud shield (key #50).
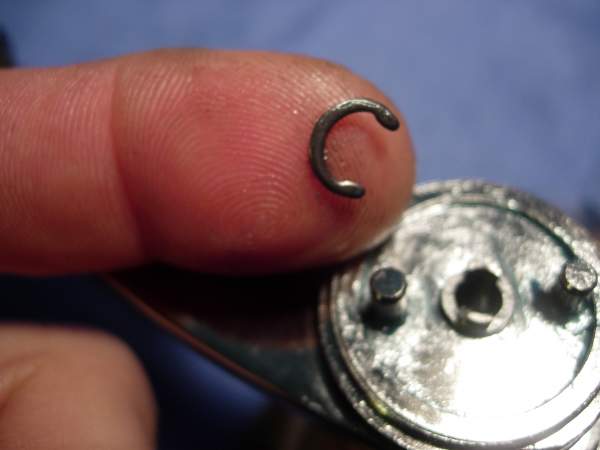
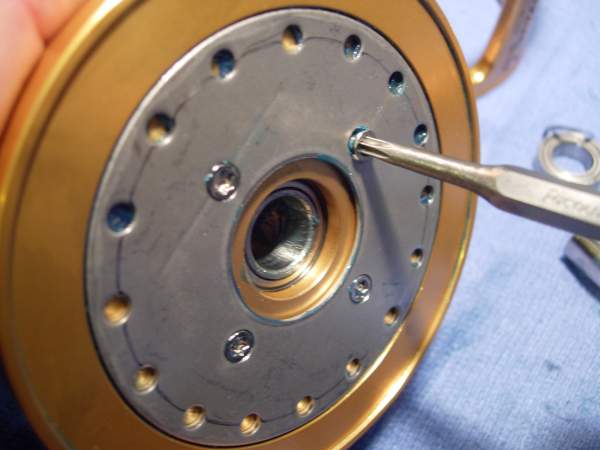
take a sharp pair of needle nose pliers and push out the retaining ring (key #195).
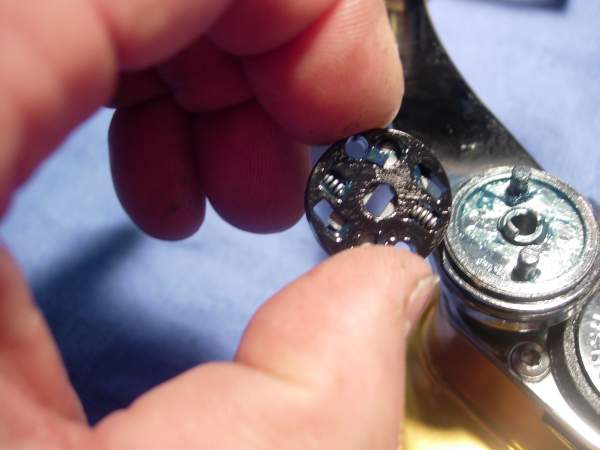
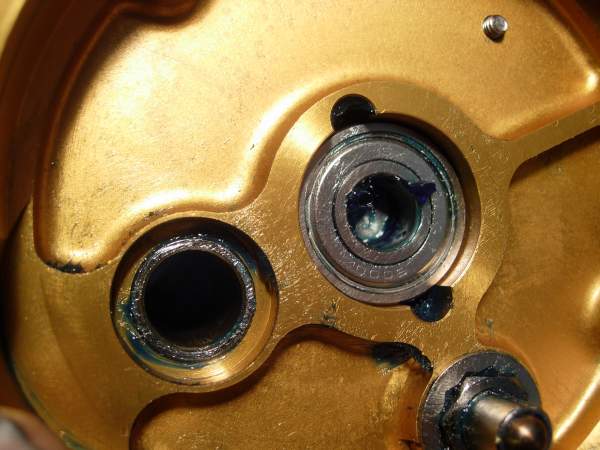
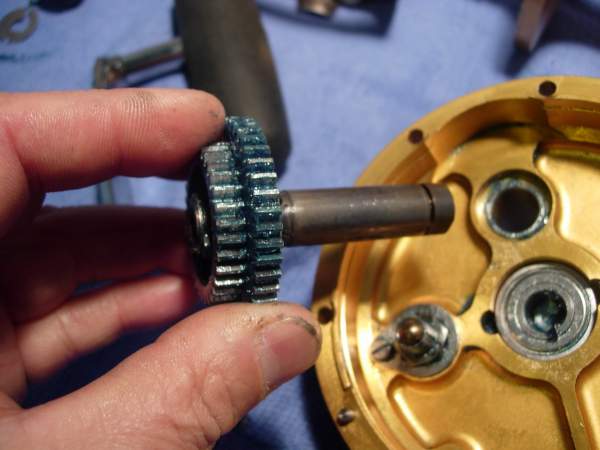
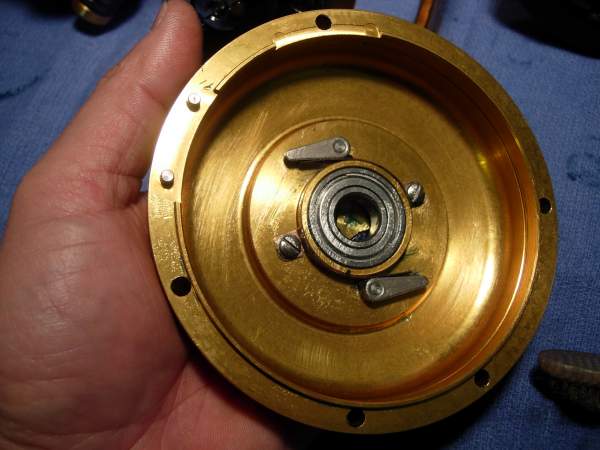
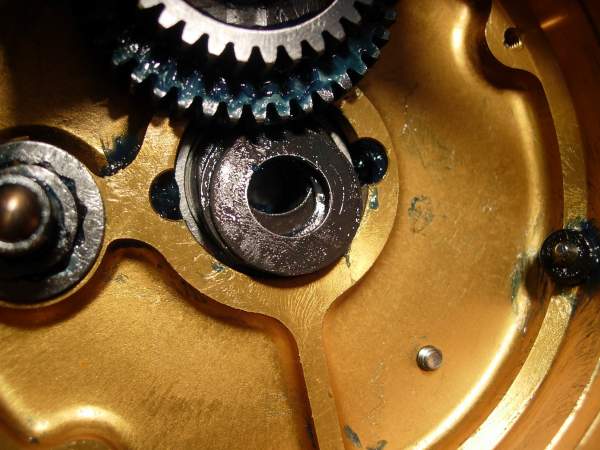
lift the right side plate assembly (key #1) and the main gear assembly drops out as a unit.
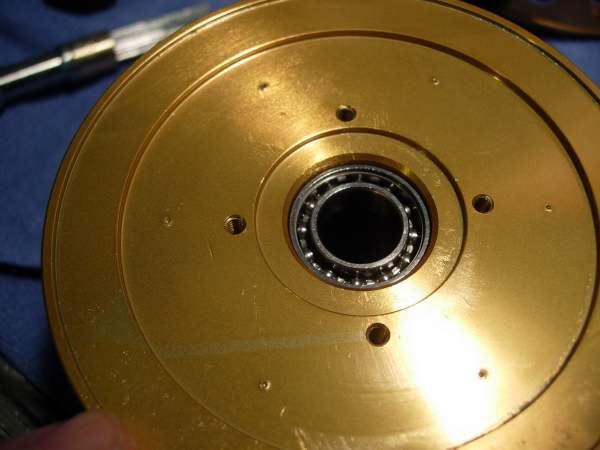
here's the underside of the right side plate (key #1).
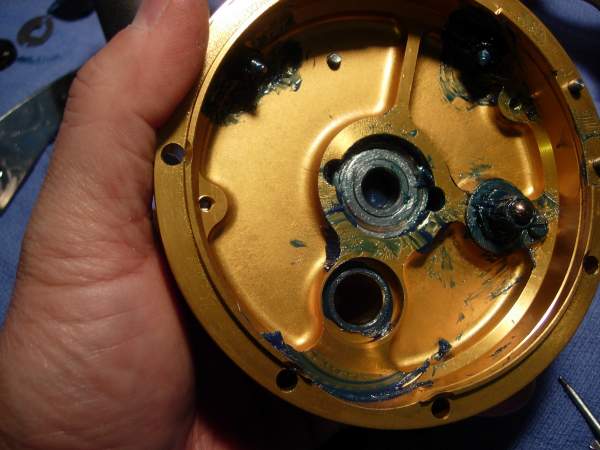
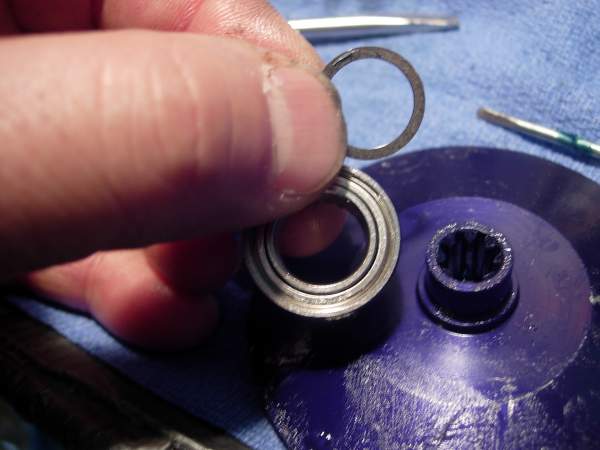
remove the right main side plate bearing (key #55A). I made the mistake of not measuring this bearing while I had it out. I THINK the dimensions are 10 x 26 x 8.
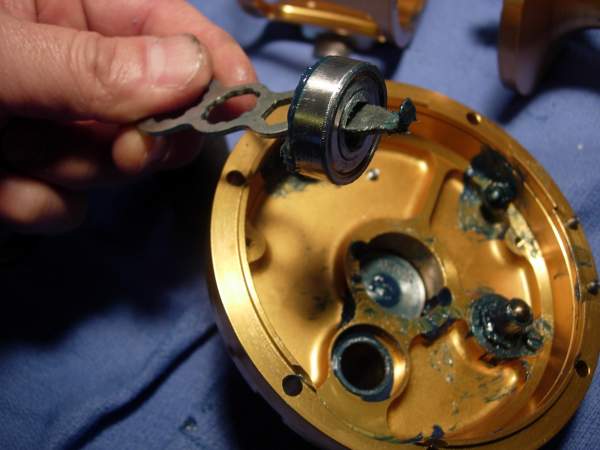
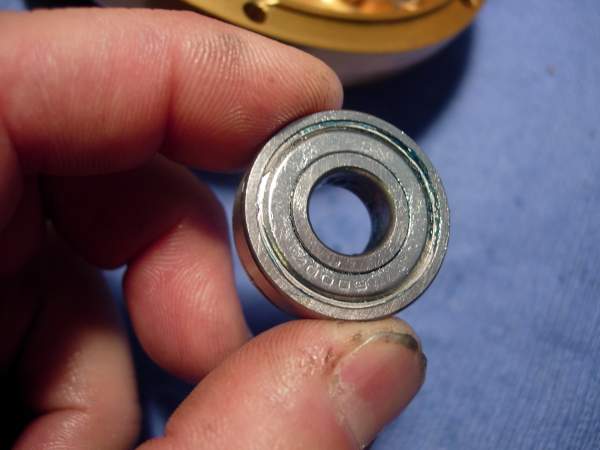
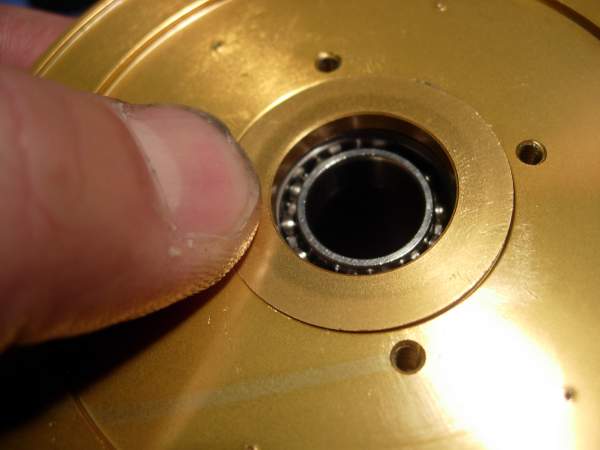
pull the bearing shields.
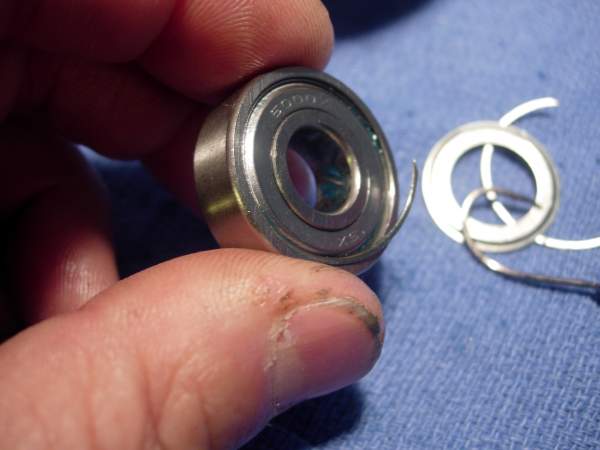
the bearing is not completely packed with grease. that will become a problem later.
let's pack it with grease and put the shields back on.
install the right side plate bearing (key #55A) into the right side plate assembly (key #1).
install the main gear assembly.
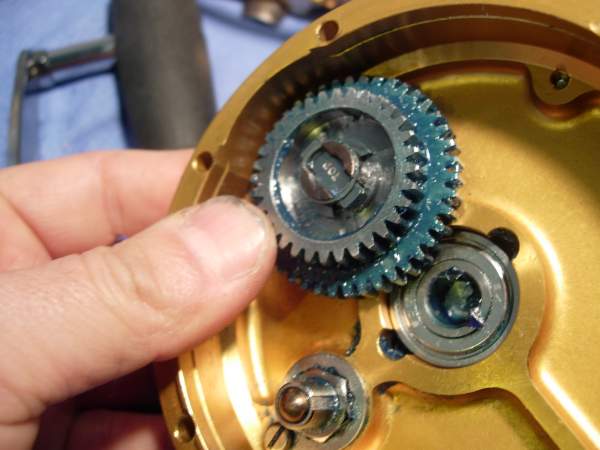
install the retaining ring (key #195).
install the gear stud cover (key #50).
install the handle assembly (key #24).
install the handle screw (key #23). make sure it lines up with the hole in the handle arm.
if the handle screw (key #23) is lined up properly, the handle locking plate (key #110A) will drop right in.
install the shift housing (key #110B).
install the shifter retaining ring (key #67B).
install the shift housing (key #110B). use a small screw driver to spread the two shifter catch plates (key #172B).
install the shifter retaining plate (key #133).

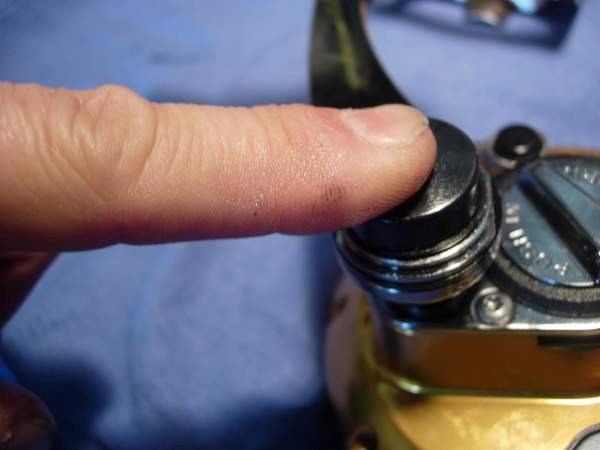
the shift button (key #172) pushes right in.
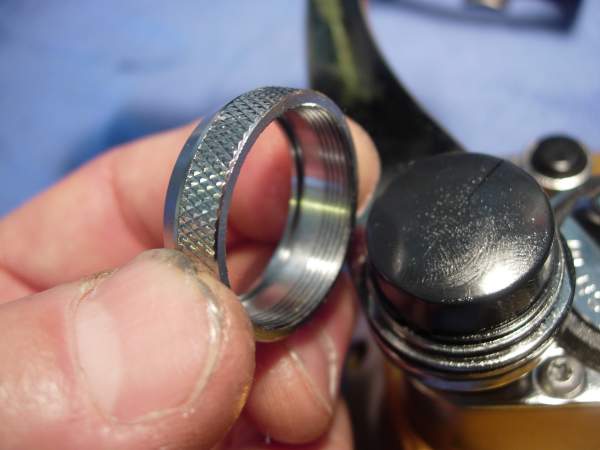
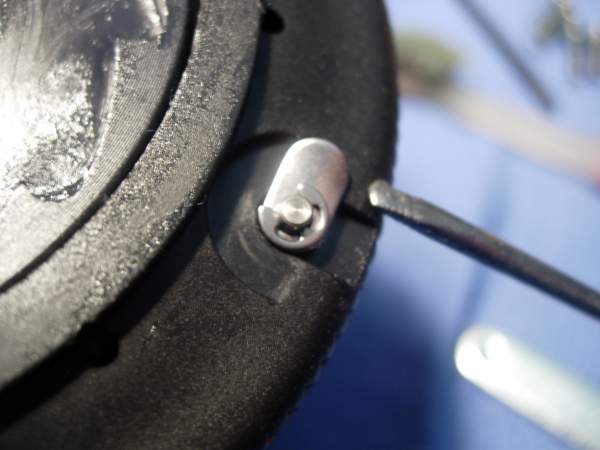
use the wrench to hold the shift housing (key #110B) and screw on the shifter button retaining ring (key #110C).
and the right side plate is done.
now on to the frame. let's back out each one of the stand screws (key #63).
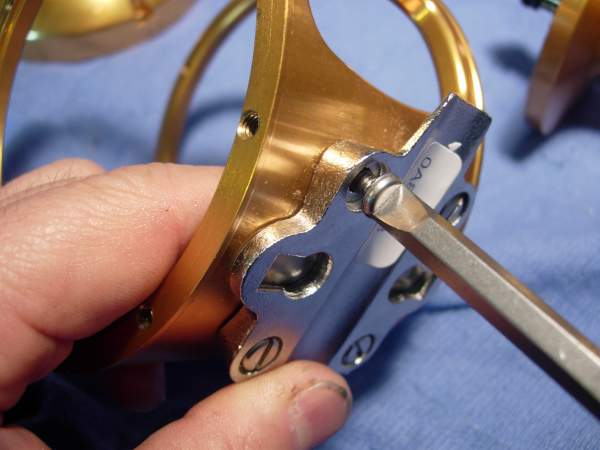
remove the stand (key #30).
there has been concerns in the past about greasing these screw holes. I still believe that it is better to grease these screws and risk having them back out, then it is to have them corrode.
now that they are well greased, re-install the stand (key #30) and stand screws (key #63).

install the rod clamp (key #33C).

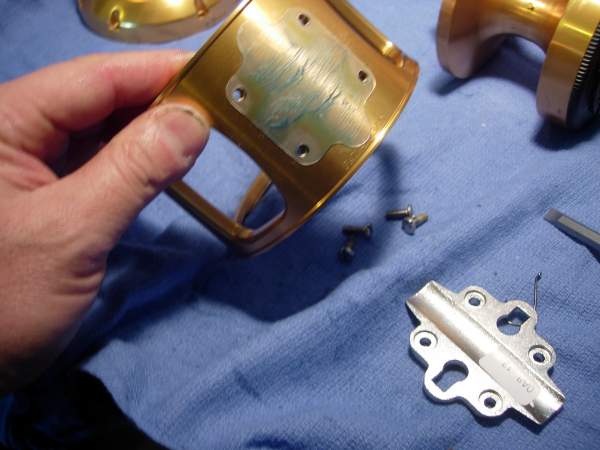
add a small bead of grease to all of the screw holes in the frame (key #183).
let's set the frame aside and move on to the spool assembly.
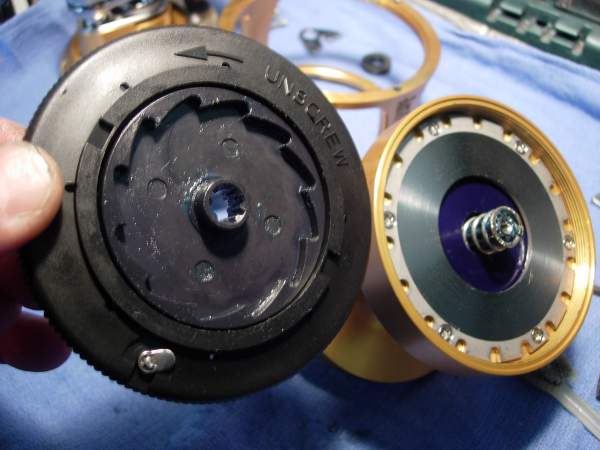
here's the left side of the spool assembly (key #29).
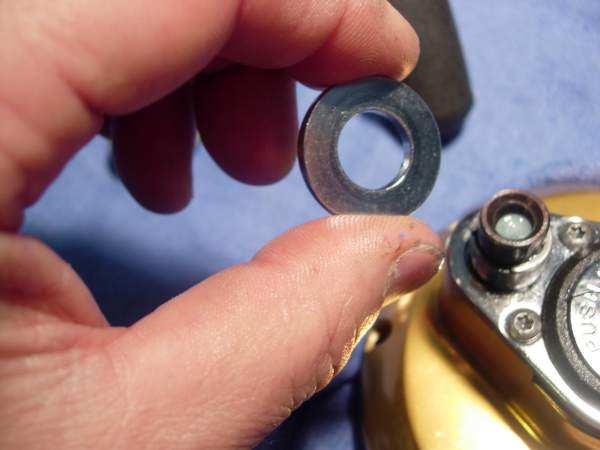
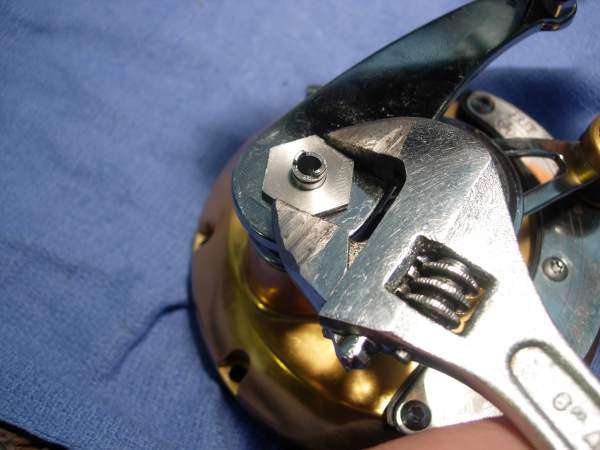
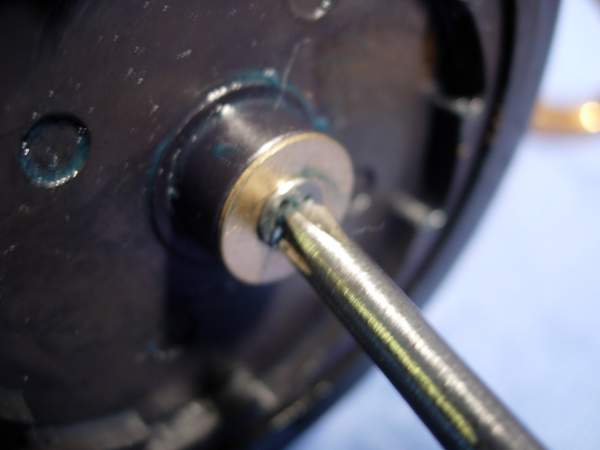
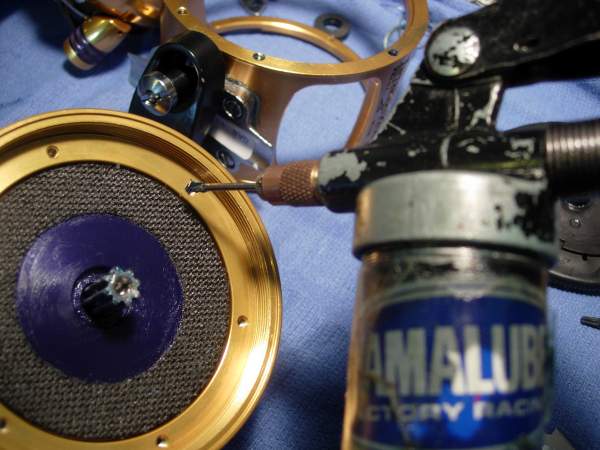
remove the pinion retaining washer (key #67A) and pinion retaining screw (key #67).
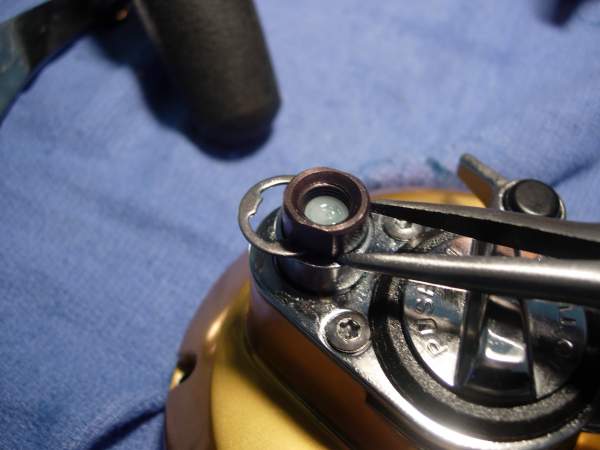
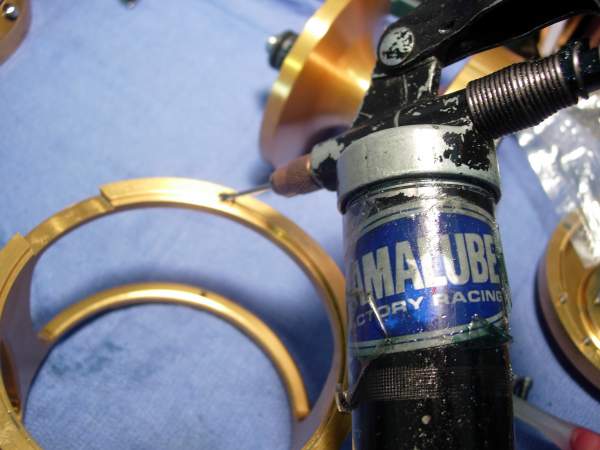
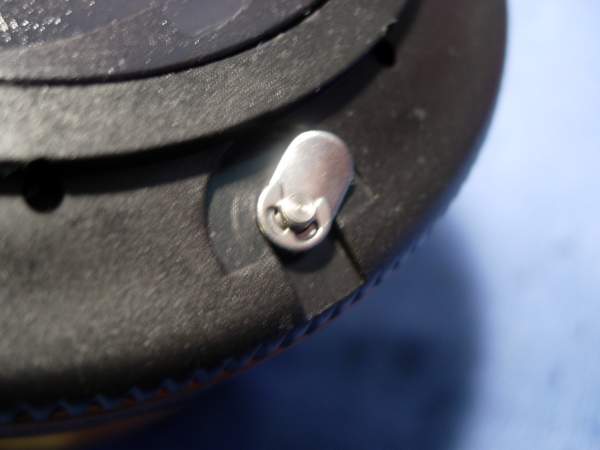
to remove the drag cover (key #156), we first need to lift the lock pin (key #156A).
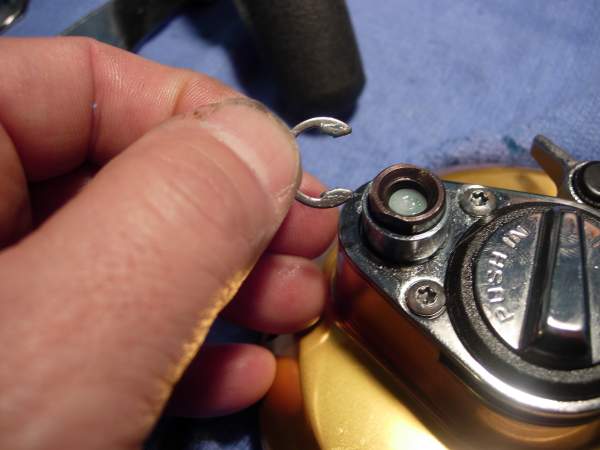
lift the lock plate (key #156B) and rotate it 90 to 180 degrees.
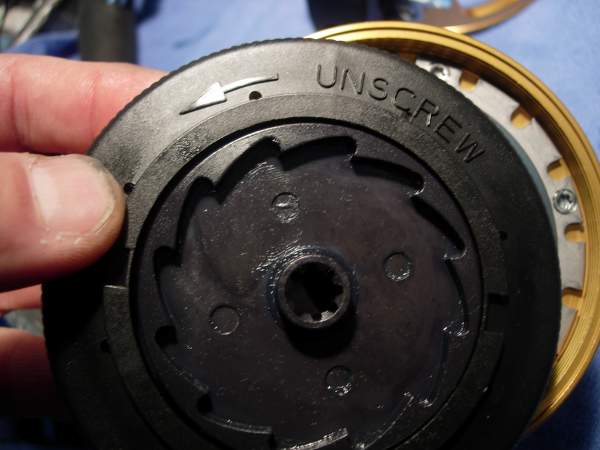
use the wrench to turn the drag cover (key #156) clockwise. the pinion retaining screw (key #67) and pinion retaining washer (key #67A) should be removed in this photo but this photo was shot out of sequence.
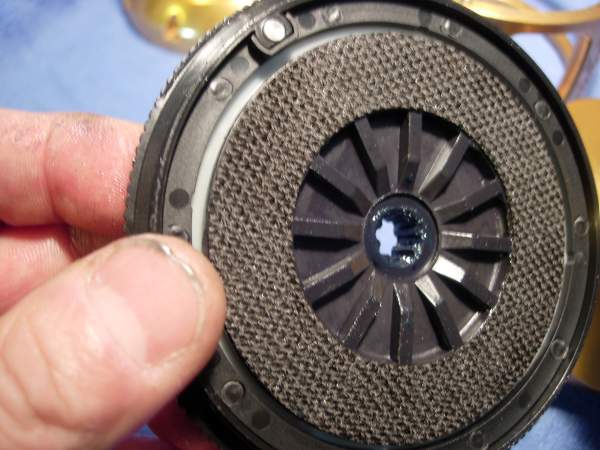
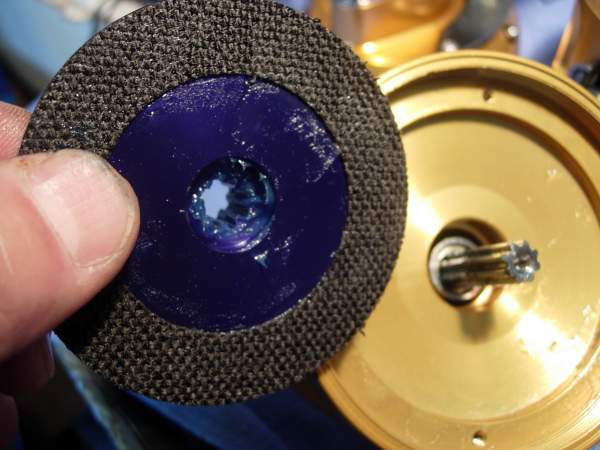
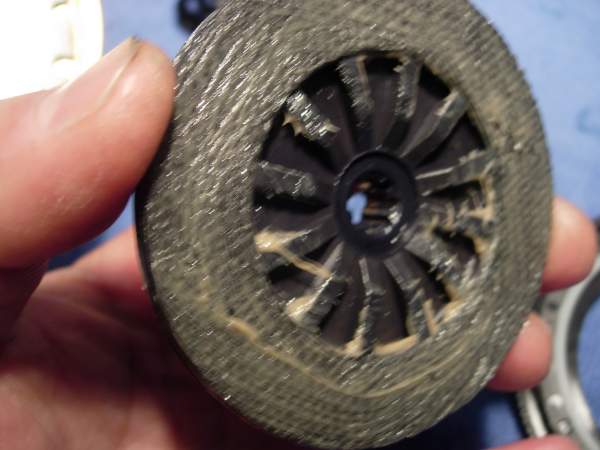
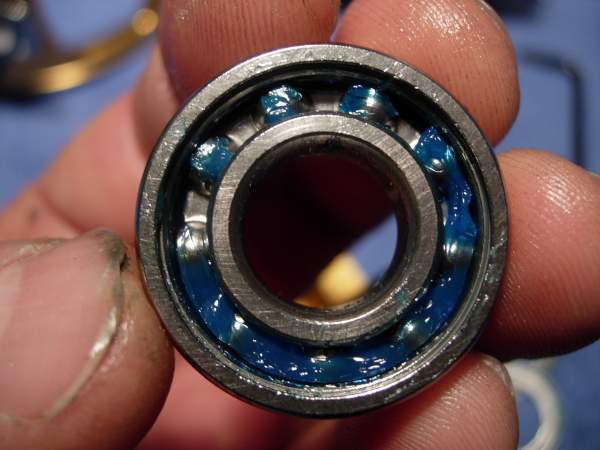
take a look at the outer drive plate assembly (key #117DN). note the uneven application of dura gel. without an even coat, saltwater intrusion can cause damage to this drag washer.
remove the six ratchet plate retaining screws (key #101).
remove the metal drag washer (key #7A).
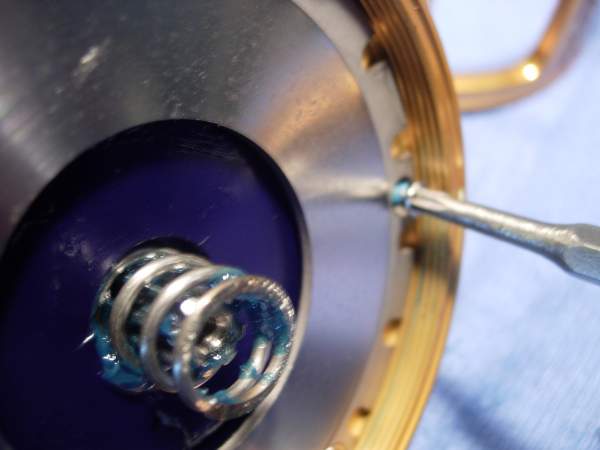
remove the bearing spring (key #41).
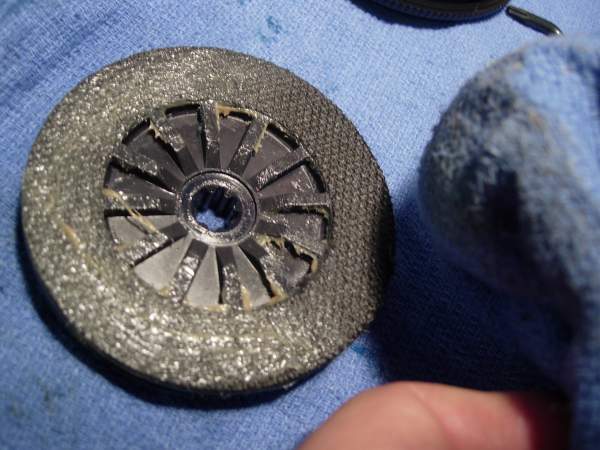
remove the inner drive plate assembly (key #117AN). again note the uneven application of dura gel.
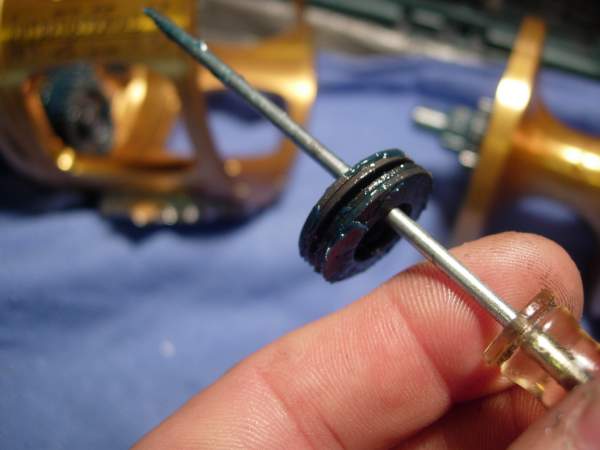
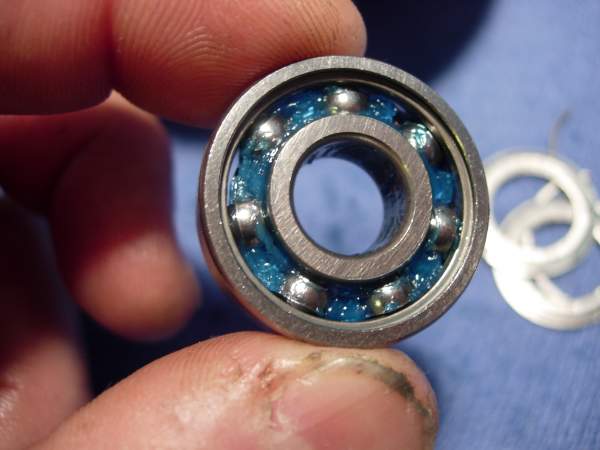
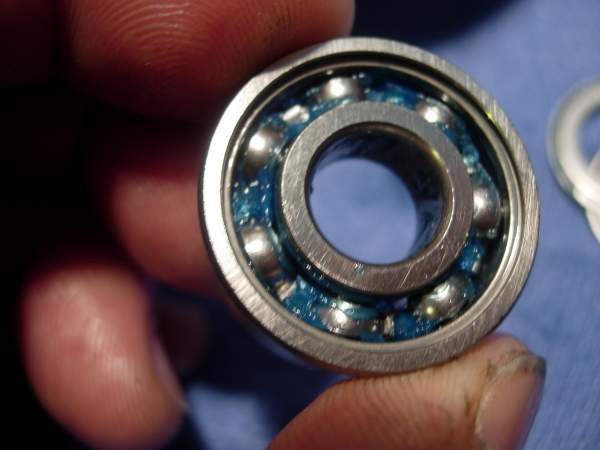
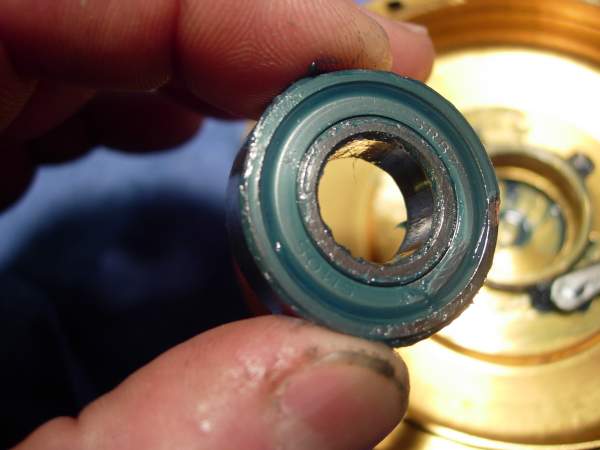
the left spool bearing (key #55B) is removed with the inner drive plate assembly (key #117AN). this bearing measures 0.5 x 0.875 x 0.280.
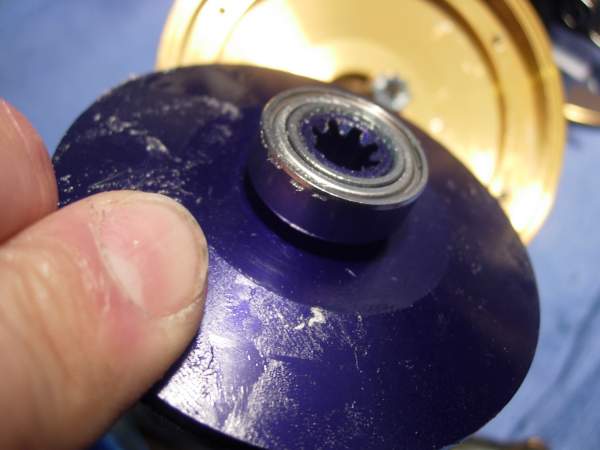
this bearing had a thrust washer (no key #) underneath.
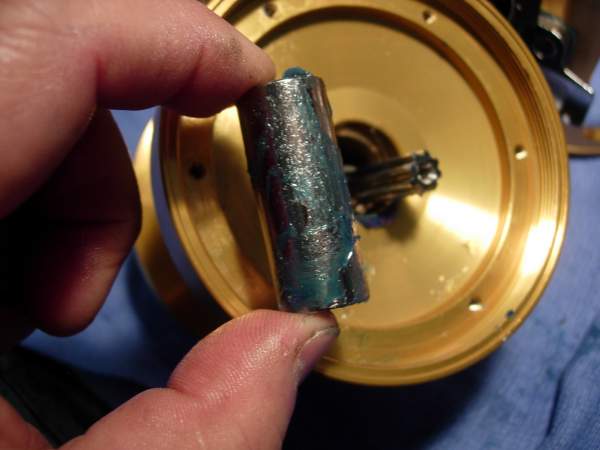
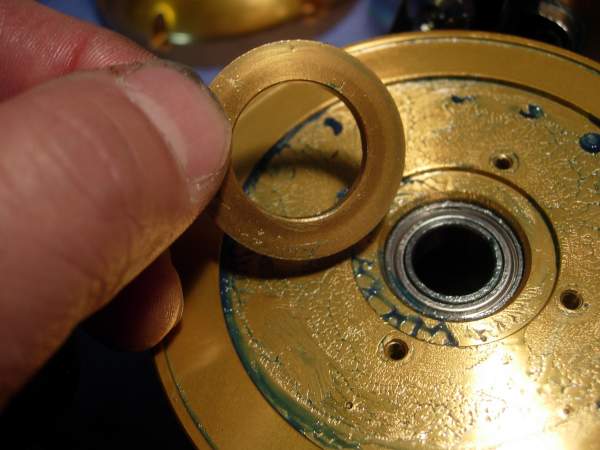
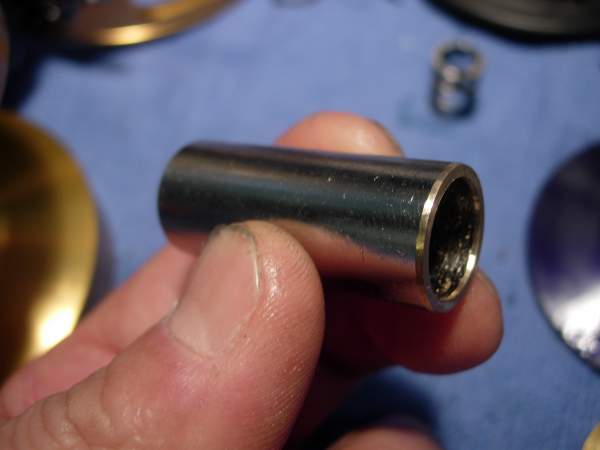
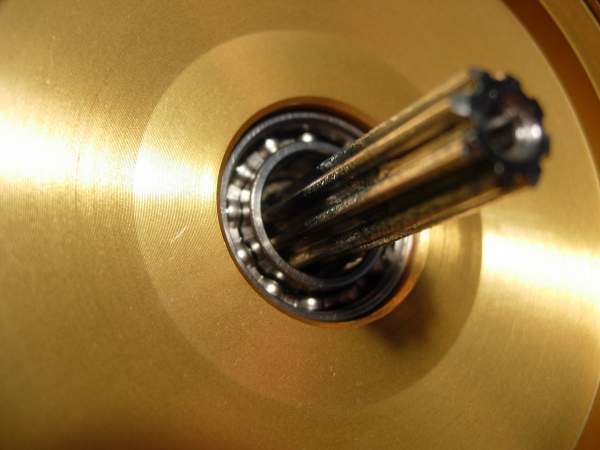
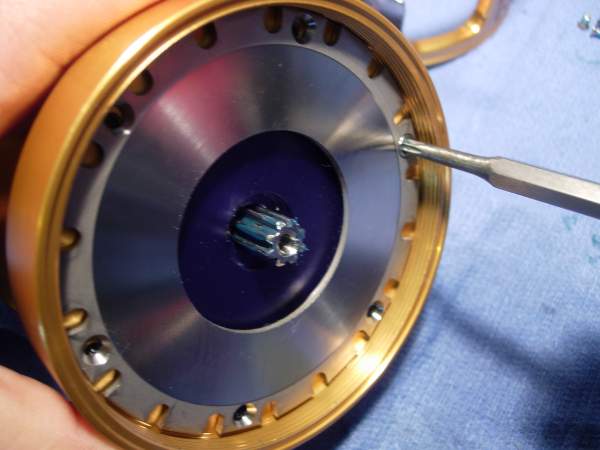
remove the spool sleeve (key #13A).
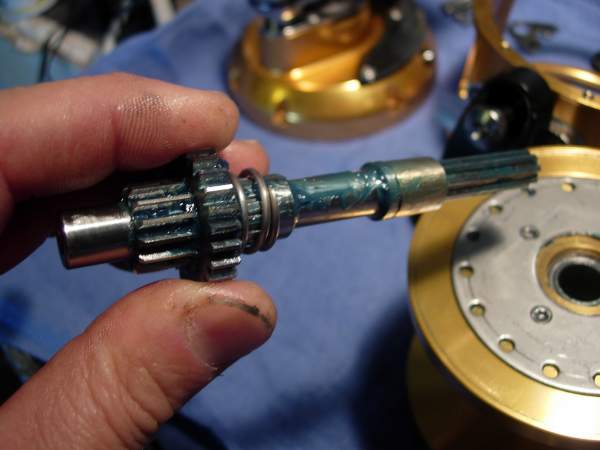
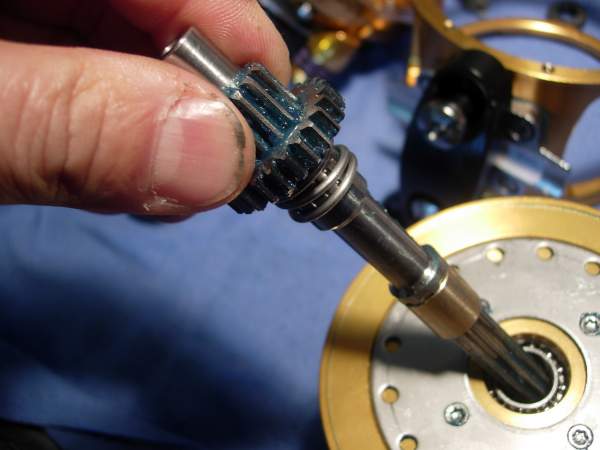
remove the pinion gear assembly (key #13).
remove the four ratchet plate screws (key #101).
remove the ratchet disc plate (key #81).
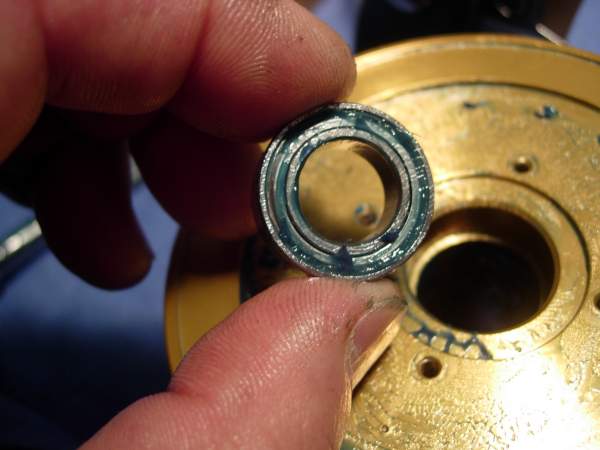
remove the spool bushing (key #173).
remove the right spool bearing (key #55B). this bearing also measures 0.5 x 0.875 x 0.280.
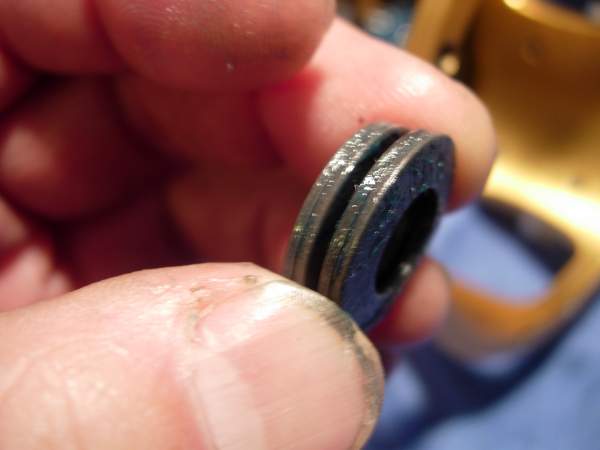
the spool sleeve (key #13A) is also commonly known as a bearing sleeve. the purpose of this sleeve is to prevent the drag springs from placing an axial load on the spool bearings. this allows the spool to spin freely in freespool. if the bearing sleeve is too short, then it may as well not even be there. if the bearing sleeve is too long, you will have great freespool when the reel is level or turned to the left. turn the reel to the right and you will loose freespool. that is because the spool is shifting against the drag washer. this problem is most commonly seen in the shimano tld single and two speed reels. this bearing sleeve measured 1.513 inches and had to be shortened down to 1.492. even ground down 0.021 inches, there was still a slight amount of play in the spool. it was not enough to affect performance or freespool.
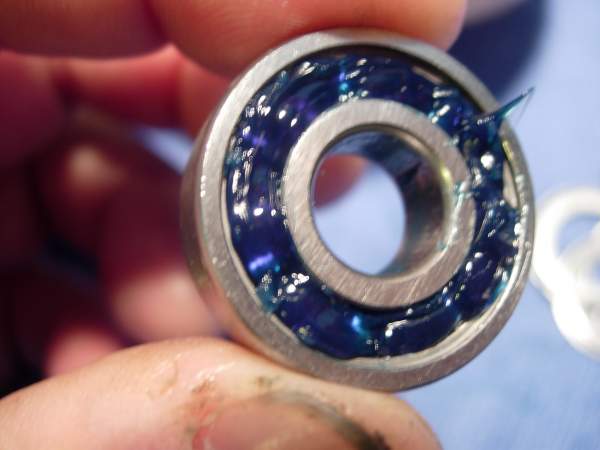
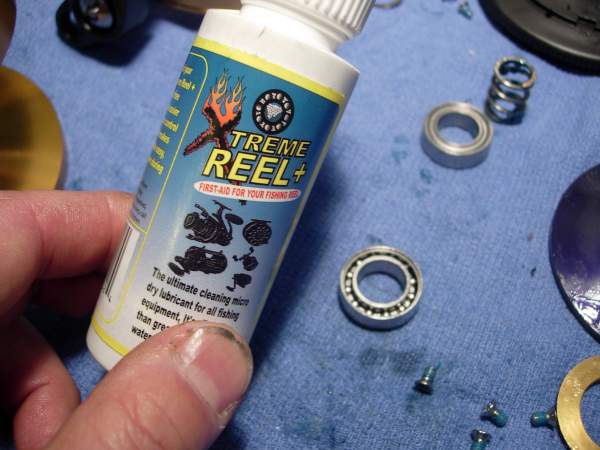
i have opted to remove the shields of the spool bearings, clean out the excess grease, lube them with "xtreme reel +" and reinstall them open. I am very impressed by this new lube for spool bearings.
install the right spool bearing (key #55B).
install the spool bushing (key #173).
install the ratchet disc plate (key #81) and grease the screw holes.
install the ratched plate screws (key #101).
install the pinion gear assembly (key #13).
install our now slightly shorter spool sleeve (key #13A).

install the left spool bearing (key #55B).
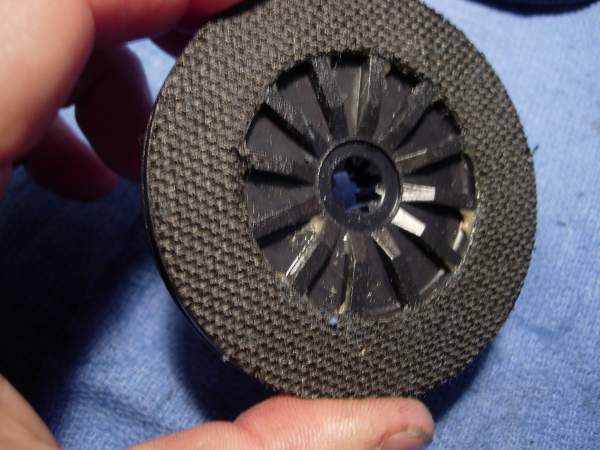
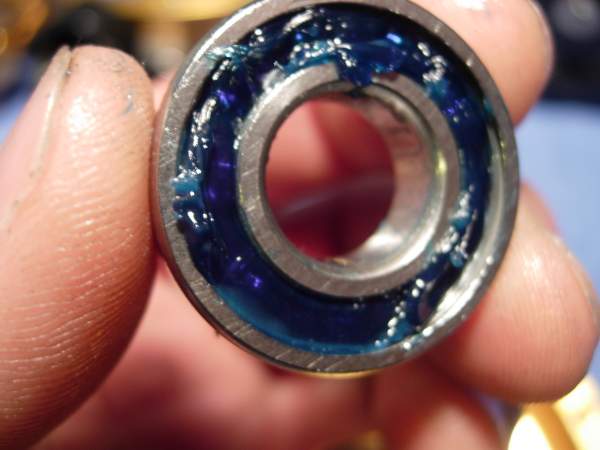
here is a closer look at the inner drive plate assembly (key #117AN). saltwater intrusion could cause extensive damage.

let's give the drive plate a generous coat of cal's drag grease, paying particular attention to the edges.
now wipe off all of the excess.
a well greased drive plate such as this will be impervious to salt water.
install the thrust washer (no key #).
install our well greased inner drive plate assembly (key #117AN) and give the spool a spin. this spool spun for 100 seconds.
grease the screw holes ratched plate screws (key #101).
install the metal drag washer (key #7A) and ratched plate screws (key #101).
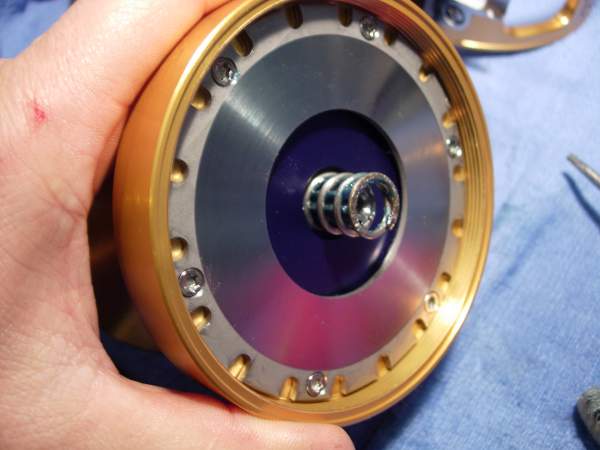
install the bearing spring (key #41).
remove the outer drive plate assembly (key #117DN) by simply pushing it out of the drag cover (key #156).
add a generous coat of cal's grease.
remove the excess.
push the outer drive plate assembly (key #117DN) back into the drag cover (key #156).
screw the drag cover (key #156) back onto the spool (key #29).
make sure the lock plate (key #156B) is turned 90 to 180 degrees.
turn the drag cover (key #156) down until it seats, then return the lock plate (key #156B) to it's locking position. now tighten the drag cover slightly until the lock plate drops down into position.
screw in the pinion retaining screw (key #67A) and pinion retaining washer (key #67).
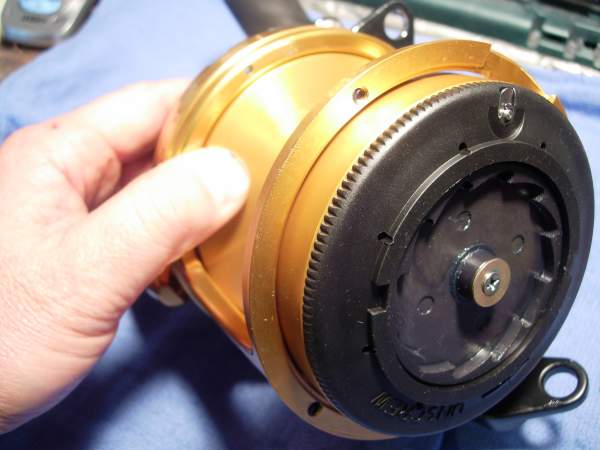
the spool assembly is done. set it aside with the completed right side plate assembly and frame assembly.
finally, the left side plate assembly (key #27). all we need to do here is pack the left side plate bearing (key #55) with grease. I forgot to measure this one as well, but I believe the dimensions are 0.5 x 1.125 x 0.375
to prevent saltwater intrusion, these bearings need to be completely packed with grease.
like this......
replace the shields and back into the side plate it goes. make sure the dogs (key #15) are resting against the dog springs (key #14). they will have to be in this position to install the left side plate.
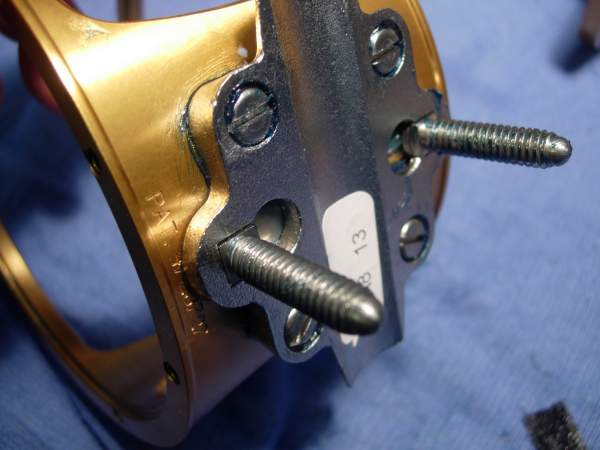
line up the right side plate assembly (key #1) with the harness lug (key #54) and the frame assembly (key #183).
install the five right side plate screws (key #38) with a small amount of grease.
remember those disc clutch springs (key #'s 18 and 18A)? let's add a little grease to them so that they stick together and line them up in a "()()" stock configuration.
wedge them into position, inbetween the right main side plate bearing (key #55A) and the main gear (key #5H).
shimmy the spool assembly (key #29) into the frame assembly (key #183). the tricky part here is that the pinion gear (key #13) needs to slide PAST the high (key #5H) and low (key #5L) speed main gears, THROUGH the disc clutch springs (key #'s 18 and 18A) and into the right main side plate bearing (key #55A). you will probably have to line it up several times before you are able to wiggle it in. be patient.
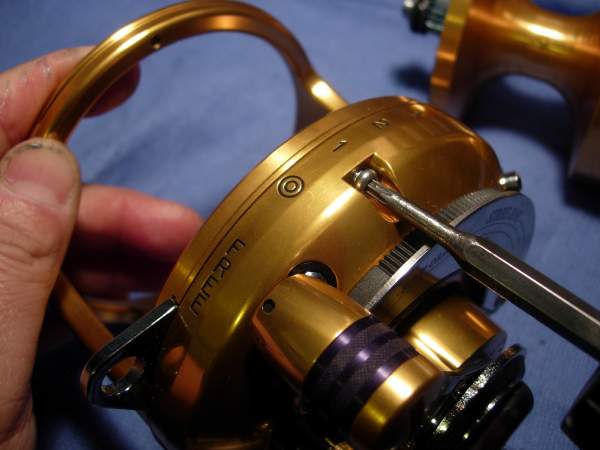
install the harness lug (key #54) and align the left side plate assembly (key #27). add a small amount of grease around the screw holes.
install the five left side plate screws (key #39) and you're done. congratulations!!!!!!!!!!!!!!!!!
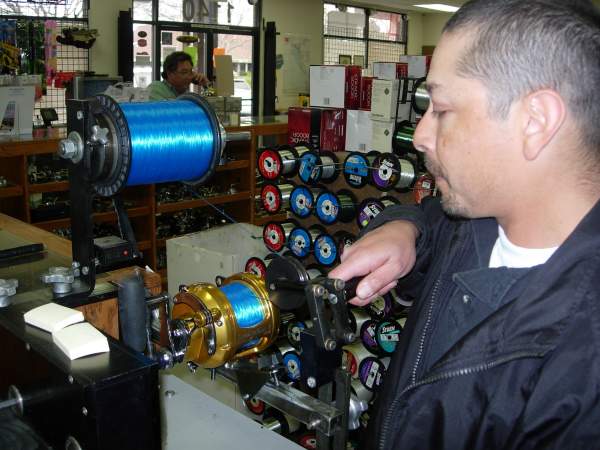
we still need to run the reel through it's paces. remember, the disc clutch springs (key #18 and 18A) were installed in the stock configuration of "()()". I went to my local tackle shop, the fisherman's warehouse, and had one of the managers (thomas) spool up the reel with 300 yards of old 100# berkeley blue monofilament. this stuff had probably been sitting around since the shop opened 10 years ago, so he was glad to get rid of it.
with the disc clutch springs in the stock configuration, the reel only delivered 24 pounds of drag before losing freespool. I added an extra disc clutch spring washer, changed the configuration to "((())" and the drag jumped to 50 pounds before losing freespool. this reel also delivers 40 seconds of freespool at this 40 pound drag setting. the owner wants to fish this reel with 130 pound jerry brown hollow core and a 130 pound wind on topshot with 40 pounds of drag, so our reel is now within specs. I know there have been some issues with the older v series internationals, but I am very impressed by the new v series internationals.
and lastly, if there is anyone out there that could verify the dimensions of right and left side plate bearings, I would appreciate it very much.
alan tani
2/12/09
Copyright © Alan Tani Reprinted with permission of the author.
Order parts online for this reel(s):
https://www.mysticparts.com/PennParts/International.aspx#InternationalVSX
1 Comments