 Originally Posted on: http://alantani.com/
Copyright © By Dave Healey, Australia
Reprinted with permission of the author.
Hi there. Apologies to those on a dinosaur speed connection as this reel has a few steps involved in it, however I've made the pictures as small as I can hopefully without losing too much detail. I must admit to being an early model Penn 920 baitcaster tragic as I own three of these reels, two of them that are brand new in the box and never been used (bought off eBay) and one that gets used whenever I can in both fresh and salt water. It all started back in the mid 70's when my father bought one (which he still uses) and from then as an impressionable kid of around 7 years old I was a shot duck, so to speak. I also have a soft spot for the Penn 4/0H's but that is another story entirely.....

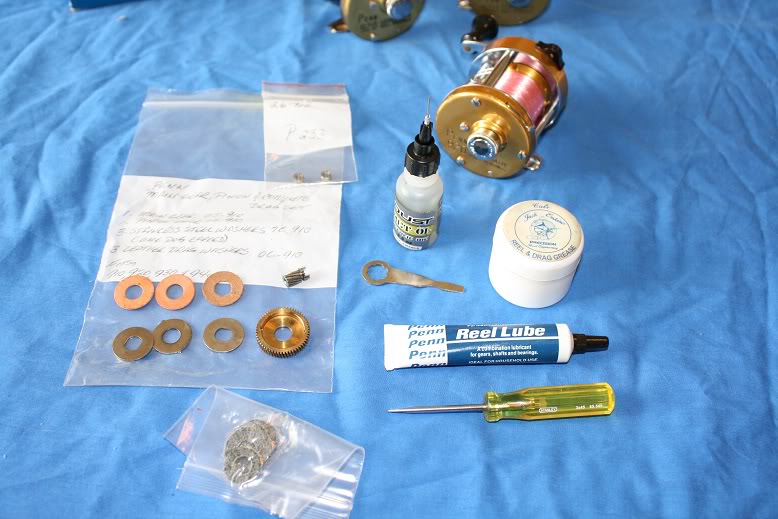
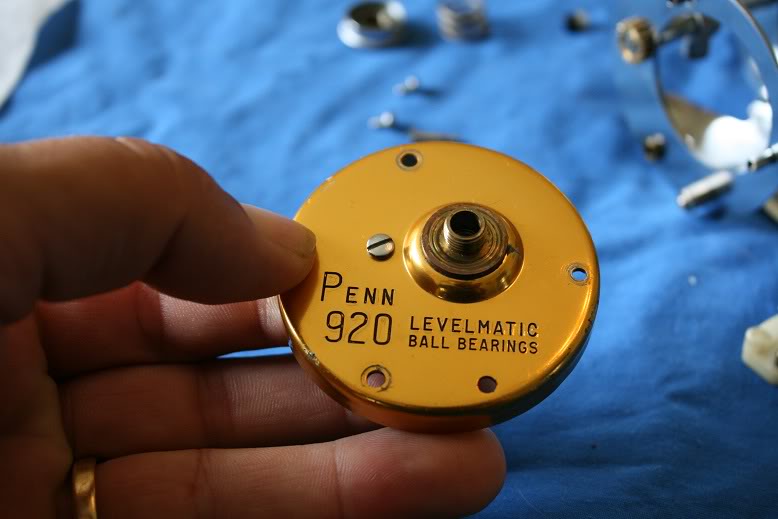
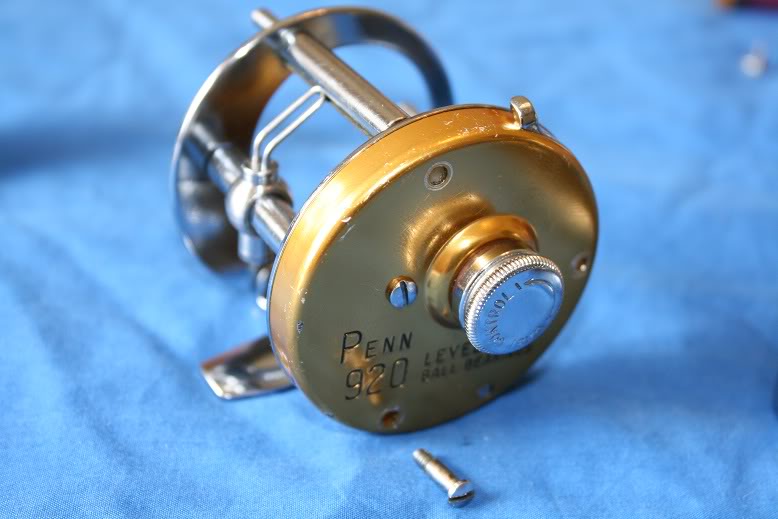
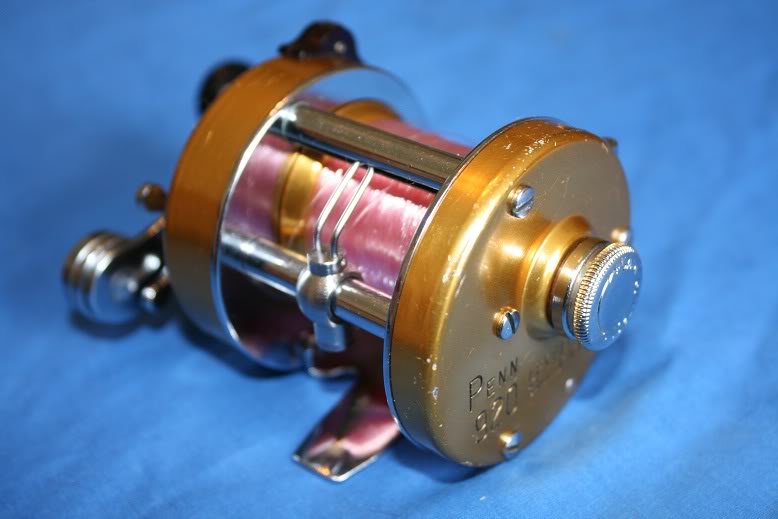
OK, down to it. I was going to replace a couple of parts in the level wind mechanism of this reel so at the same time as sending away for the parts from Scott's Bait and Tackle I asked Alan about a drag upgrade for these reels as they originally came factory supplied with a set of leather washers and I wanted something a little more substantial to chase barramundi etc. You can see from the pictures that I have the later model type reel with the pressed stainless reel seat (as opposed to the earlier type with two cross bars and a riveted reel seat. More info on that check out Scott's Bait and Tackle/MysticParts.com website: 910 and 920 Changes and 930 and 940 Changes for more info on the subject, but bear in mind that the pressed stainless reel seat is a much stronger design when upgrading your drag system.
You can order parts and access copies of the schematics here: https://www.mysticparts.com/PennParts/Conventional.aspx#Levelmatic
OK, first thing is first, you need to (and it is vitally important with these small reels) use the right size screwdriver and to only tighten the screws to “firm” as they are very easy to damage and shear a screw off in the reel, which can be all sorts of fun to fix as I have found out! I am using Cal's for most of the greasing of internals and just plain old Penn lube for the stuff that needs a light coat only or would be affected by a heavy grease such as the level wind.
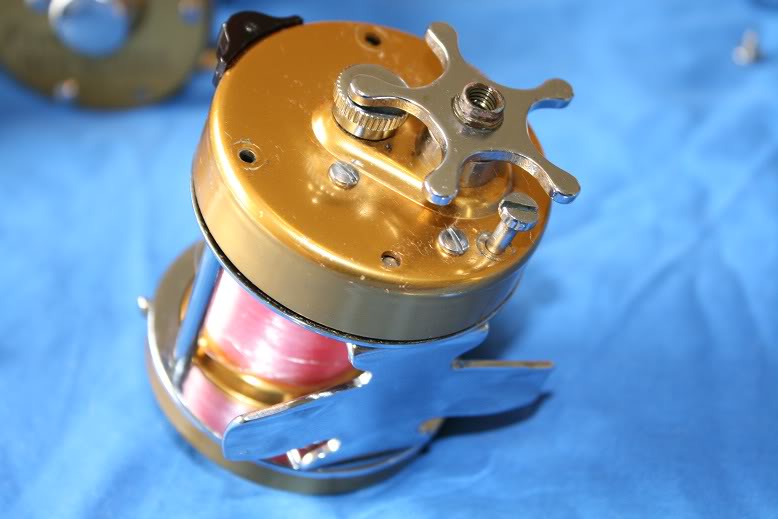
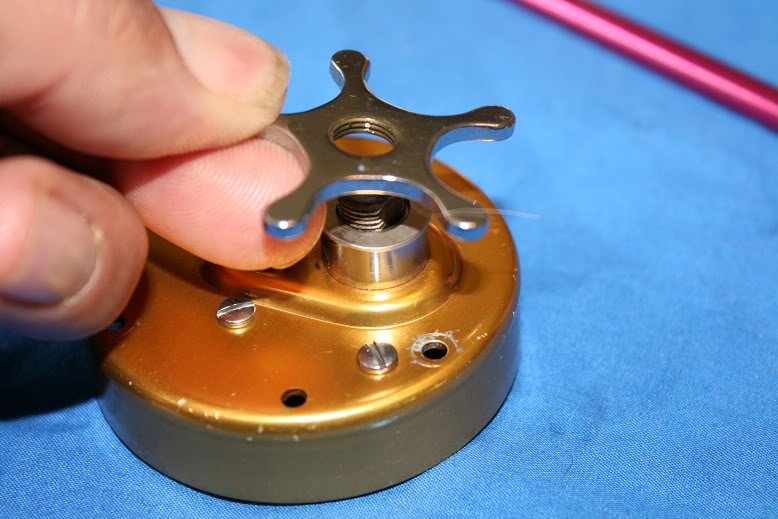
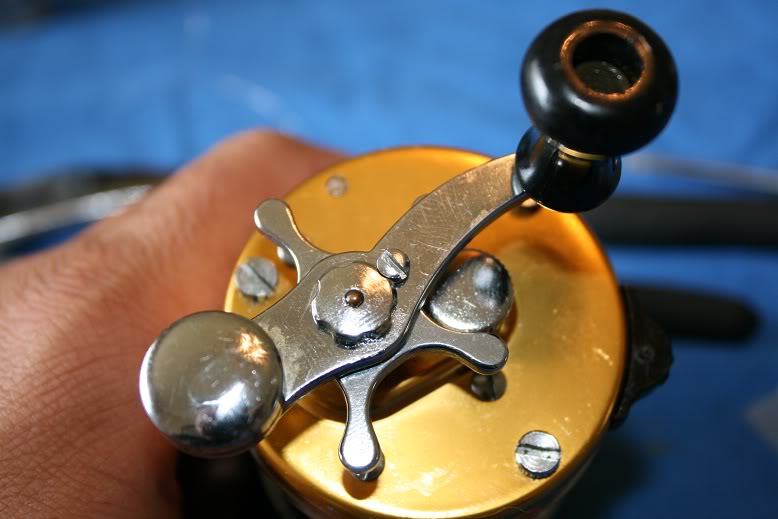
Remove the handle lock retainer and handle screws from the reel. The handle will just lift off, leaving the star drag wheel to spin-off anticlockwise.
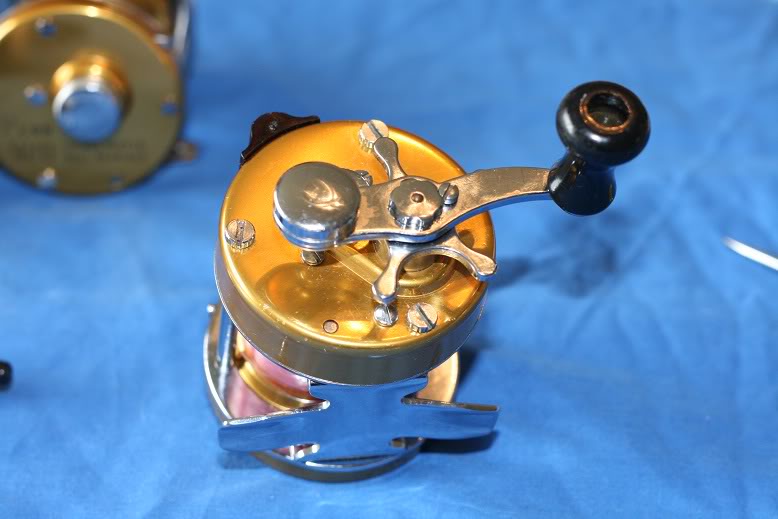
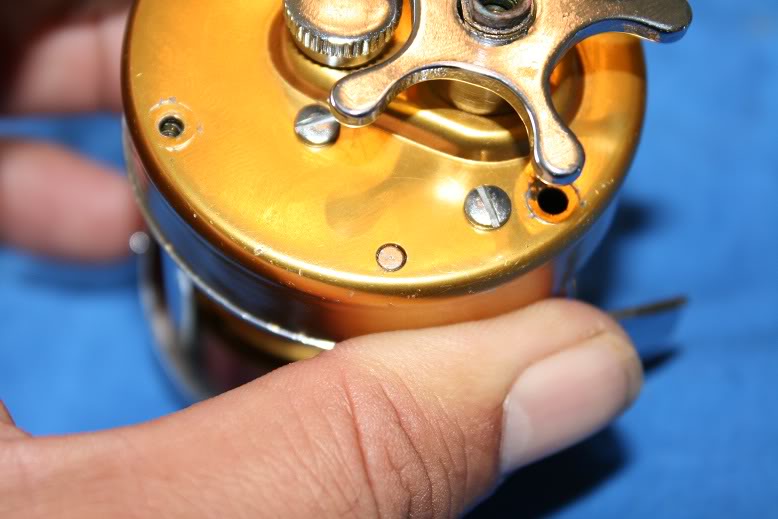
Remove the three screws with the larger (knurled) heads from the side plate, bearing in mind that they are very small and easy to lose. The lower one (pictured) is longer than the other two and goes all the way through to the reel seat.
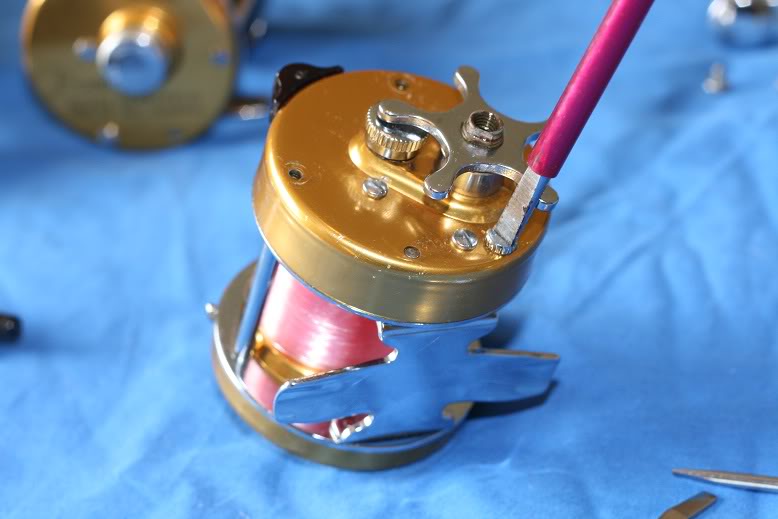
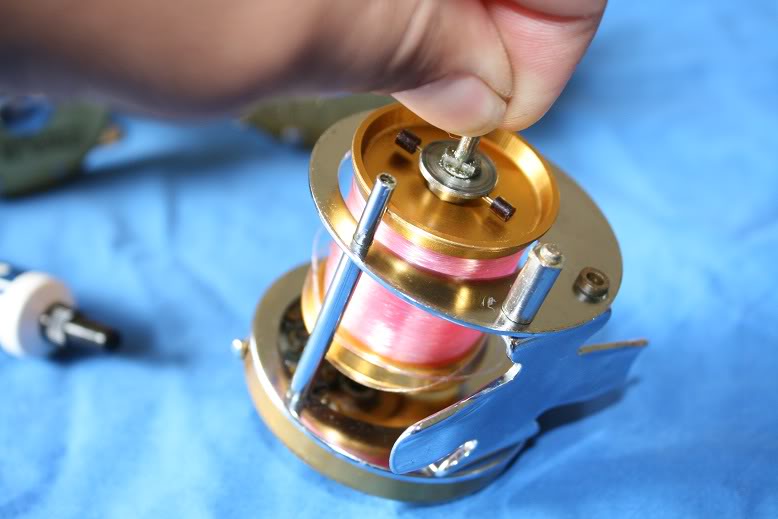
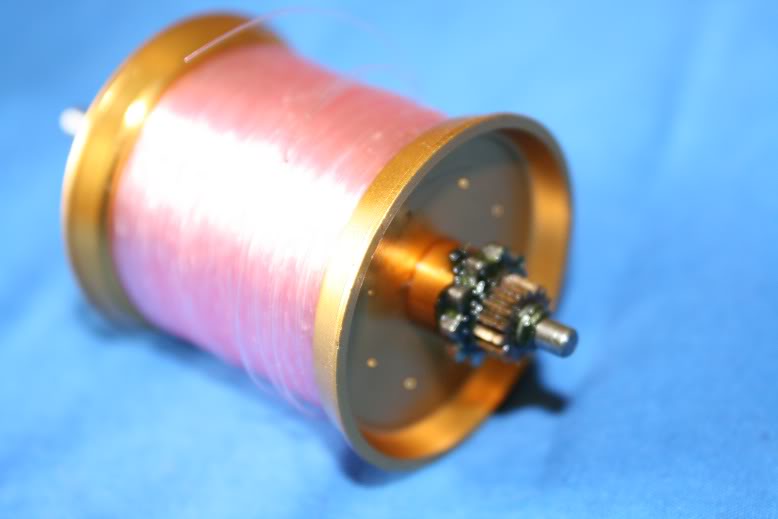
Here the side plate is removed showing the access to the spool complete with the brake weights (#176-910) installed. Careful not to lose these too!
Remove the spool and check for corrosion/general wear and tear.
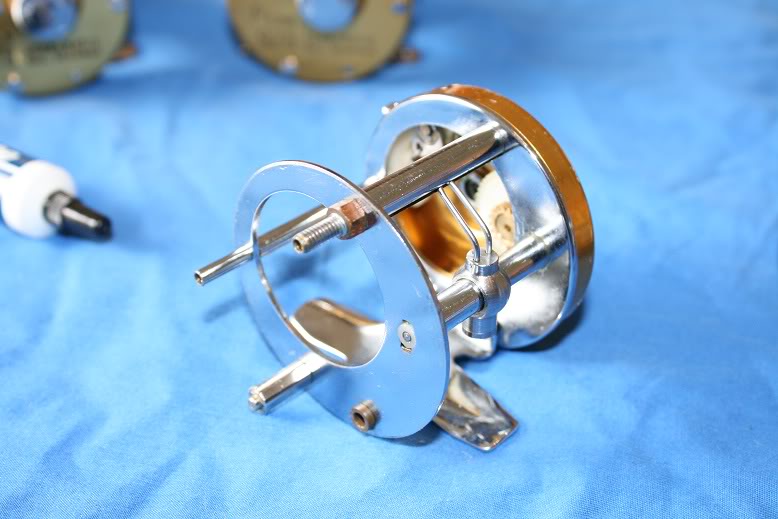
This picture shows how the worm gear cover locates into the right side ring and also that the sliding part of the level wind just sits inside the groove in the slotted line guide without binding.
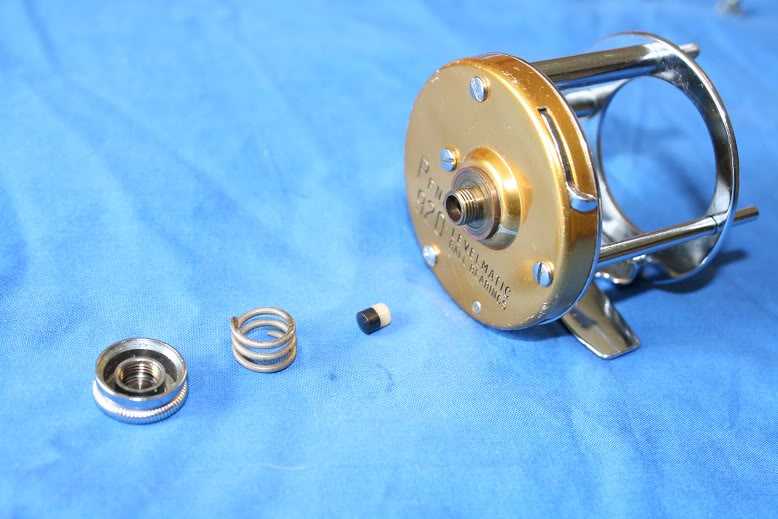
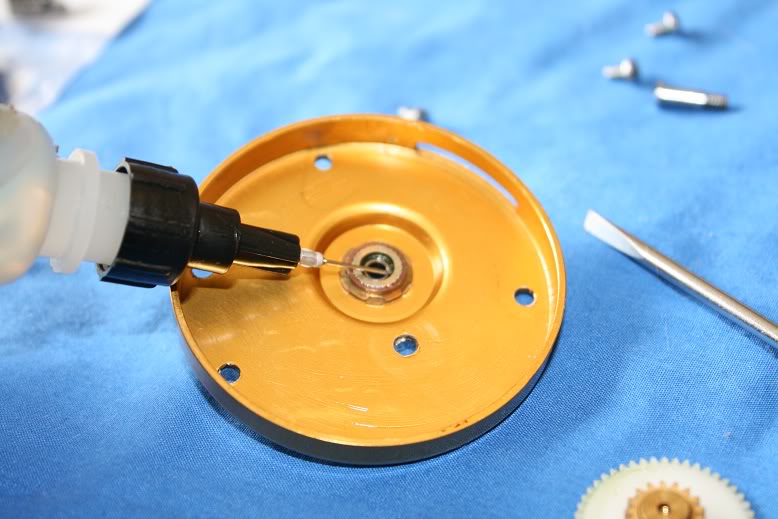
Around to the left hand side of the reel now and remove the side bearing preload cap and spring from the reel. This will expose the plastic spool control bumper. Careful not to lose this and please make note of its orientation! Mine was black side out.
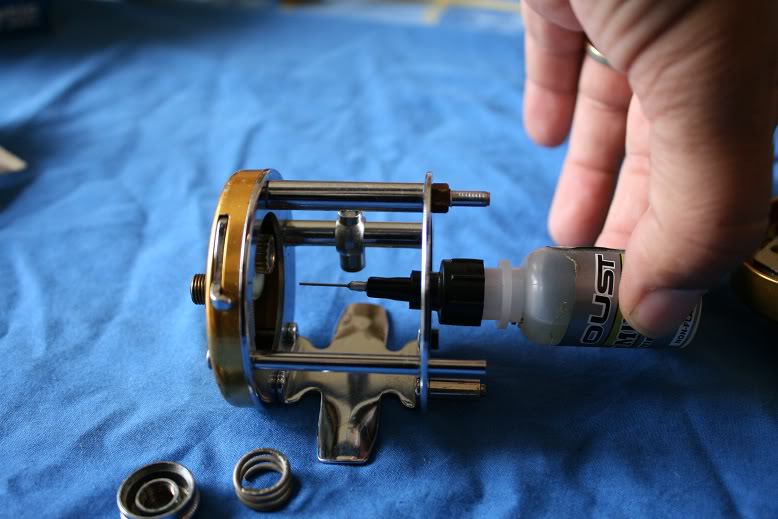
I removed it simply by just gently nudging it out with the needle on my bottle of Oust.
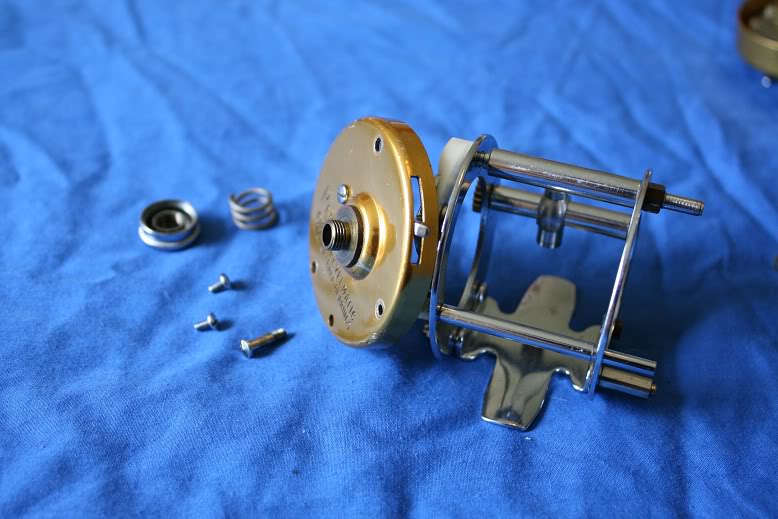
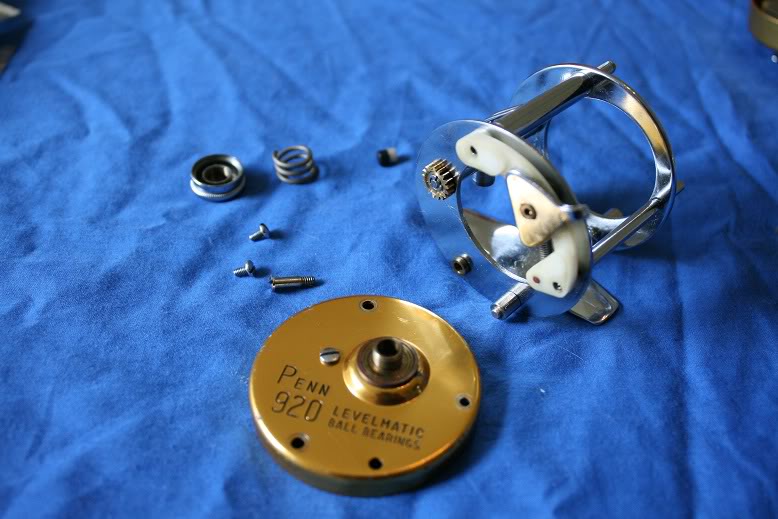
Remove the outer circumference screws out of the left side plate (it also has a longer one at the bottom which goes through into the reel seat). Don't remove the small headed screw closest to where the spring cap is yet (refer the pics). Remove the side plate by gently feeding the clicker lever through the side plate. Not to worry if the clicker mechanism comes with the side plate as it only slides onto the protruding ends of the two rearmost posts (note orientation). You'll also notice that I have previously applied grease to most of the internal surfaces of this reel when I have previously had it apart and saw no reason to replace it during this tear down.
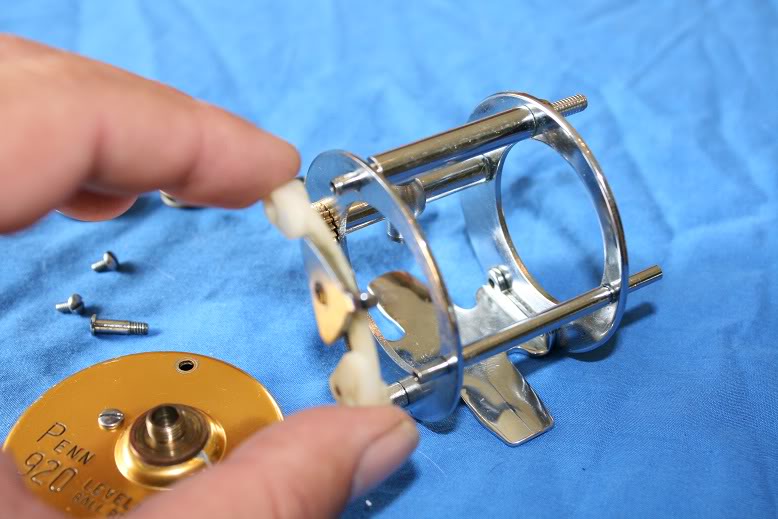
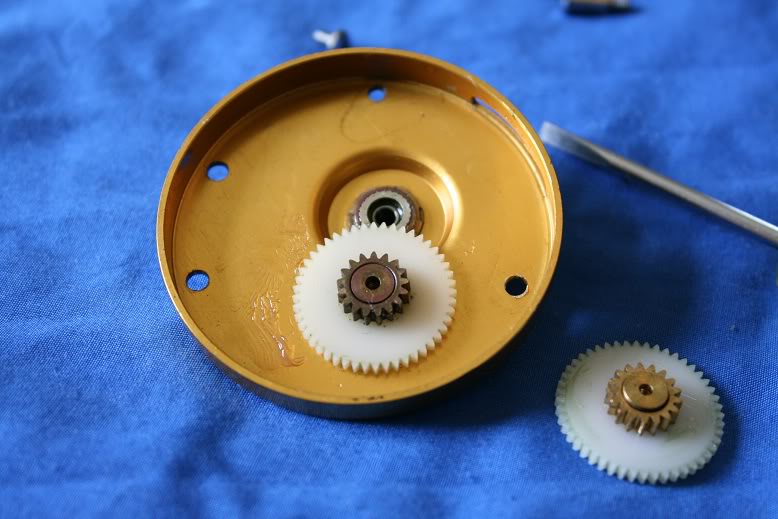
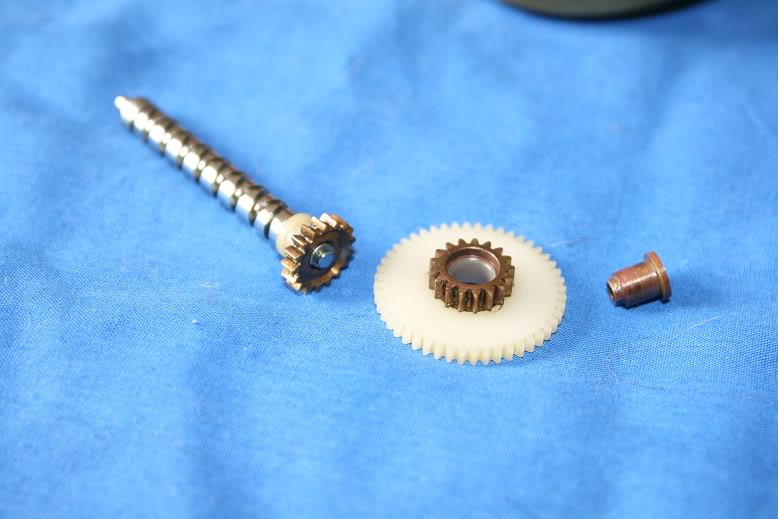
I was replacing the level wind worm, idler gear, the idler shaft and the bearing as I was having a couple of small issues with the level wind from time to time. Refer the pictures for the parts involved and the worm can be removed by (carefully!) removing the small circlip on the end of the shaft.
You can see the reason here why you must be careful not to over tighten the screws or forget to lube them before re-assembly!
The previously replaced bearings were in great shape this time so didn't require removal just a quick drop of Metoil which penetrates by itself (no need this time to slip the side covers off the tiny bearings and in fact after doing it once I would suggest buying new bearings to pull apart and lube rather than the old ones).
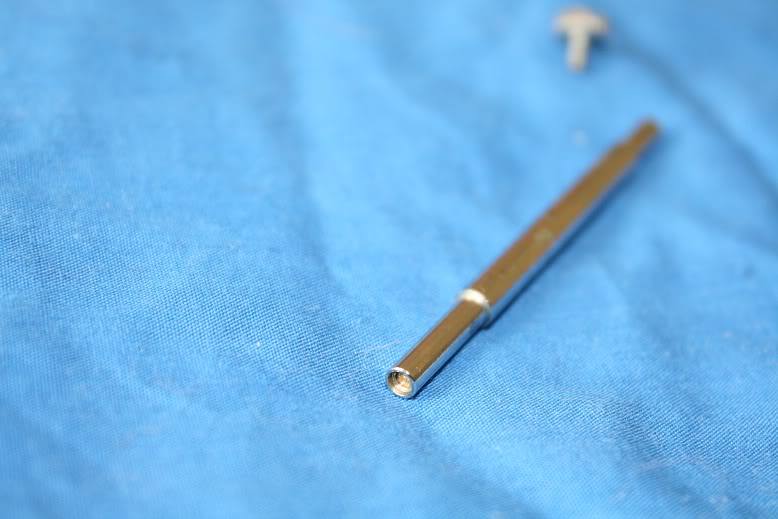
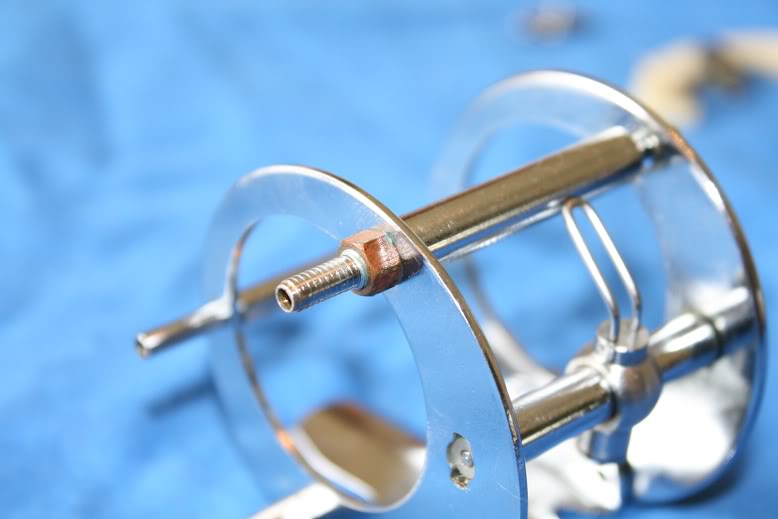
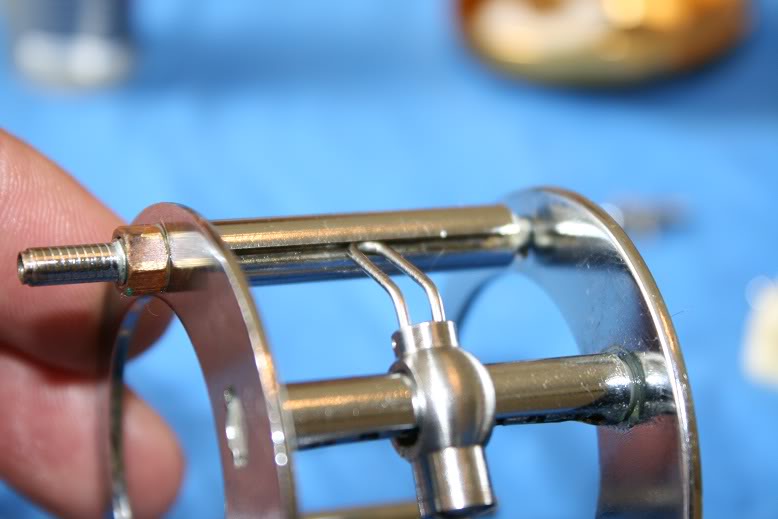
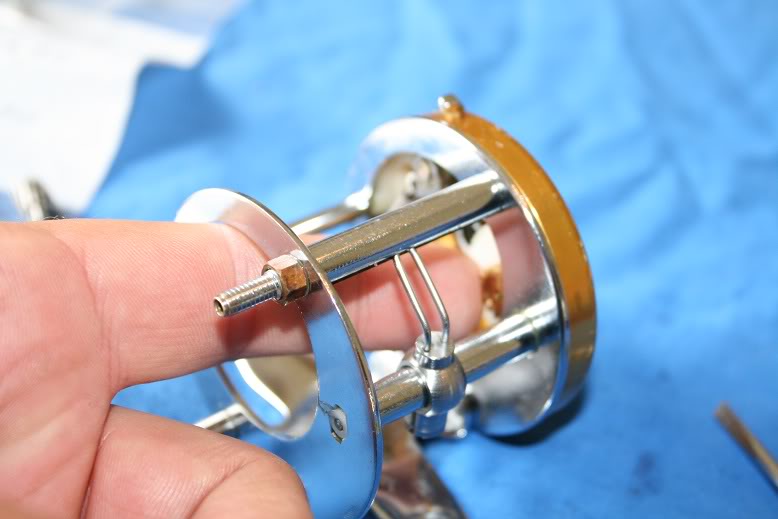
Remove the nut holding the slotted line guide onto the right side inner ring. This one was just starting to corrode again slightly from a drop of salt water under where the nut seats despite being fastidious when cleaning my reels after use (this one had not been apart for probably 6-7 fishing trips in the salt but had been cleaned in warm soapy water after every trip).
You can now disassemble the line guide being careful not to force any of the parts. You can see here that I should have used a slightly larger screwdriver!

The disassembled line guide.
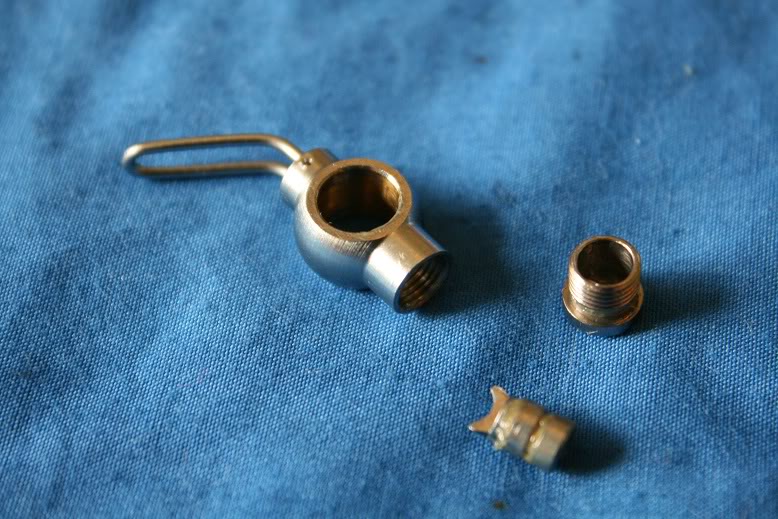
This reel doesn't need any shims under the pawl at this stage (not a Penn part anyway but a mod to take into account minor wear on the pawl), however if it did they would need to be inserted into the screw cap of the guide. There is a black art to getting this right but it is only through trial and error to ensure enough engagement of the pawl teeth in the worm groove yet not too much that the pawl binds on the worm (read: damage itself) which would in turn create extra drag when casting etc.... I have my own small selection of small stainless shims that I use when I need to.
Installation of the left side plate is a reversal of the removal procedure noting the position and alignment of the longer screw, dowel/side plate and reel seat....
A small drop of very lightweight oil to lube the idler assembly (I use Metoil here as I have found it is a very low weight oil perfect for small reels that would be affected by a heavyweight oil, however you use whatever you prefer as each person wants different things from their reels).
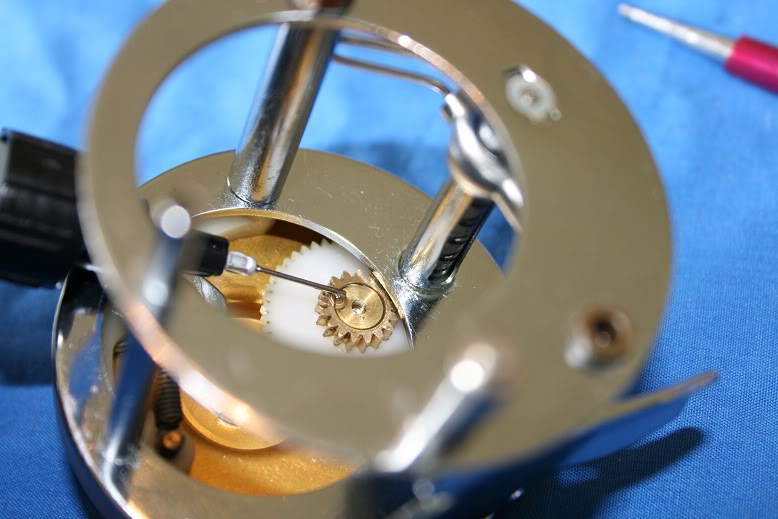
Now is a good time to check that the re-assembled level wind is working correctly and smoothly, before you put the reel all the way back together! Just give it a slight turn with your finger should be enough to check that things are working correctly.
This lube was looking a little sad so I cleaned it off and just a little dab of Cal's.
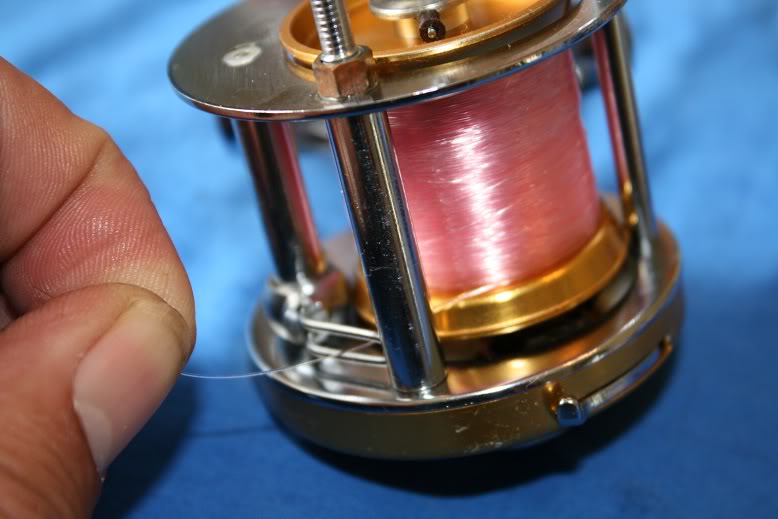
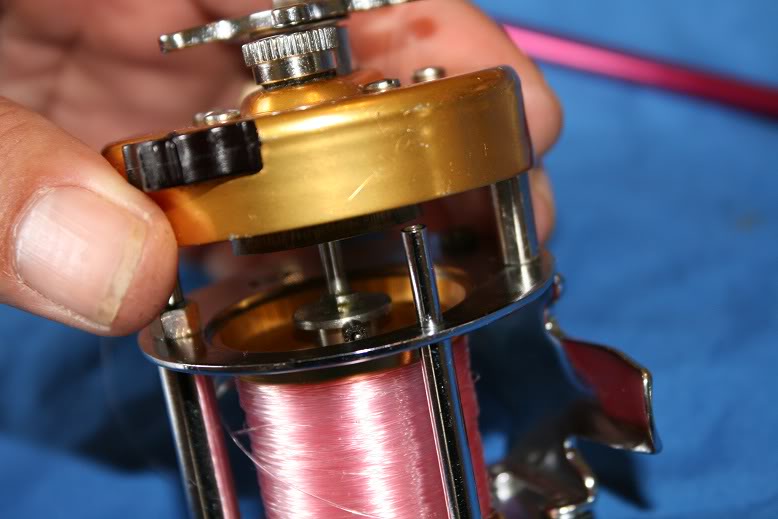
Now, this part takes patience! The easiest way to ensure that the line coming off the spool is aligned with the level wind mechanism is to strip line from the spool until it aligns with the level wind and is going in the same direction.
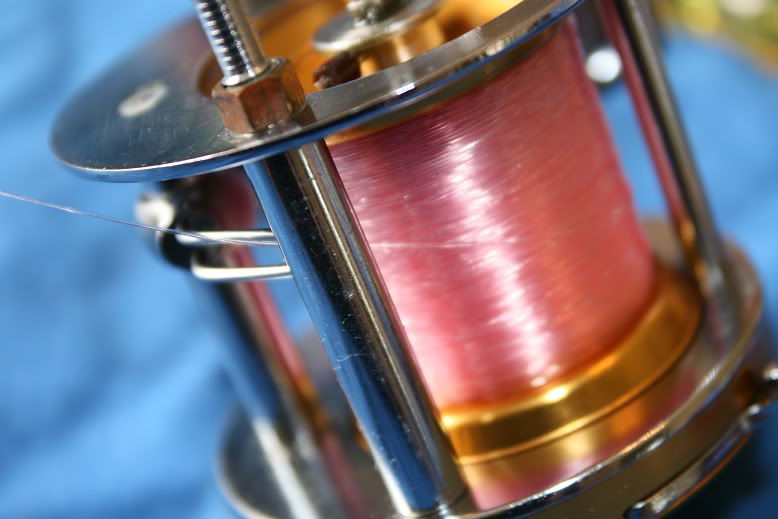
This is what you DON'T want to see, however once you've got the line and the level wind lined-up drop the spool home, pop the buffer, spring and screw the side cap back on the reel (loosely – we'll come back to this) and place it aside.
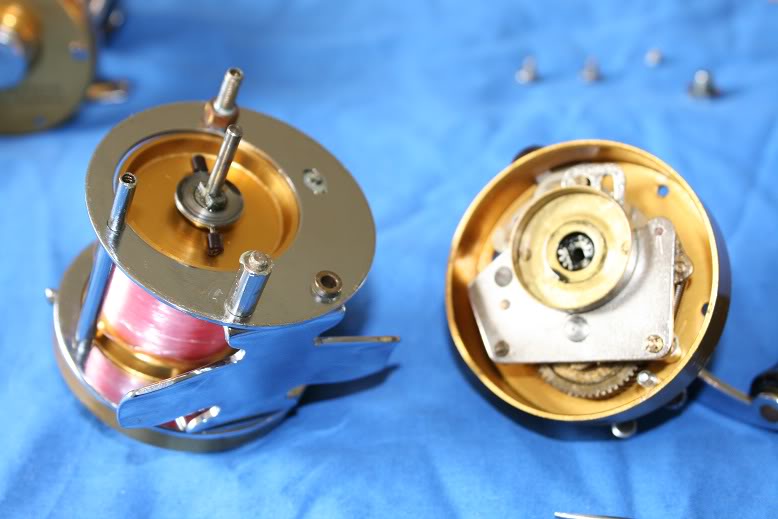
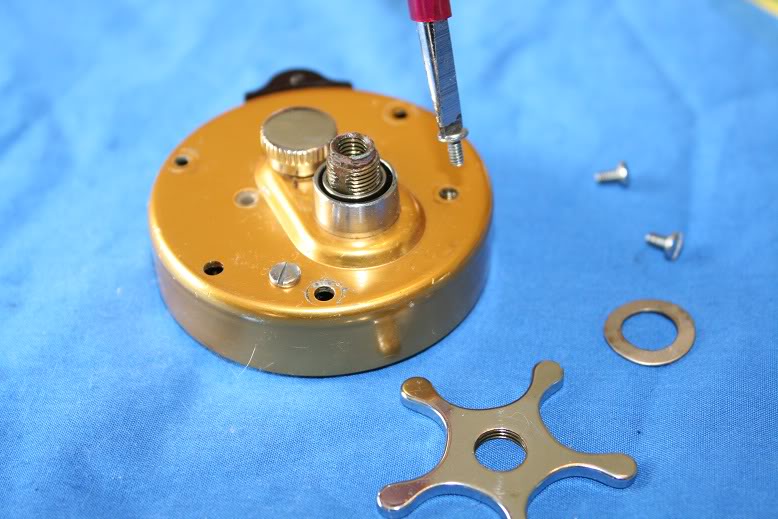
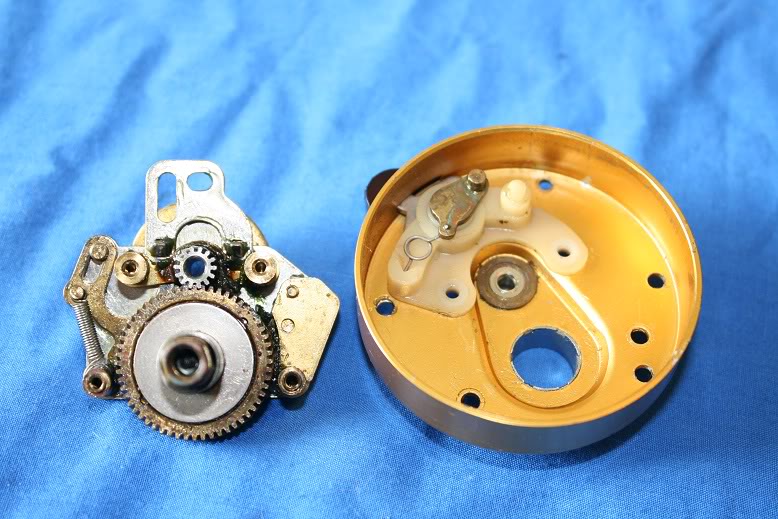
Now to the handle side of the reel. Remove the star wheel, wave washer and bridge screws from the sleeve and side plate and set aside.
The bridge assembly will come out as a unit reel exposing the drag washers and gears. I had no reason to strip the reel any further down than this to do what I needed to (replace the drag washers), but a general clean-up in solvent (of your choice, I tend to use carby cleaner being careful not to use so much as to melt any plastic parts) and re-grease is always in order.
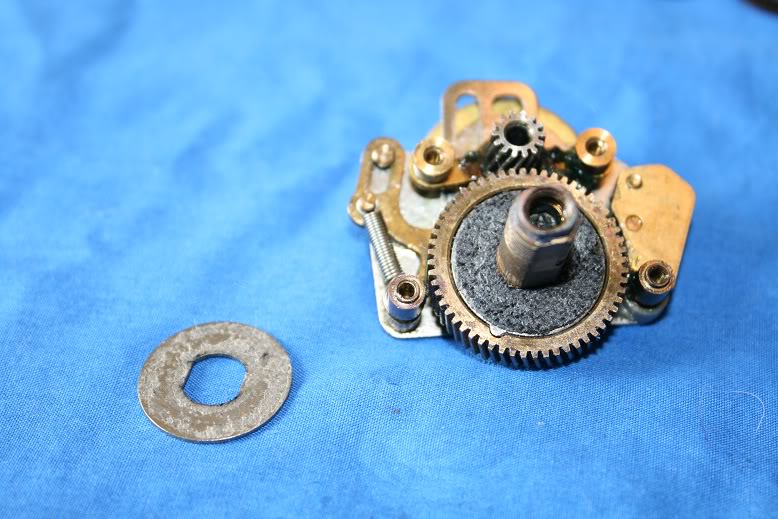
This shows the HT-100 washer that sits under the main gear (#6-7000). You'll note I have plans to replace the sleeve next time I strip the reel down as you can see the salt water is starting to get to it. A quick and gentle clean up with steel wool was the go here this time....

The new HT-100 drag washers that replaced the leather originals. The residue on the stainless washer is actually Cal's as I had fitted the washers then realised I hadn't taken a photo! It's actually better to use the #6-965 and grind them down to fit, but can also use #6-155.
Again, installation is a reversal of the removal procedure with note to the following points: Make sure that these two pins align in their respective slots...
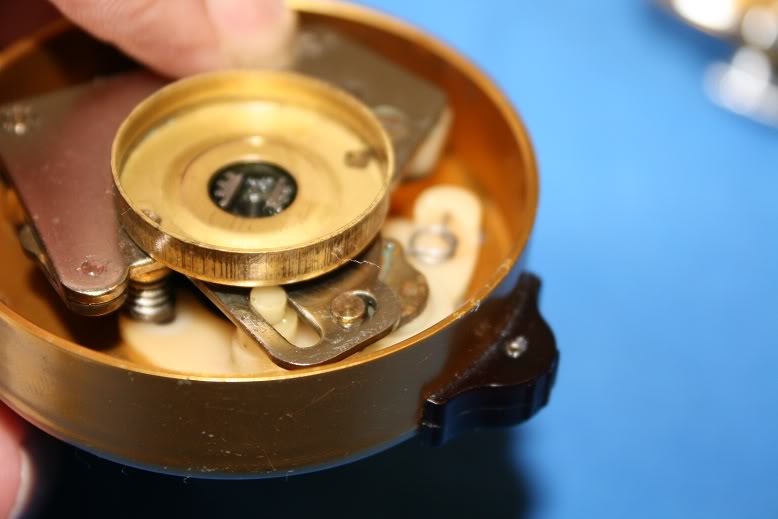
Ensure that BEFORE you put the bridge screws back in that the plastic (neoprene?) hole guides align in the side plate correctly prior to inserting the screws and that the chromed sleeve is inserted prior to fitting the wave washer and star wheel.
A small drop of Metoil on the bearing and the drive unit is ready to be refitted to the rest of the reel taking note of the correct alignment of the dowel to the side plate and that you have nipped the retaining nuts up snugly and in the right position. Also ensure that the spool brakes (if you need them) are in-situ.
Lube and insert the side plate screws.
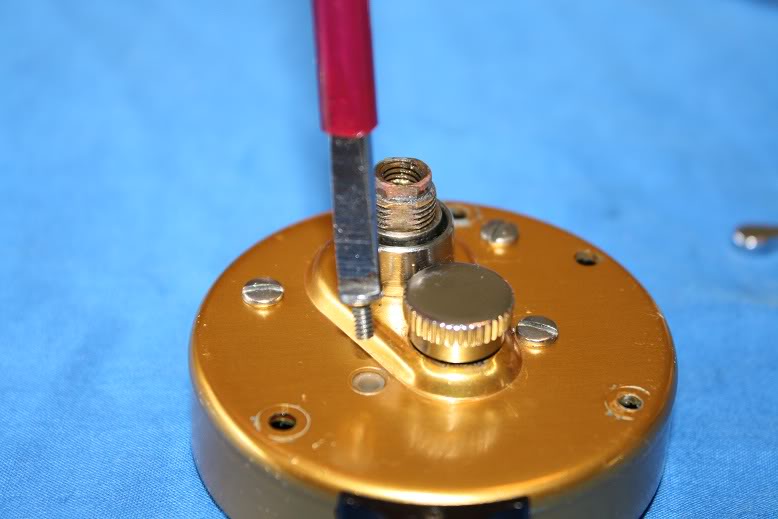
Refit the handle.
Nip it up just firm and insert and tighten the grub screw.
And you're ALMOST finished! The only thing left to do now is adjust (through trial and error) the lateral adjustment of the spool (centering/biasing the spool one way or the other to ensure that the line lays evenly on the spool instead of bunching-up one end (think ice-cream cone) due to the action of the level wind design – each reel is different) and also the pre-load on the spool to ensure it doesn't over-run. The only way to do all this is to fit the reel up to your favourite flickin' stick and head outside into the yard to go and chuck a sinker around, making adjustments where needed. I'd suggest centering the spool first and then backing off each side adjustment 1/16th of a turn until you get the right free spool, then heading outside and flicking that sinker around to get the sideways bias just right so that the line lays on the spool nice and evenly.
The end result was a noticeably stronger and smoother drag system and my level wind now doesn't get stuck down one end from time to time.
Enjoy, Dave.
Copyright © Dave Healey, Australia. Reprinted with permission of the author.
Order parts online for this reel(s):
https://www.mysticparts.com/PennParts/Conventional.aspx#Levelmatic

1 Comments